
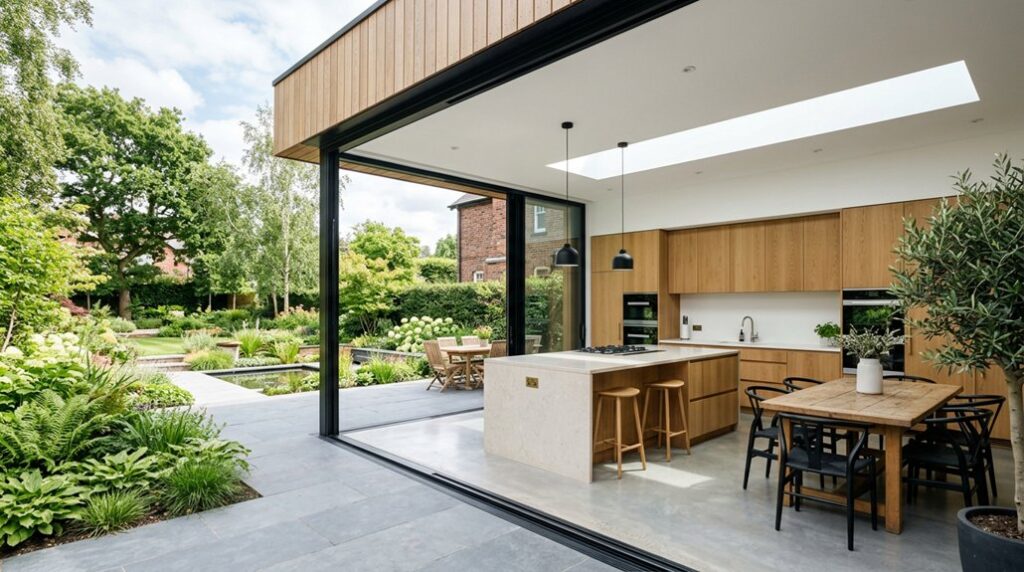
You want more floor area, you want more daylight, you want better flow. In a Knutsford rear extension, you fix pinch points by reworking circulation, sizing the kitchen-diner and utility correctly, and placing large glazed openings with low-iron units to meet Part L targets without sacrificing privacy. You tighten the envelope with airtight detailing and durable, low-maintenance finishes. But before you commit, you’ll need to check what planning and buildability allow on your plot…
Key Takeaways
- Re-zoning the rear layout removed pinch points, aligning kitchen and dining for smoother circulation and a straight route to the patio.
- Larger glazed openings and well-sized rooflights increased daylight penetration, reduced glare, and cut daytime reliance on artificial lighting.
- Safety and comfort improved with level thresholds, toughened thermal glazing, airtightness detailing, and Part F background ventilation targets.
- Planning and compliance were managed through Permitted Development checks, possible conservation constraints, Lawful Development Certificate, and separate Building Regulations approval.
- Costs were estimated at £2,200–£3,200/m² plus fees and 10–15% contingency, with an indicative 8-week build programme from groundworks to certification.
What This Knutsford Rear Extension Fixed
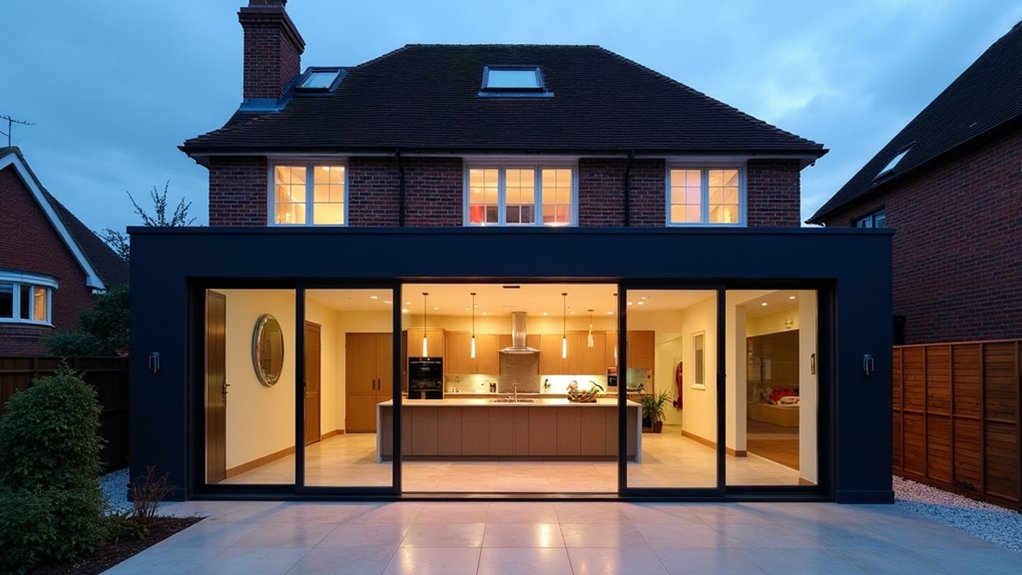
Although the footprint looked workable on paper, the original rear layout in this Knutsford home created daily pinch points: a tight, poorly lit kitchen, an awkward dining area that interrupted circulation to the garden, and limited compliant ventilation and insulation performance for modern standards.
You fix this by re-zoning: you align the kitchen run with a clear dining bay and keep a straight route to the patio. You upgrade daylight with larger glazed openings while managing overheating through appropriate g-values and secure ventilation trickle paths.
You wrap the extension in continuous insulation, close thermal bridges, and confirm U-values meet current Building Regulations targets.
Your architectural inspiration guides proportions and rooflines, while your material selection balances durability, airtightness detailing, and easy maintenance at thresholds and reveals.
Can You Build It? Knutsford Planning Rules
Once you’ve fixed the layout, daylighting, and thermal envelope, you still need to confirm you’re allowed to build the rear extension you’ve designed under Knutsford’s planning framework. Start by checking whether your house sits in a conservation area or near listed assets, as these tighten controls on materials, glazing, and roof forms and may dictate architectural styles.
If you can use Permitted Development, you’ll still need to meet limits on depth, height, eaves, and boundary setbacks, plus conditions on matching finishes and side windows. Get a Lawful Development Certificate to de-risk compliance.
If you need full planning, submit scaled drawings, elevations, and a design statement addressing overlooking, daylight, and neighbour amenity.
Planning approval isn’t building permits: apply for Building Regulations approval separately.
What a Knutsford Rear Extension Costs (Real Ranges)
Before you commit to drawings and a builder, price your Knutsford rear extension in real, line‑item ranges so you can set a budget that actually survives Building Regulations, specification choices, and site constraints.
For a typical single‑storey rear extension, expect build costs of £2,200–£3,200/m², rising to £3,400+/m² for high‑spec glazing or complex steelwork.
Add design fees of £2,500–£6,000, structural calcs of £500–£1,200, Building Control costs of £500–£1,000, and surveys ranging from £300–£900.
Groundworks vary most: £5,000–£20,000 depending on drainage runs, tree influence, and foundation depth.
Your cost considerations should include insulation upgrades, fire‑safe doors where required, and ventilation commissioning.
Material choices (brick match, roof lanterns, aluminium doors) swing totals by 10–25%.
Include 10–15% contingency.
Space Goals: Kitchen-Diner, Utility, Family Flow
If you set clear space goals at the outset, your rear extension can do more than add square metres—it can fix how your home works day to day.
Start by defining a kitchen-diner that supports cooking, homework, and hosting, with a clear prep zone, 1,000mm+ circulation routes, and safe separation from the hob.
Add a utility with ventilation, a floor drain or leak tray provision, and acoustic insulation so appliances don’t dominate family time.
Plan storage early: tall larder, recycling pull-outs, and coat/shoe space at the garden entry.
Map “family flow” from driveway to kitchen to garden, keeping door swings and thresholds compliant and step-free where possible.
Align garden landscaping and interior decor so the new route feels intentional, not improvised.
Knutsford Rear Extension Design for More Daylight
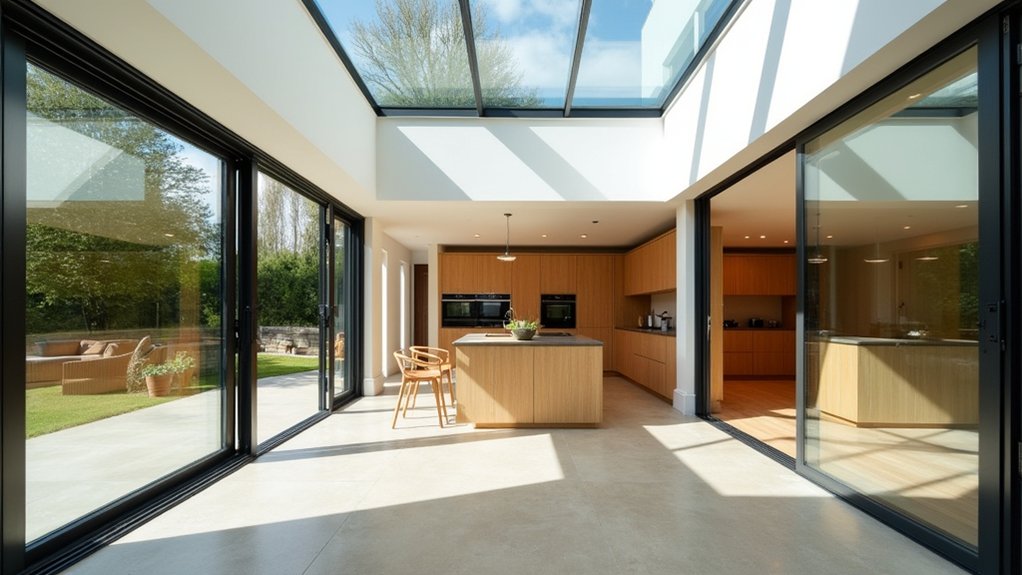
Clear space goals set the layout; daylight design makes the new kitchen-diner in your Knutsford rear extension feel bigger, calmer, and easier to use year-round.
You’ll prioritise large rear glazing but control glare with solar-gain calculations, low‑g glass, and correctly sized overhangs.
Add rooflights to pull sun deep into the plan, keeping structural openings coordinated with beam depths and Part A requirements.
For comfort, you’ll layer lighting techniques: dimmable warm LEDs, under-cabinet task strips, and wall washers that reduce shadows at worktops.
Position openings to meet Part F targets for natural ventilation—use high-level vents or top-hung sashes for secure night purge, plus cross-flow via a side window or internal transfer grilles.
Keep window head heights aligned for clean sightlines too.
Build Stages and Timeline (Week by Week)
You’ll map your rear extension into a clear week-by-week plan: site setup and welfare, groundworks and foundations (with inspections), structure and roof, glazing and weatherproofing, then first-fix/second-fix and final sign-off.
You’ll set timeline milestones for each phase—lead times, inspection dates, and handover targets—so the programme stays compliant and measurable.
If delays hit (weather, materials, variations), you’ll log the cause, update the critical path, and resequence tasks to protect daylight-critical items like rooflights and large sliders.
Week-By-Week Build Phases
Although every project’s schedule flexes with permits, inspections, and lead times, a week-by-week build phase plan keeps your expansion on track by tying each stage to code-critical checkpoints (footings, framing, MEP rough-ins, insulation, and final).
Week 1: set out, isolate services, and confirm Structural engineering assumptions before excavation.
Week 2: pour footings and foundations, then book the inspection and damp-proofing sign-off.
Week 3: build substructure, fit drainage runs, and pressure-test to spec.
Week 4: erect walls, install lintels/steel, and lock in Material selection for cavity insulation and damp courses.
Week 5: roof structure, weatherproofing, and openings.
Week 6: first-fix electrics, plumbing, ventilation, then inspector-ready fire-stopping.
Week 7: insulate, plasterboard, and airtightness detailing.
Week 8: second-fix, commissioning, and final certification.
Timeline Milestones And Delays
When the programme hits key inspection gates—foundations, structure, MEP rough-ins, insulation, and final sign-off—you can spot slippage early and correct it before it compounds.
Week 1–2, you clear site, set out, excavate, and pour footings after Building Control approval.
Week 3–4, you build walls, steel, and floor structure, then weather-tighten by week 5 with roof and openings.
Weeks 6–7, you run electrics, plumbing, and ventilation to spec, photograph routes, and book inspections before closing up.
Week 8, you insulate and vapour-control correctly, then plaster.
Delays usually come from steel lead times, wet weather, or inspection rebookings; you mitigate with early orders, float days, and staged deliveries.
You finish with interior decor, then garden landscaping once heavy access ends.
Glazing and Finishes That Add “Extra” Space
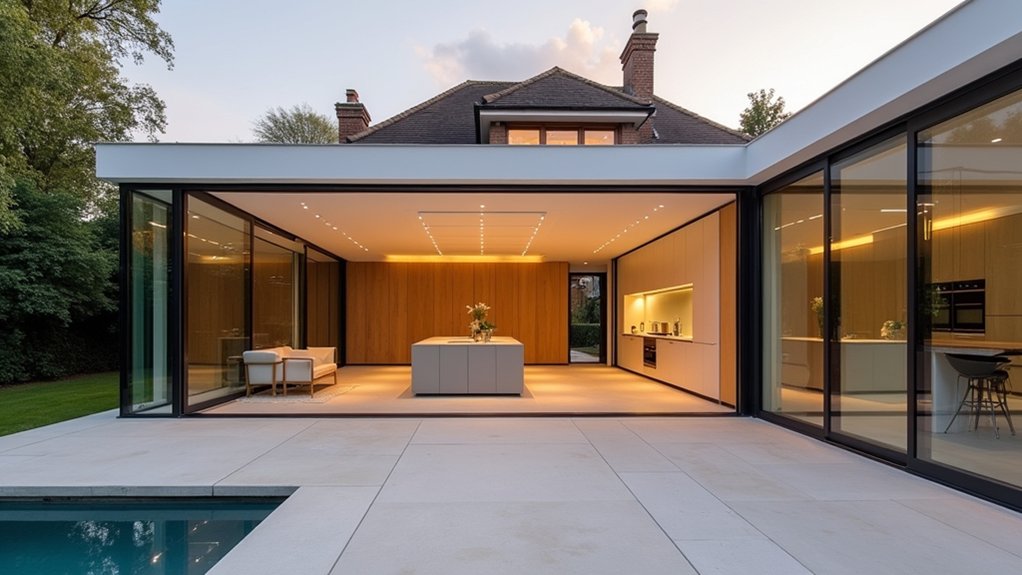
If your goal is to make a room feel larger without moving a single wall, the right glazing and finish system can push sightlines outward, bounce daylight deeper into the plan, and reduce visual “stops” that shrink space.
Specify slim-frame sliders or a fixed-pane picture window to maximise clear opening, and choose low‑iron, low‑E double or triple glazing to meet Part L targets without tinting views.
Add toughened/laminated safety glass where required by Part K, and ventilate to Part F with trickle vents or dedicated openings.
For glass aesthetics, align mullions with interior datum lines and keep thresholds flush.
Use continuous flooring, light-reflective paints, and controlled finish textures—matte on walls, satin on trims—to spread light while hiding joint lines.
Life After the Rear Extension: What Changed Daily
After the rear extension, you’ll notice brighter everyday living because the new glazing increases daylight penetration while maintaining compliant safety glass and thermal performance. You won’t need to switch lights on as early, and sightlines stay clear thanks to well-placed openings and glare-controlled finishes.
In the kitchen, you’ll get improved flow with code-appropriate clearances around the island and work zones, so prep, cooking, and dining move smoothly without bottlenecks.
Brighter Everyday Living
Although the rear extension may look like a single “big change” on the drawings, it reshapes your day in measurable, practical ways: daylight reaches deeper into the plan, circulation routes stop fighting the furniture layout, and the kitchen–dining zone works as a compliant, comfortable hub rather than a pinch point.
You’ll notice mornings feel calmer because glare is controlled with correctly sized rooflights and low‑iron glazing, while privacy stays intact through considered sill heights. You won’t need lamps at noon, so energy demand drops, supported by sustainable materials with verified performance data.
You’ll breathe easier as background ventilation meets Part F targets and airtightness detailing limits draughts. You’ll also move more safely: thresholds stay level, escape routes remain clear, and lighting layouts reduce shadowed corners—quiet architectural innovation that changes how your home feels.
Improved Kitchen Flow
Better light makes the space feel bigger, but the daily win comes from how the rear extension fixes kitchen movement: you can prep, cook, serve, and clear without crossing traffic or blocking key doors.
You’ve now got a clear work triangle, with the hob, sink, and fridge spaced for safe reach and compliant clearances around aisles and appliance doors.
Smart window placement keeps glare off worktops while giving you sightlines to the garden and kids’ zone, so you’re not turning mid-task.
The island doubles as a landing spot, so hot trays don’t travel far.
You’ve matched a calm color palette to durable finishes, making mess obvious and wipe-downs fast.
With better ventilation and task lighting, you cook efficiently and safely.
Frequently Asked Questions
Will the Extension Increase My Home Insurance Premium or Require Policy Updates?
Yes, it can raise your premium and you’ll need Policy updates. Tell your insurer before work starts, list new rebuild costs and materials, confirm builder liability cover, and keep approvals—key Insurance considerations for claims.
How Disruptive Will Noise and Dust Be for Neighbours During the Build?
Like a drumbeat behind a wall, you’ll cause some disturbance, but you can keep it controlled. You’ll share a clear construction timeline, enforce working hours, use noise mitigation, and seal dust zones.
Do I Need a Party Wall Agreement for a Rear Extension in Knutsford?
You’ll likely need a Party wall agreement if you build on/near a boundary, excavate within 3–6m of neighbours, or alter a shared wall. For legal considerations, serve notice early and use a surveyor if disputed.
Can I Stay Living at Home Throughout Construction, Including With Children?
Yes, you can, and 76% of households do during extensions. You’ll need tight Home security, safe zones for children, dust control, and verified Construction permits inspections. Your builder must maintain compliant access, fire separation, and utilities.
What Warranties and Guarantees Should I Expect From the Builder and Materials?
You should expect a written contract, 6–12 month defects liability, and a 10-year structural warranty. Verify material durability via manufacturer guarantees. Check builder reputation, insurance, and certifications. Confirm guarantees align with Building Regulations and include snags.
Conclusion
You’ve turned a constrained rear layout into a compliant, light-led hub that works hard every day. By aligning openings with privacy lines, specifying low-iron, thermally efficient glazing, and tightening airtightness at junctions, you meet performance targets without compromising comfort. The new kitchen-diner and utility improve circulation, storage, and family flow. Careful finishes and sightlines make the space feel bigger than a football pitch. Now you gain daylight, warmer rooms, and effortless indoor-outdoor connection.

