
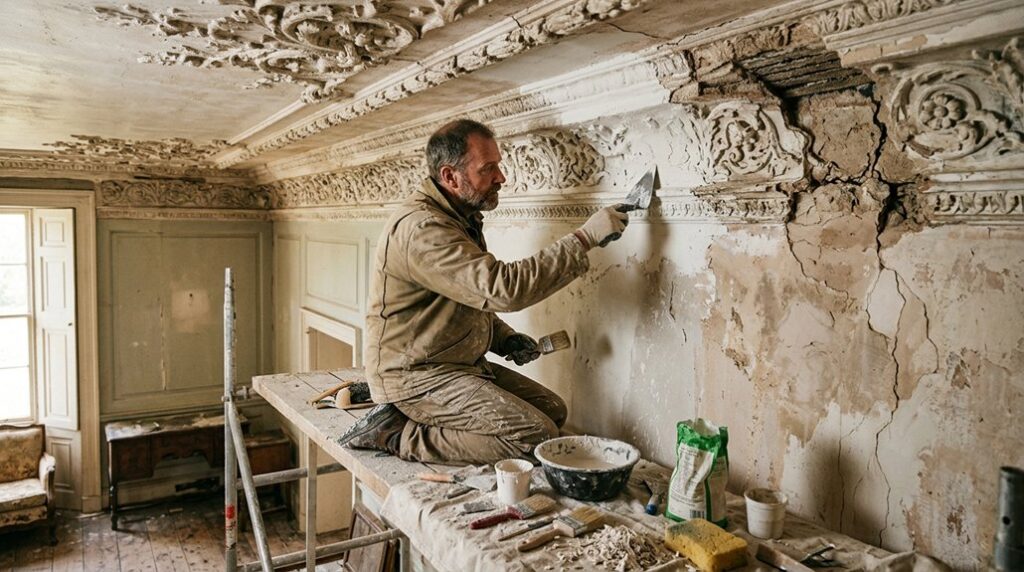
Around 30% of period-home repair costs can stem from unresolved damp rather than surface damage, so you’ll need to identify the cause before touching the plaster. Check for structural movement, moisture, blown areas, and incompatible modern materials, then choose lime, gypsum, or specialist conservation methods accordingly. You can handle minor defects, but decorative or extensive damage demands expert care. The wrong repair may conceal a deeper failure—one that becomes clear only after the surface is opened.
Key Takeaways
- Assess cracks, bulging, impact damage, detached plaster, alterations, and moisture sources before attempting repairs.
- Identify the original plaster’s binder, aggregate, texture, and finish so replacement materials remain compatible and breathable.
- Monitor humidity and seasonal movement, repair leaks, improve ventilation, and investigate persistent dampness or structural movement professionally.
- Reserve DIY work for minor stable defects; use experienced specialists for extensive, decorative, ceiling, or inaccessible plaster repairs.
- Clean gently, preserve patina and tool marks, document changes, and inspect plasterwork at least twice yearly.
Identify What Damaged the Plasterwork
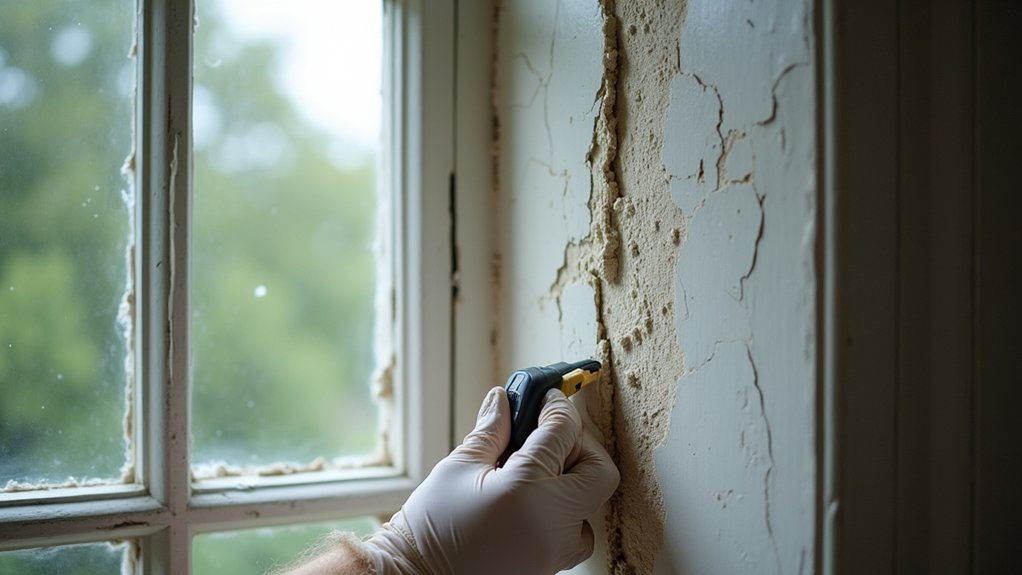
Before repairing plasterwork, determine what caused the damage, because the visible cracks, stains, or loose areas may be symptoms of a larger problem. Examine crack patterns, impact marks, failed joints, and areas where plaster has detached from its lath or masonry.
Look for evidence of alterations, such as removed dado rails, rewired chases, or poorly bonded modern patches. Record each defect with photographs, dimensions, and its position within the room.
You’ll then distinguish original workmanship from later repairs and avoid removing sound historic material unnecessarily.
Identify the plaster’s composition—lime, gypsum, or cement—and note aggregate size, colour, texture, and finishing technique. This assessment supports Historical accuracy during repair and guides Material sourcing, helping you select compatible aggregates, binders, and pigments rather than imposing an unsuitable modern finish.
Check for Structural and Damp Problems
Once you’ve identified the plaster’s composition and documented its defects, check whether structural movement or dampness is driving the damage. Don’t treat symptoms before establishing the cause.
- Assess movement: Look for stepped masonry cracks, distorted openings, bulging walls, or recurring fractures. Foundation issues, roof spread, and failing lintels may require a structural engineer’s assessment; monitor cracks rather than filling them immediately.
- Trace moisture: Use visual inspection and moisture readings to distinguish penetrating damp, rising damp, plumbing leaks, and condensation. Check gutters, downpipes, ground levels, flashing, and salts beneath coatings.
- Improve conditions: Confirm that floors, walls, and roof spaces can dry naturally. Specify compatible ventilation improvements, such as discreet air bricks or controlled extraction, without blocking historic fabric. Record readings seasonally and correct leaks before replastering.
Persistent dampness or movement demands specialist investigation before any conservation repair begins.
Decide Between DIY and Professional Repairs
Choose DIY work only for minor, stable defects—such as small nail holes, shallow losses, or limited areas of sound plaster—and proceed only after you’ve ruled out structural movement and dampness. You’ll need patience, safe access, dust control, and the ability to stop if the substrate behaves unexpectedly.
Hire a plasterer experienced with period properties when damage is extensive, decorative, ceiling-based, or difficult to access. Professional assessment also makes sense where cracks recur, edges detach, or previous repairs have failed.
Weigh cost considerations against the risk of enlarging damage or losing historic fabric through incorrect preparation. Your aesthetic preferences matter too: a specialist can conserve subtle tool marks, profiles, and surface variations without imposing an overly uniform finish.
Obtain written scopes, repair limits, insurance details, and references before appointing anyone.
Match Materials to Original Period Plaster
Match the repair material to the original plaster’s composition, age, and function rather than relying on a generic patching compound. Begin by identifying whether you’re working with lime, gypsum, or an early cement-based mix; a conservation specialist can test samples without unnecessary disturbance.
Historical accuracy depends on matching the binder, aggregate, colour, and texture, not merely the visible finish.
- Lime plaster: Use compatible lime putty or hydraulic lime, selected for the building’s exposure and curing conditions.
- Gypsum plaster: Choose a gypsum formulation with comparable setting time, hardness, and aggregate grading.
- Decorative work: Commission a specialist to replicate mouldings and ornamental finishes using tested casts or profiles.
Prioritise Material compatibility: a repair that’s harder or less permeable than its neighbour can accelerate deterioration. Record your chosen materials for future maintenance and conservation decisions.
Repair Cracks, Blown Plaster, and Holes
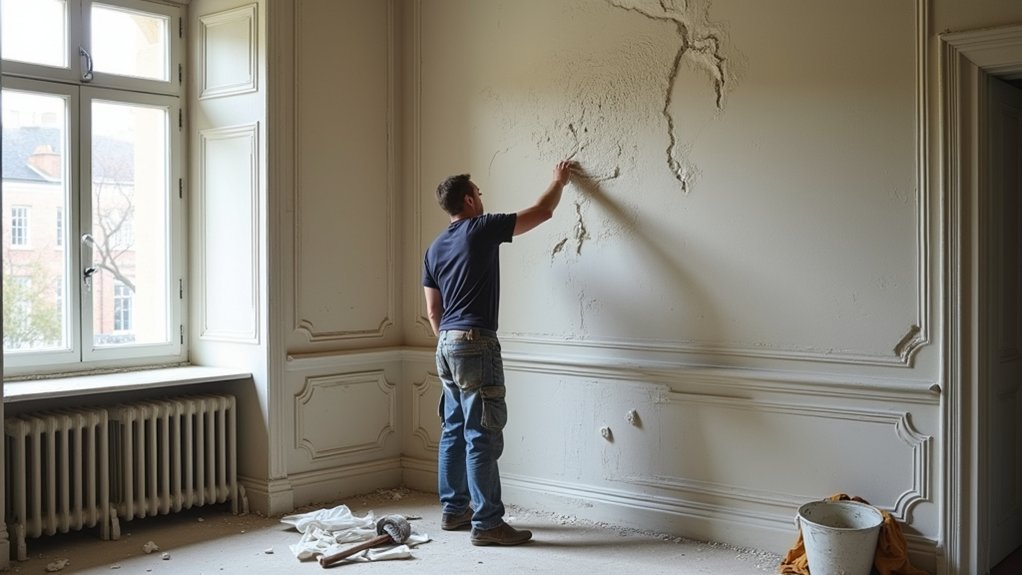
Before repairing, map each defect and determine whether it’s cosmetic or evidence of movement, damp, or failing substrate. Investigate active cracks first: check gutters, masonry movement, leaking services, and loose laths, then address the cause before filling.
For stable hairlines, lightly widen the edges, remove dust, and press in a compatible lime-based filler. Don’t bridge structural cracks with hard cement, which can trap moisture and damage historic fabric.
Test blown plaster by tapping around the hollow area. Cut back only unsound material, retain sound edges, and dampen the background before applying matching backing and finishing coats.
For holes, square the perimeter carefully, support exposed laths, and rebuild in compatible layers, allowing each to firm up. Record repairs near Decorative motifs to preserve historical accuracy and avoid disturbing surviving evidence.
Restore Decorative Plasterwork With Care
Treat decorative plasterwork as surviving evidence, not a surface to be standardised: photograph and record each motif, moulding, and tool mark before intervention. Assess the substrate, identify original materials, and map losses against later alterations. Your aim is structural stability and legible continuity, not modern perfection.
- Consolidate first: secure detached sections with compatible lime-based materials, using minimal intervention and reversible methods where feasible.
- Reconstruct selectively: retain sound fragments, then model missing decorative detailing from surviving evidence, profiles, archival photographs, or matching rooms.
- Verify proportions: use templates, raking light, and measured drawings to check alignment, repetition, depth, and junctions before setting new work.
Avoid hard gypsum or cement repairs that trap moisture or create differential movement. Test samples discreetly, document every decision, and consult a conservation specialist for significant schemes.
Historical accuracy depends on disciplined restraint: distinguish original work, informed reconstruction, and unavoidable modern support without inventing undocumented ornament.
Finish and Paint Without Hiding Character
Once repairs have cured and the surface has been lightly prepared, choose a breathable finish that respects the plaster’s age, texture, and repairs rather than flattening them into uniformity. Limewash or mineral paint usually suits historic plaster better than vinyl emulsion, allowing moisture vapour to pass through.
Test colours on several areas, because uneven absorption and changing daylight affect the result. Match surviving evidence, such as protected paint layers, rather than relying on modern colour charts; this supports Historical accuracy.
Apply thin coats with a soft brush, following the surface’s contours and leaving subtle trowel marks visible. Don’t overfill hairline texture or sand away tool marks that document craftsmanship.
Where appropriate, use a slightly varied tone to integrate repairs without creating a false, uniform surface. This approach supports Material preservation while retaining authentic character.
Maintain Revived Plasterwork for the Future
To protect revived plasterwork, you’ll need to control indoor humidity and prevent condensation that can weaken finishes.
Clean surfaces gently with soft tools, avoiding excessive moisture and abrasive products.
Schedule regular inspections so you can identify cracks, staining, or detachment before minor defects become structural problems.
Control Indoor Humidity
Stable indoor humidity is essential to preserving revived plasterwork: aim for roughly 40–60% relative humidity, and monitor it with a digital hygrometer. Effective humidity control limits timber movement, salt migration, and cracking across historic surfaces. Your moisture management routine should respond to seasonal readings rather than rely on guesswork.
- Ventilate strategically: Open windows briefly when outdoor air is drier, but avoid prolonged ventilation during damp weather.
- Control moisture sources: Use extractor fans while bathing or cooking, repair plumbing leaks promptly, and dry laundry outside or in a ventilated room.
- Balance the environment: Install a dehumidifier where readings remain high; use gentle, consistent heating to prevent condensation on cold walls.
Place hygrometers in representative rooms, away from radiators, windows, and exterior doors. Record readings weekly, noting weather and heating patterns.
If humidity stays outside the target range, investigate building defects before adjusting finishes. Consistency protects repairs and original fabric alike.
Clean Gently
Clean revived plasterwork with a soft natural-bristle brush or a low-suction vacuum fitted with a brush attachment; don’t scrub, wet-wash, or use household detergents, as they can erode the surface, drive moisture into porous plaster, or disturb fragile decoration.
Begin at the highest point and work downward, supporting loose-looking mouldings rather than pressing against them.
For textured ceilings, use short, controlled strokes and remove dust from recesses with a soft artist’s brush.
Treat soot or greasy deposits as specialist conservation problems; don’t apply solvents, stain blockers, or paint without professional advice.
Surface cleaning should preserve the patina and tool marks that authenticate historic work.
If appropriate, finish timber-adjacent details with gentle polishing using a clean, dry cloth, avoiding pressure on painted, gilded, or friable areas.
Handle every surface as irreplaceable.
Schedule Regular Inspections
Schedule inspections at least twice a year, and after leaks, roof work, structural movement, or significant changes in heating and humidity. Walk each room in consistent daylight, checking for hairline cracks, bulging, friable surfaces, staining, and gaps around cornices or ceiling roses. Photograph findings beside a scale and record their location, dimensions, and change over time.
During each inspection:
- Compare damage with earlier records; widening cracks or fresh distortion warrants a conservation professional’s assessment.
- Check gutters, flashings, plumbing, and ventilation, because moisture often causes renewed plaster failure.
- Examine Historic patterns and Decorative finishes for lifting, abrasion, or incompatible paint, avoiding unnecessary cleaning or repainting.
Don’t press unstable areas, tape cracks, or conceal evidence before diagnosis. Maintain steady heating and ventilation, and address water ingress promptly.
A conservator can stabilise fragile plaster, match materials, and protect surviving detail without erasing historic character.
Frequently Asked Questions
How Much Does Professional Plasterwork Restoration Typically Cost in a Period Home?
You’ll typically pay £50–£150 per square metre for professional plasterwork restoration, depending on damage, access, and detailing. Request itemised quotes; compare cost comparison, restoration techniques, materials, conservation requirements, and specialist craftsmanship before appointing.
How Long Does a Complete Plasterwork Revival Usually Take?
You’ll typically need two to six weeks, depending on damage and detailing. Allow time for surface preparation, skilled repairs, curing, and plaster drying; extensive period features, multiple rooms, or humidity can extend the schedule.
Will Repairing Historic Plasterwork Affect My Home Insurance or Mortgage?
Careful conservation typically won’t harm your cover, but check insurance implications first. Notify your lender about structural changes; mortgage considerations may require listed-building consent, qualified contractors, photographs, and documented approvals to protect valuations and terms.
Do I Need Listed-Building Consent Before Restoring Original Plasterwork?
You’ll usually need Listed building regulations consent before altering original plasterwork in a listed home. Check your council’s Preservation requirements and listing description first; like-for-like repairs may qualify, but don’t assume exemption without written confirmation.
Can Restored Plasterwork Improve My Period Home’s Energy Efficiency?
Yes, restored plasterwork can improve energy efficiency modestly. You’ll gain insulation benefits by sealing cracks and draughts, while breathable repairs preserve historical accuracy and prevent moisture problems that undermine thermal performance over time.
Conclusion
Reviving period plasterwork means balancing restraint with repair. You’ll preserve historic character by addressing moisture and movement before filling a crack or rebuilding a blown section. Compatible lime or gypsum materials can restore strength, while careful hand-finishing keeps every moulding and uneven surface authentic. Don’t conceal evidence of age beneath hard cement or heavy paint. Instead, inspect regularly, manage damp, and seek specialist advice when details or structure are at risk. With measured care, fragile surfaces can remain both honest and durable.