
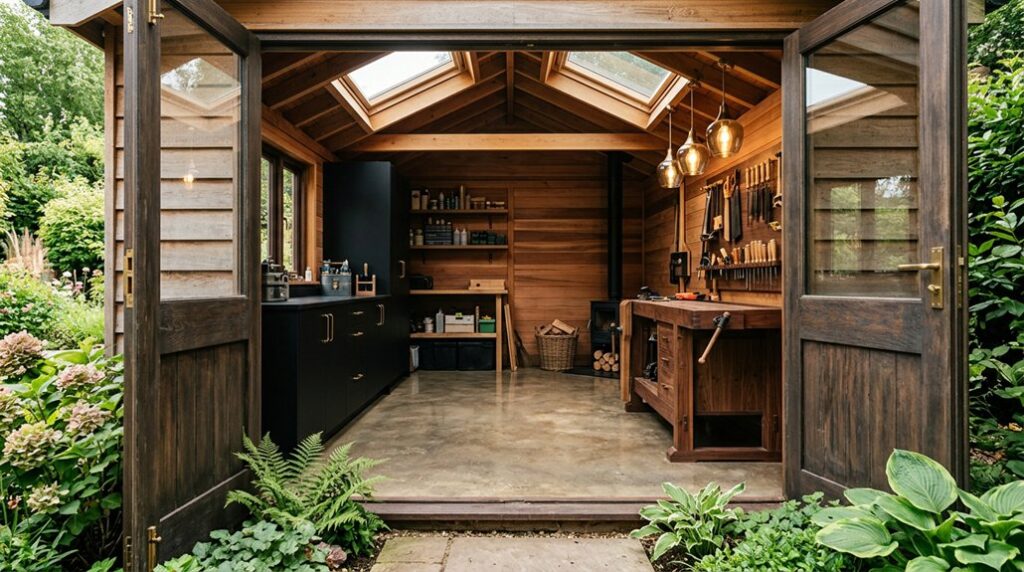
Turning a timber garden shed into a luxury workshop starts with a layout that matches how you work, not simply where you can fit a bench. Plan clear circulation, dedicated zones, and accessible storage before upgrading the structure. You’ll then need to control heat, moisture, power, and lighting with workshop-grade materials and safe installation methods. The final details—durable surfaces, refined finishes, and year-round comfort—will determine whether the shed feels improvised or professionally built.
Key Takeaways
- Plan an efficient workflow, with lumber storage near the entrance, a central assembly area, and a dust-free finishing station.
- Insulate and weatherproof the shed using a damp-proof floor membrane, roof ventilation, sealed vapour control, and exterior-grade sealants.
- Hire a qualified electrician to install safe circuits, RCD protection, weatherproof outlets, task lighting, and thermostatically controlled heating.
- Install anchored shelving, labelled storage, and a rigid sealed workbench tailored to your tools, materials, and projects.
- Improve comfort and appearance with sealed flooring, durable low-VOC timber finishes, weatherstripped openings, and high-colour-rendering LED lighting.
Plan Your Luxury Workshop Layout
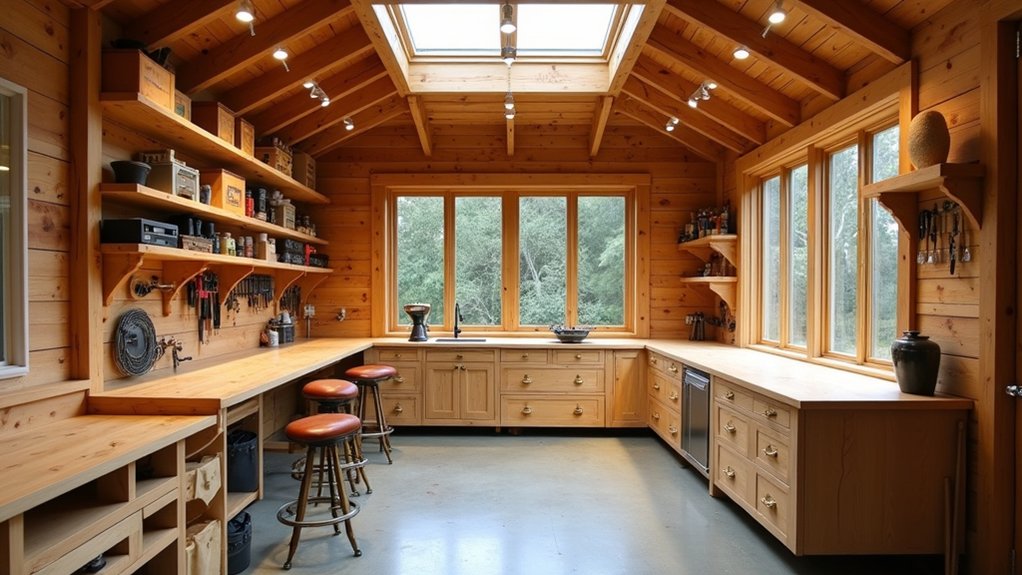
Before you install cabinets or equipment, map the shed’s workflow from material storage and preparation to assembly and finishing. Position frequently used tools within easy reach, while keeping bulky stock near the entrance to simplify loading.
Reserve a clear central zone for assembling projects, and maintain a dedicated finishing bench away from dust-producing machinery. Design custom shelving to suit your lumber lengths, fastener bins, and portable tools; anchor every unit securely to the framing.
Place the workbench beneath consistent task lighting, then add adjustable lights above precision stations. Plan electrical outlets along benches and at machine locations, allowing cord-free access without creating trip hazards.
Evaluate ventilation options based on dust extraction, fumes, and airflow direction. Mark door swings, access routes, and emergency clearances before fixing anything permanently in place.
Insulate and Weatherproof the Timber Shed
Once the layout is marked, improve the shed’s thermal stability and resistance to moisture before fitting out the interior. Seal gaps around boards, corners, and the door frame with flexible exterior sealant, then repair damaged timber.
- Fit a damp-proof membrane over the floor, lap it up the walls, and install rigid insulation between treated battens. Leave no compression gaps.
- Add breathable insulation between roof rafters, maintaining an intentional ventilation channel beneath the roofing felt.
- Line walls and ceiling with a vapour-control layer on the warm side, taping every joint and sealing service penetrations.
- Install a threshold seal, guttering, and downpipe extensions to keep splashback away from the base. Apply preservative to exposed end grain.
Include screened vents for ventilation improvements, positioned high and low for controlled airflow. Protect insulation edges with mesh for pest prevention, and check that timber remains dry before closing the walls.
Install Safe Power, Lighting and Heating
With the shed insulated and weatherproofed, plan the electrical installation around its intended loads before closing the walls. Use a qualified electrician to size the supply, fit an appropriate consumer unit, and install residual-current protection, earthing, and separate circuits for tools, lighting, and heating.
Electrical safety depends on routing cables in protective conduit, maintaining clearances from timber, and using weatherproof sockets and switches rated for the environment. Don’t rely on extension leads as permanent wiring.
Choose efficient, sealed LED fixtures with a high colour-rendering index, positioning them to eliminate bench shadows without glare.
For heating options, consider a thermostatically controlled electric panel heater or infrared unit, securely fixed with manufacturer-required clearances. Avoid portable gas or paraffin heaters, which introduce moisture and combustion risks.
Test every circuit before lining the walls.
Add Workshop Storage and Durable Worktops
Now that the electrical layout is tested, build the storage and work surfaces around your tools, materials, and available wall space. Good Tool organization keeps frequently used equipment within reach while preserving clear floor space.
- Fix a level, structural ledger to studs before mounting cabinets, pegboards, or French cleats; use appropriate screws, not drywall fixings.
- Choose Storage solutions that match your inventory: shallow bins for fasteners, drawers for hand tools, and lockable cupboards for chemicals.
- Build the worktop from 40–50 mm hardwood, laminated timber, or moisture-resistant plywood. Seal every face and edge against spills.
- Bolt the bench frame through the floor or wall where possible, then verify it remains rigid under planing, clamping, and machine loads.
Install a replaceable sacrificial top above the finished surface, and leave service gaps behind cabinets for inspection and cable access. Label containers consistently so you’ll return each item quickly.
Finish Your Shed With Comfort and Style
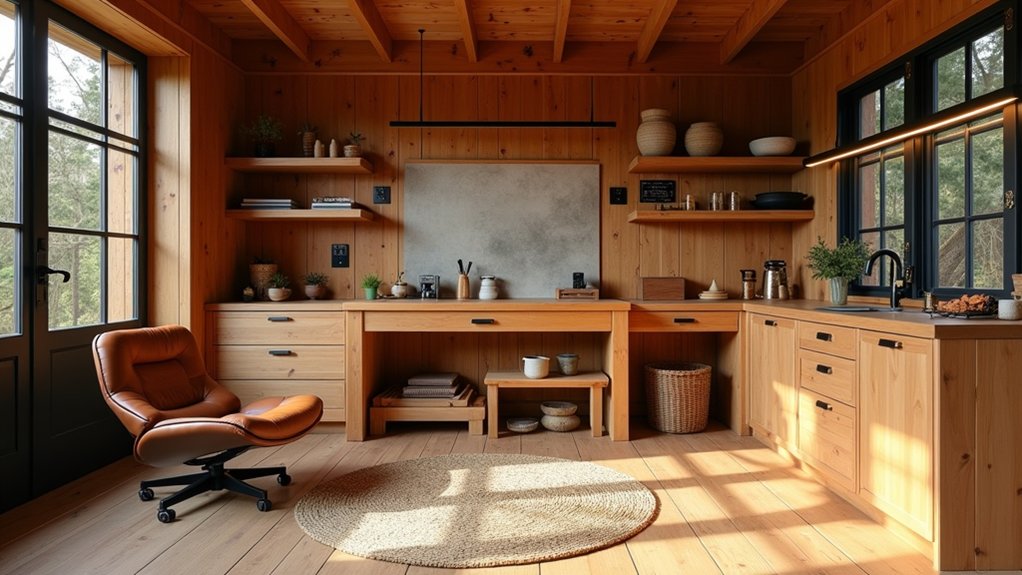
Finish the shed by controlling temperature, lighting, and visual detail without compromising workshop function. Seal gaps around the door and windows with compressible weatherstripping. Then insulate walls and the roof with mineral wool behind a vapour-control layer.
Install a thermostatically controlled panel heater, keeping clearances around combustibles and providing ventilation where required.
Use high-CRI LED task lights above benches, with diffused ceiling fittings for general illumination. Add decorative lighting only where it won’t create glare, shadows, or heat near timber and finishes.
Protect the floor with a hard-wearing polyurethane coating or interlocking rubber tiles, allowing adequate curing time before moving equipment inside.
Choose compact garden furniture for breaks, positioning it away from work zones.
Finish timber surfaces with a durable, low-VOC stain or clear coat, and maintain consistent colour across doors, shelving, and trim.
Frequently Asked Questions
Do I Need Planning Permission to Convert My Timber Shed Into a Luxury Workshop?
You might not need planning permission if your workshop meets Permitted development limits, but converting a shed can trigger restrictions. Check local rules, Building regulations, insulation, electrics, drainage, and structural alterations before starting work.
How Much Does Transforming a Timber Garden Shed Into a Luxury Workshop Cost?
You’ll typically spend £5,000–£15,000, depending on size and specification. Budget for shed insulation, electrical work, flooring, heating, lighting upgrades, security, and bespoke storage; structural repairs, glazing, and professional installation can increase costs substantially.
Which Tools Are Essential for a Well-Equipped Luxury Workshop?
You’ll need essential power tools: a drill, circular saw, jigsaw, router, and sander. Add clamps, chisels, measuring instruments, a workbench, extraction, lighting, and organized storage solutions for precision, safety, and efficiency.
How Can I Improve Security Around My Converted Garden Shed?
Install security cameras covering entrances, reinforce frames, and fit high-security Door locks with concealed fixings. Add motion lighting, window bars, an alarm, and anchored tool storage; conceal valuables, maintain visibility, and test every system regularly.
What Maintenance Does a Luxury Timber Workshop Require Throughout the Year?
Your workshop needs year-round care: inspect timber quarterly, reseal annually, maintain garden shed insulation, clear gutters, lubricate hardware, test electrics, and compare outdoor lighting options; 80% of shed failures begin with moisture, threatening your investment.
Conclusion
If you’re wondering whether a timber shed can truly become a luxury workshop, the finished space proves it can. Once you’ve planned the layout, sealed the envelope, installed safe services, and added robust storage, the building stops feeling temporary. Insulation stabilizes temperatures; quality lighting reveals fine details; durable surfaces withstand daily work. Add comfortable heating and refined finishes, and you’ve created more than a shed—you’ve engineered a precise, practical workspace tailored to your craft.