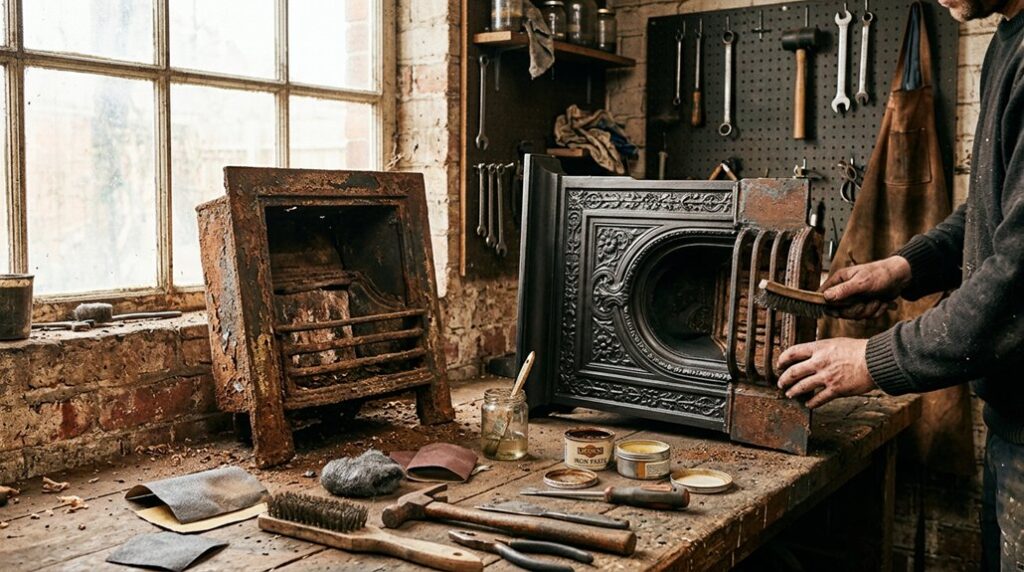
By coincidence, you may discover that the cheapest yet original cast iron fireplace to restore is also the one hiding the most serious damage. Start by inspecting every panel, fastener, grate, and flue connection before setting a realistic budget. Remove soot with gentle methods, repair cracks and rust using compatible materials, and reserve high-temperature paint for properly prepared surfaces. Reuse original parts where safe, document each decision, and watch for one overlooked hazard that can undermine the entire restoration.
Key Takeaways
- Inspected each fireplace for cracks, corrosion, missing parts, and unsafe alterations before disturbing original finishes or fittings.
- Set a detailed budget with a 15–20% contingency for hidden damage, specialist repairs, and replacement hardware.
- Cleaned gently using vacuuming, soft brushes, pH-neutral soap, and immediate drying instead of abrasive or caustic products.
- Repaired minor damage, reused sound fasteners, fabricated compatible replacements, and applied affordable high-temperature finishes.
- Reassembled carefully, checked doors and joints, and had the chimney professionally inspected before using seasoned firewood.
Inspect Each Cast Iron Fireplace First
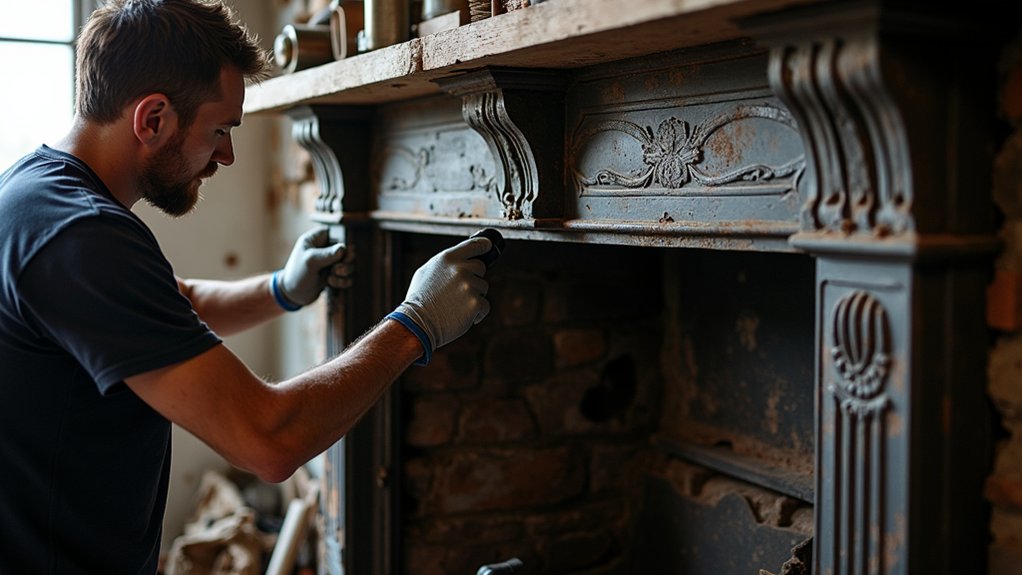
Before buying supplies, inspect each cast iron fireplace for structural damage, missing components, and unsafe alterations. Photograph every elevation, mark existing cracks, and record dimensions before disturbing finishes.
Check the fireback, throat, lintel, legs, grate supports, and fasteners for distortion, corrosion, or heat damage. Test suspicious areas gently; don’t hammer brittle iron or remove stable, historically significant fittings.
Identify whether replacement parts match the original profile, casting details, and installation method. Historical accuracy depends on preserving evidence, including paint layers, maker marks, and old repairs.
Assess material compatibility before planning any treatment: incompatible mortar, steel, coatings, or cleaners can accelerate corrosion or stain masonry.
Have a qualified professional evaluate load-bearing concerns, active flue problems, and suspected asbestos.
Create a condition record so you can prioritize safe, necessary work without losing original fabric.
Set a Realistic Restoration Budget
Assess restoration costs by itemizing labor, materials, hardware, surface preparation, and specialist services.
Set aside a contingency reserve for hidden corrosion, cracked castings, damaged liners, or required code upgrades.
This approach keeps your budget realistic without compromising safe, historically appropriate restoration.
Assess Restoration Costs
Set a realistic restoration budget by separating essential safety work from cosmetic improvements and pricing each task before you begin.
Have a qualified professional inspect the firebox, throat, flue connection, and surrounding masonry. Request itemized estimates for crack repair, refractory replacement, repointing, and flue work, then compare labor rates and material quantities.
Price surface treatments separately, including stripping, rust removal, high-temperature primer, and stove blacking.
Preserve Historical accuracy by researching the period’s finishes and decorative details before you approve replacements.
Confirm Material compatibility: use cast-iron repair products, refractory cement, and heat-rated coatings designed for fireplace temperatures.
Measure components accurately, document their condition, and distinguish restoration from replacement.
Obtain written quotations, verify inclusions, and set a spending limit that protects essential performance while reserving cosmetic upgrades for later.
Plan for Unexpected Expenses
Plan for unexpected expenses by adding a contingency of roughly 15–20% to your documented restoration estimate.
Cast iron fireplaces often reveal hidden defects after disassembly, including cracked panels, warped components, missing fasteners, or corrosion beneath layers of paint. Price these risks before work begins, using supplier quotes and specialist rates rather than optimistic allowances.
Your contingency planning should remain separate from the scheduled labor and materials budget, so routine overruns don’t consume funds reserved for genuine surprises.
Keep an Emergency fund in an accessible account, and release it only after documenting the problem, required repair, and revised cost.
If the reserve remains unused, you can apply it to final coating, improved firebrick, or safe upgrades.
Don’t reduce essential repairs to stay within the original estimate; revise the budget instead.
Remove Grime Without Damaging the Iron
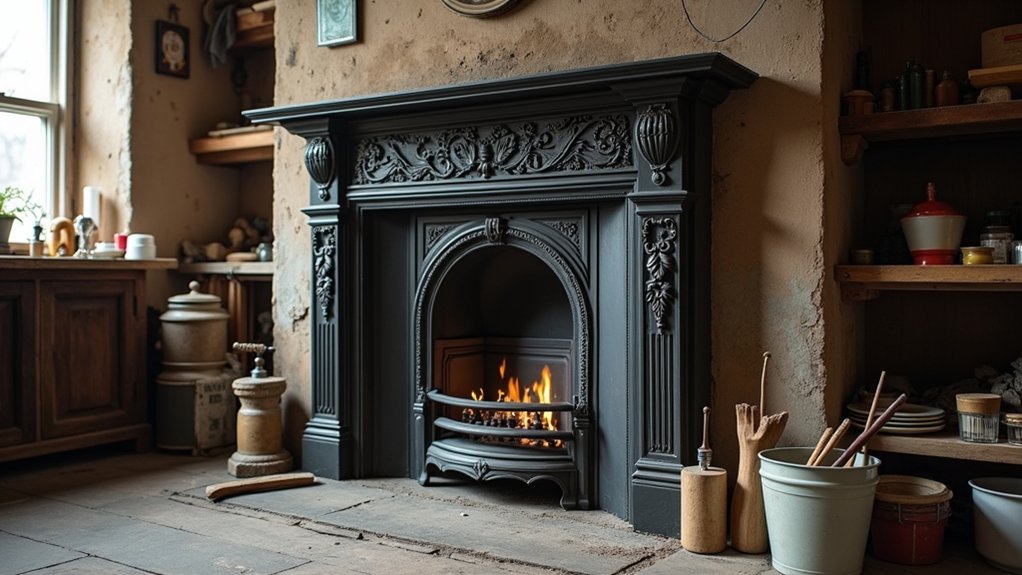
Before you scrub, identify whether the fireplace has loose soot, greasy buildup, flaking paint, or surface rust, since each requires a different treatment.
Start with the least aggressive cleaning techniques: vacuum loose debris using a brush attachment, then wipe the iron with a dry microfiber cloth.
For greasy deposits, apply a small amount of pH-neutral dish soap diluted in warm water, testing an inconspicuous area first.
Use a soft nylon brush, not steel wool or abrasive pads, which can scratch the casting and remove surviving finish.
Wipe away residue with a barely damp cloth, then dry immediately to prevent flash rust.
Avoid caustic oven cleaners, wire wheels, and prolonged soaking.
For iron preservation, finish with a thin coat of paste wax or approved stove polish, applied only to clean, dry metal.
Repair Cracks, Missing Parts, and Rust
Inspect cracks carefully and use a qualified cast-iron repair method, since improper welding can cause further damage.
Replace missing components with compatible salvaged or fabricated parts, preserving fit and period details without overspending.
Remove rust mechanically or with a suitable converter, then seal the iron with a heat-resistant protective coating to prevent recurrence.
Repairing Cracks Safely
Small cracks in a cast iron fireplace can often be stabilized affordably, but they must be assessed before any repair begins. Check whether the crack is superficial, spreading, or located near a load-bearing joint. Don’t heat the fireplace until you’ve addressed movement and confirmed the surrounding metal remains sound.
Start with careful cleaning techniques: remove soot, loose scale, and old coating using a wire brush and vacuum, then wipe the area with a suitable degreaser. Let the iron dry completely.
Follow safety precautions by wearing eye protection, gloves, and a respirator, and work with adequate ventilation. For stable hairline cracks, apply a high-temperature cast-iron repair compound according to its mixing and curing instructions.
Don’t weld antique iron without specialist advice; heat can cause distortion and further cracking. Cure the repair gradually before repainting.
Replacing Missing Components
When a component is missing rather than cracked, identify its original shape, attachment method, and function before choosing a replacement. Study surviving examples, maker’s catalogs, photographs, or matching fireplaces to determine accurate dimensions.
You can fabricate a simple trim, grate support, or finial from cast iron, steel, or heat-rated alloy, but keep the material compatible with the surrounding metal. For intricate details, a foundry replica may cost less than repeated trial-and-error fabrication.
Reuse original screws only when their threads remain sound; otherwise, select appropriately sized, heat-resistant fasteners without enlarging historic holes. Secure loose decorative pieces mechanically, and avoid adhesives in fire-exposed areas.
Modern techniques, including 3D-printed patterns, can reproduce missing ornament for casting while preserving Vintage charm. Document every replacement so future repairs remain reversible and historically informed.
Removing Rust Permanently
To remove rust permanently, start by identifying whether it’s loose surface oxidation, deep pitting, or corrosion that has weakened the iron. Brush loose scale away with a wire brush, then use Rust removal techniques suited to the damage: apply citric-acid gel for light rust, or carefully media-blast heavier deposits outdoors.
Neutralize chemical residue, rinse sparingly, and dry the casting immediately with heat or compressed air. For pits, use a rust converter only after removing loose material; don’t bury active corrosion under paint.
Inspect cracks closely, because rust expansion can open seams. Have structural fractures professionally welded with compatible cast-iron procedures.
Choose Budget friendly supplies such as abrasive pads, phosphoric-acid treatment, and high-temperature primer, but avoid ordinary filler or paint. Finally, seal clean iron with heat-resistant coating, maintaining coverage around repaired areas.
Choose Affordable Fireplace Paint and Finishes
Choose a high-temperature paint specifically labeled for cast iron or wood-burning stoves, since standard enamel can blister, peel, or release odors when heated. For economical paint selection, compare coverage, temperature ratings, and required primers rather than choosing the cheapest can.
Wire-brush remaining scale, vacuum dust, and wipe the metal with a suitable solvent before coating. Apply two thin coats; heavy layers can sag and cure unevenly.
Consider these affordable finishes:
- Stove-black paste for an authentic, low-sheen appearance
- High-temperature satin paint for easier cleaning
- Graphite coating to emphasize raised details
- Factory-matched aerosol for small touch-ups
Mask masonry and glass carefully, then follow the manufacturer’s curing schedule. Ventilate the room, and heat the fireplace gradually after curing.
Test a hidden area first to confirm adhesion and color. Keep leftover product sealed for future maintenance, but don’t mix incompatible brands or coatings.
Reassemble and Restore the Original Details
Once the paint has fully cured, reinstall the grate, fireback, doors, and trim in the order documented during disassembly. Use the original fasteners whenever their threads remain sound; replace only missing or irreparably damaged hardware with matching dimensions and finishes.
Tighten screws evenly, stopping when components sit secure without distorting the casting. Refit doors so their hinges move freely and gaps look consistent.
If trim has slight bends, correct them gradually with padded tools rather than forcing alignment. Preserve surviving decorative elements, including finials, motifs, and maker’s marks, because they strengthen historical accuracy and protect the fireplace’s value.
For material preservation, apply a thin coat of suitable metal wax to exposed, non-heated surfaces after cleaning. Photograph the completed assembly and record replacement parts for future maintenance.
Avoid Costly Mistakes and Safety Problems
Before lighting the fireplace, verify that every joint, door, and fastener is secure and that no cast-iron component has cracks, severe warping, or unstable repairs. Protect your budget and household by checking these essentials:
- Have a qualified chimney professional inspect the flue for blockage, damage, and proper draft.
- Confirm that replacement bolts, firebrick, mortar, and sealants meet temperature requirements and Material compatibility standards.
- Never burn painted, pressure-treated, or wet wood; use dry, seasoned hardwood instead.
- Preserve Historical accuracy without copying unsafe original modifications, such as missing liners or undersized clearances.
Keep combustible flooring, furniture, and curtains beyond the manufacturer’s required distance. Install smoke and carbon-monoxide alarms nearby, but not directly above the firebox.
If you smell smoke indoors, see unusual soot, or notice movement, stop using the fireplace and arrange repairs before another test fire.
Frequently Asked Questions
Can I Restore a Cast Iron Fireplace Without Removing It From the Wall?
Yes, you can restore it in place. Protect surrounding surfaces, remove loose rust, and use gentle Cleaning techniques. Preserve original finishes for historical accuracy, repair damaged components carefully, and ventilate while working.
How Long Does a Budget-Friendly Cast Iron Fireplace Restoration Typically Take?
You’ll typically need two to five days, depending on condition, drying time, and access. You’ll improve fireplace aesthetics while controlling restoration costs by cleaning, repairing, priming, and painting methodically without removal.
Which Tools Are Essential for Restoring an Old Cast Iron Fireplace?
You’ll need wire brushes, scrapers, a vacuum, degreaser, abrasive pads, heat-resistant paint, brushes, gloves, and a respirator. Apply proven Cleaning techniques, then compare Painting options; patience, like Vulcan’s hammer, protects details and your budget.
Can Restored Cast Iron Fireplaces Be Used With Modern Heating Systems?
Yes, you can integrate restored cast iron fireplaces with modern heating systems, but prioritize Historical accuracy and Safety considerations. Have a qualified technician inspect ventilation, clearances, liners, and compatibility before connecting gas, electric, or hydronic equipment.
How Should I Maintain My Restored Cast Iron Fireplace Afterward?
Maintain your restored fireplace by vacuuming ash, wiping soot with a soft cloth, and checking seals annually. Cleaning tips: avoid abrasives. Paint options: use heat-resistant enamel. Don’t burn damp wood; schedule professional inspections.
Conclusion
Restoring an original cast iron fireplace on a budget proves that authenticity doesn’t require excessive spending. If you inspect carefully, clean gently, repair only what’s necessary, and choose compatible high-temperature finishes, you can preserve historic fabric while controlling costs. The deeper lesson is that disciplined assessment matters more than expensive materials. Document your work, prioritize safety, and reuse sound components whenever possible. You’ll achieve a durable, credible restoration—and avoid turning preventable mistakes into costly replacements.