
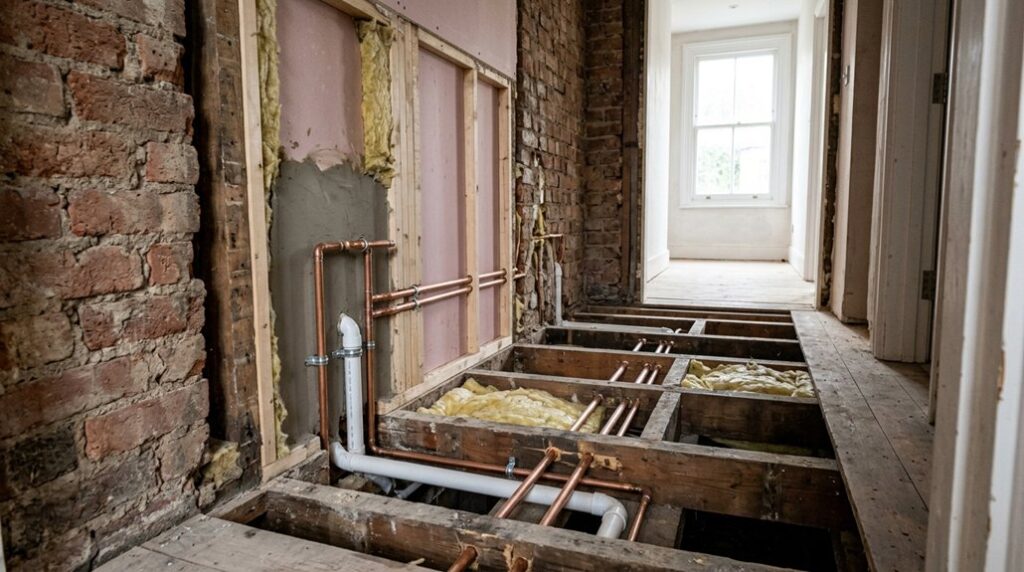
When you relocate a bathroom from the back of a terraced house, you’ll need to plan every pipe around shared walls, joists, access limits, and existing drainage levels. Start by mapping the new layout and surveying the structure before cutting anything. You’ll then reroute hot and cold supplies, create a supported waste route with accessible bends, and pressure-test every joint—because one overlooked connection can cause costly damage after the walls are closed.
Key Takeaways
- Surveyed existing soil pipes, wastes, water supplies, joists, party walls, and hidden services before designing the new bathroom layout.
- Rerouted hot and cold supplies through accessible routes, using correct pipe sizes, supports, insulation, and separation from electrical cables.
- Installed waste pipes with consistent 18–20mm-per-metre falls toward the soil stack, using suitable diameters and accessible bends.
- Used compact fittings, access panels, and careful noise and debris control to work safely within terraced-house constraints.
- Pressure-tested supplies and water-tested drainage before closing walls and floors, then waterproofed, tiled, sealed, and checked every fixture.
Plan the New Bathroom Layout
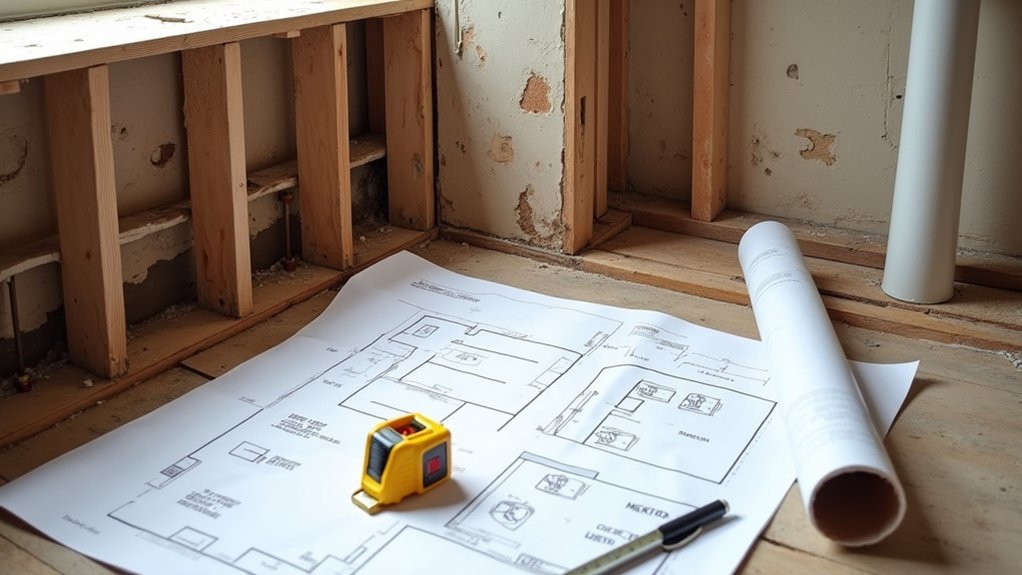
Before moving any pipes, map the new bathroom’s fixtures, walls, and access points to scale.
Position the toilet, basin, shower, and bath according to required clearances, door swings, and comfortable circulation.
Mark finished wall lines, not just structural dimensions, then reserve space for boxing, insulation, and service panels.
Keep the toilet near the proposed soil-pipe route where possible, and give every appliance a practical route for future Plumbing maintenance.
Plan falls, trap depths, and access before fixing locations, while keeping drainage runs short and avoiding unnecessary bends.
Coordinate radiator, extractor, lighting, and socket positions with the layout.
Use durable, moisture-resistant finishes, consistent sightlines, and balanced proportions to support Bathroom aesthetics.
Finally, draw elevations and a dimensioned plan so installers can work accurately and you can check clearances before construction.
Survey the Existing Plumbing and Structure
With the new bathroom layout fixed, survey the existing plumbing and structure before opening walls or lifting floors. Trace every visible soil pipe, waste, vent, and supply connection, recording diameters, materials, gradients, and access points.
Check ceiling voids, boxing, floorboards, and adjoining rooms for inspection covers, leaks, staining, or previous alterations. Historical plumbing may include cast iron, lead, galvanised steel, or incompatible plastic repairs; identify these before deciding what can remain.
Use a moisture meter and, where necessary, a small inspection opening to confirm hidden routes without unnecessary damage.
Structural considerations matter in a terraced house: locate joists, load-bearing walls, beams, and fire-stopping, then check whether existing penetrations weaken them.
Photograph and measure everything, and mark services clearly before planning any removals or modifications.
Reroute the Water Supply Pipes
Reroute the water supply by mapping each existing pipe, valve, and connection before you cut or disconnect anything.
Plan the new routes around joists, access panels, and fixture positions.
Then install correctly sized supply lines with secure supports and insulation.
You’ll reduce pressure loss, prevent freezing and condensation, and simplify future maintenance.
Map Existing Pipework
Start by tracing every existing hot- and cold-water pipe from the current bathroom back to its source, noting its diameter, material, connection type, and direction of flow. Photograph each junction, valve, elbow, and branch before removing coverings. Mark pipe routes on a scaled sketch, including their heights, positions relative to walls, and penetrations through floors or joists.
Check whether copper, PEX, or multilayer pipe is present, and record compression, soldered, or push-fit connections. Identify isolation valves and confirm which fixtures they serve.
Measure static water pressure at a nearby outlet, then note pressure at the bathroom taps while another outlet runs.
Inspect pipe insulation for gaps, dampness, or deterioration, especially in unheated voids. Don’t disturb concealed services until you’ve verified their locations with suitable detection equipment.
Plan New Routes
Once you’ve mapped the existing pipework, plan the new supply routes around the shortest practical runs, keeping hot and cold lines together where possible and avoiding electrical cables, structural members, and areas vulnerable to freezing. Mark each route on walls, floors, or a scaled drawing before you open surfaces.
Allow for service valves, manifold access, and connection points at the basin, shower, bath, and toilet. Coordinate pipe positions with wall finishes and cabinetry so Bathroom aesthetics remain clean and accessible.
- Maintain gentle bends rather than unnecessary joints.
- Reserve inspection access at concealed connections.
- Coordinate routes with ventilation solutions and extraction ducts.
- Confirm clearances around joists, doors, and future fixings.
Check the proposed runs against existing drainage falls and the incoming main. Measure accurately, label hot and cold branches, and photograph the layout before installation.
If routes pass through masonry, confirm that chasing depths won’t weaken the wall. Clearly mark every penetration and isolation point for the installer.
Install Insulated Supply Lines
With the new routes marked, shut off the water, drain the system, and install the hot and cold supply pipes along the planned paths. Use continuous lengths where possible, keeping joints accessible and positioning pipes neatly between joists or within service voids.
Maintain separation from electrical cables, protect penetrations with sleeves, and secure each run with correctly spaced clips to prevent movement and knocking. Fit isolation valves near the bathroom connections so you can service fixtures without draining the whole house.
Before closing walls or floors, pressure-test the pipework and inspect every joint for leaks. Add pipe insulation to hot lines to reduce heat loss and to cold lines where condensation could damage surrounding materials.
Choose suitable insulation materials for the pipe diameter, then seal gaps around fittings without compressing the insulation.
Move the Bathroom Waste Pipes
When moving the bathroom waste pipes, you’ll need to plan the new drain route around joists, walls, and the required fall toward the soil stack or main drain.
Measure each appliance outlet, then mark pipe centres before lifting boards.
Use the correct diameter: typically 40mm for basins and baths, and 100 or 110mm for toilets.
Fit solvent-welded waste pipe with accessible, swept bends, and support horizontal runs to prevent sagging.
- Maintain a consistent fall, commonly 18–20mm per metre for smaller wastes.
- Protect penetrations through joists with approved notches or drilled holes.
- Add access points where blockages could occur.
- Seal connections securely, without forcing misaligned fittings.
Don’t bury joints beneath fixed flooring.
Check local building regulations and connect only to an approved system; sewage treatment arrangements may affect discharge.
Although pipe insulation protects nearby services from condensation, it won’t correct poor falls or unsupported pipework.
Create a Reliable Drainage Route
How can you create a reliable drainage route? Start by mapping the shortest practical run from each trap to the soil stack or approved connection point.
Maintain a consistent fall—typically 18–20 mm per metre for 40–50 mm waste pipe—so water carries solids without standing.
Use long-sweep bends rather than tight elbows, and keep access points available for rodding and inspection.
Seal every joint fully, support horizontal pipework at the manufacturer’s recommended spacing, and test the route with clean water before closing walls or floors.
Choose modern pipe materials, such as solvent-welded PVC or push-fit polypropylene, according to compatibility and installation conditions.
If a direct connection isn’t feasible, consider alternative drainage solutions, including a pumped waste system, but size and install it to the manufacturer’s specifications and provide a suitable maintenance point.
Work Around Terraced House Constraints
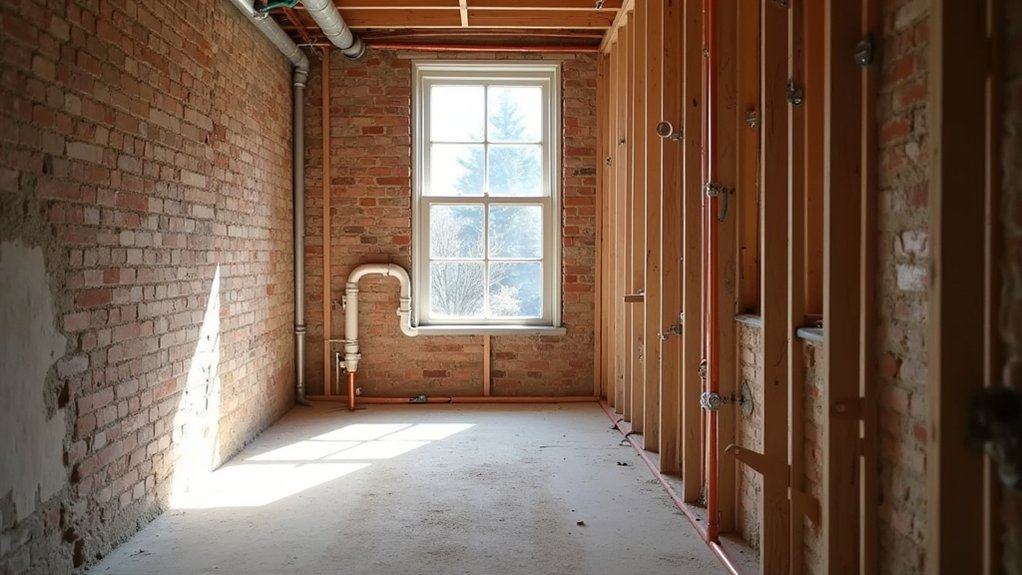
Terraced houses often limit access, so plan the bathroom relocation around shared walls, narrow floor voids, and neighbouring properties. Respect Historical architecture while mapping every pipe route before lifting floors or opening ceilings. Keep noisy, dusty work within agreed hours, and protect adjoining homes from vibration and debris.
- Use compact, solvent-weld fittings where access is restricted.
- Coordinate surveys to locate party-wall structures, joists, and buried services.
- Route wastes with adequate falls without compromising structural timbers.
- Obtain permissions before External modifications, such as new soil-stack outlets.
You’ll often need a boxed-in service duct rather than chasing shared masonry. Maintain fire, acoustic, and moisture separation at party walls, and seal every penetration with compatible materials.
If the rear elevation is listed or tightly controlled, retain existing openings and avoid visible alterations. Plan access panels at valves and traps so future maintenance won’t require dismantling the room.
Keep neighbours informed before disruptive work starts.
Test the Relocated Bathroom Plumbing
Before closing walls or floors, test every part of the relocated plumbing under realistic conditions. Open the isolation valves gradually, then run the basin, shower, and toilet separately and together. Check every compression joint, waste connection, trap, and supply pipe for drips, sweating, or movement.
Fill the bath or basin and release the water quickly to test waste capacity and confirm that the new route doesn’t back up. Flush the toilet repeatedly, watching the soil connection and listening for bubbling that may indicate poor venting.
Inspect accessible pipework again after several minutes, when small leaks can appear. Test hot-water delivery at the furthest outlet and verify that pressure remains usable.
Keep decorative fixtures protected while you correct defects, record valve locations, and photograph concealed joints for future plumbing maintenance.
Finish the Walls and Fit the Bathroom
Once the relocated plumbing has passed its pressure, flow, and drainage checks, close the walls and floor with materials suitable for wet areas.
Install cement backer board around the shower, seal joints, and apply a tanking membrane before tiling.
Use moisture-resistant board elsewhere, keeping access panels over valves, traps, and service connections.
Set falls toward the waste and waterproof every penetration.
- Tile walls from a level datum, maintaining consistent spacers and flexible grout at corners.
- Fit the shower tray or bath securely, then seal its perimeter with sanitary silicone.
- Install the toilet, basin, taps, and wastes, tightening connections without stressing ceramic fittings.
- Provide effective ventilation solutions, such as an overrun extractor, and verify its discharge route.
Complete decorative finishes only after grout cures.
Seal junctions, test every fixture for leaks, and confirm doors, lighting, and electrical protection meet regulations before final cleaning and handover.
Frequently Asked Questions
Can Relocating a Bathroom Affect My Home Insurance or Mortgage Conditions?
Yes, relocating a bathroom can affect your Insurance implications and Mortgage conditions. You’ll need approved-building-control documentation, notify your insurer and lender, and confirm plumbing, ventilation, warranties, and valuation requirements before starting work or refinancing.
Do I Need Planning Permission or Building Regulations Approval for This Bathroom Relocation?
You may not need planning permission, but you’ll usually need building regulations approval when relocating a bathroom. Check local building codes and permit requirements, especially for structural alterations, drainage changes, ventilation, electrics, or listed properties.
How Much Does Relocating a Bathroom Typically Cost in a Terraced House?
Expect to pay £5,000–£12,000: you’ll fund design, you’ll fund pipework, and you’ll fund finishes. Your Bathroom layout, plumbing fixtures, drainage access, structural work, ventilation, and regional labour rates determine the final quotation.
How Long Will the Bathroom Relocation Project Usually Take?
You’ll usually need three to six weeks, depending on structural alterations, approvals, and pipework access. Finalise your Bathroom design and plumbing fixtures early; delays often arise from materials, inspections, waterproofing, or unexpected drainage complications.
What Alternatives Exist if Relocating the Bathroom Proves Impractical?
You could retain the existing bathroom and improve it; for example, you’d replace bathroom fixtures, add a compact shower room elsewhere, or choose plumbing rerouting only where accessible, minimizing structural disruption and costs.
Conclusion
Relocating a bathroom in a terraced house takes careful planning, accurate pipework, and respect for shared structures. You’ll need to map every route, protect supplies, support waste pipes, and maintain accessible, watertight joints. Test everything before closing the walls, because hidden faults can become expensive problems. When each connection performs as intended, the system runs like clockwork. With compliant installation and controlled finishing, you can enjoy a reliable new bathroom without compromising the building’s structure or neighbouring properties.