
A dark loft can feel like a room with its curtains permanently drawn, even when the rest of your Winsford home receives good daylight. A roof-light loft conversion changes that balance by directing natural light into underused space without the structural complexity of a dormer. You’ll need to assess roof pitch, head height, insulation, ventilation, and planning requirements before choosing the layout and roof-light positions. Get those decisions right, and the loft’s potential starts to extend well beyond simple storage.
Key Takeaways
- A roof-light loft conversion in Winsford creates bright, usable space while preserving the property’s existing roofline.
- Strategically positioned roof lights maximise daylight, improve ventilation, and reduce gloomy corners throughout the loft.
- Proper insulation, low-emissivity glazing, and effective ventilation improve comfort and energy efficiency year-round.
- Building Regulations approval, structural checks, staircase planning, and compliant fire-safety measures ensure a safe conversion.
- Thoughtful storage, durable finishes, and flexible layouts can increase functionality, buyer appeal, and property value.
Why Choose a Roof-Light Loft Conversion?

A roof-light loft conversion creates additional usable space without substantially altering your home’s roofline. You can retain the existing roof structure while installing roof windows that introduce daylight and controlled ventilation.
This approach suits properties with sufficient headroom, because you’ll generally avoid the larger structural changes associated with dormers or hip-to-gable extensions. You can use the new room as a bedroom, office, or storage area, provided the design satisfies applicable building regulations.
Effective roof insulation will improve thermal performance, reduce heat loss, and help maintain a stable internal temperature. Ventilation systems, including background ventilators or mechanical extraction where required, will control condensation and protect the roof structure.
You’ll also benefit from a comparatively discreet external appearance and a conversion process that typically limits disruption to your home.
Plan the Winsford Loft Conversion
Once you’ve confirmed that a roof-light conversion suits your Winsford property, plan the layout around the available headroom, roof structure, and intended use. Measure usable floor area, identify obstructions, and establish circulation routes before choosing furniture or partitions.
A surveyor should verify the rafters, wall plates, and foundations, then specify Structural reinforcement where loads exceed existing capacity. Include Roof insulation within the build-up, allowing for ventilation gaps and compliant U-values.
Check staircase geometry, fire escape provisions, electrical routes, and heating capacity at the design stage.
- Map headroom zones to position workspaces effectively.
- Confirm floor loading before selecting finishes.
- Coordinate insulation, ventilation, and service routes.
- Obtain Building Regulations approval before construction.
Your designer can produce accurate drawings, a cost plan, and a construction sequence, helping you control disruption and avoid expensive changes once work begins.
Add Natural Light With Roof Lights
You can maximise daylight by positioning roof lights to capture consistent, well-distributed illumination throughout the loft. This will enhance the room’s ambience while reducing reliance on artificial lighting during the day.
Choose roof lights based on roof pitch, orientation, glazing performance, ventilation, and the loft’s intended use.
Maximise Daylight
Roof lights are one of the most effective ways to maximise daylight in a Winsford loft conversion, directing sunlight through the roof plane without reducing usable headroom. You’ll achieve the best results by positioning units between rafters, choosing suitable glazing, and checking their orientation.
- Use larger roof lights where structure and planning allow.
- Select low-emissivity glazing to limit heat loss.
- Specify flashing compatible with your roof covering.
- Include blinds to control glare and summer heat.
A qualified installer can size each opening using the room’s dimensions, roof pitch, and intended use.
Solar energy then reaches deeper into the loft, reducing reliance on electric lighting while maintaining thermal performance.
Correct installation also protects insulation and supports long-term roof maintenance. You shouldn’t cut structural members without engineered support; altered rafters require properly designed trimmers.
Keep roof lights accessible for cleaning and inspection so seals, flashings, and drainage channels remain effective.
Enhance Loft Ambience
Beyond improving daylight levels, well-positioned roof lights can shape the atmosphere of a Winsford loft conversion. You can use their illumination to establish distinct zones, making a compact bedroom, study, or reading area feel more spacious and comfortable.
Daylight also reveals colours, textures, and finishes accurately, helping your interior decor appear balanced rather than flat. Combine roof lights with pale wall surfaces and reflective, low-glare materials to distribute light without creating visual harshness.
At night, layered lighting should complement, not compete with, the roof lights’ daytime effect. Carefully controlled solar gain can support energy efficiency, while suitable blinds help you regulate brightness and privacy when required.
Choose Ideal Roof Lights
Selecting the right roof lights starts with matching their size, position, and opening style to your Winsford loft’s structure and intended use. Assess the roof pitch, rafter spacing, and available headroom before choosing centre-pivot, top-hung, or conservation units. Larger glazing increases daylight, but structural alterations may require engineering approval.
During Roof light installation, your contractor should fit insulated flashing, maintain the roof’s weatherproof layer, and achieve the required U-value. Position glazing between rafters where possible to reduce cutting and preserve strength.
Consider these practical factors:
- South-facing windows provide strong daylight and solar gain.
- North-facing glazing delivers consistent, cooler light.
- Centre-pivot controls ventilation and easy cleaning.
- Laminated glass improves safety and noise reduction.
You’ll gain natural illumination benefits, including reduced daytime lighting demand and a brighter, healthier workspace. Specify blinds or solar-control glass to manage glare and overheating.
Make the Most of the Loft Layout
A well-planned loft layout can turn restricted roof space into a practical, comfortable room. Begin by mapping the roof structure, stair opening, roof-light positions, and areas with limited headroom.
Place your bed, desk, or seating beneath the highest section, while using eaves for fitted cupboards, drawers, or services. Keep circulation routes clear and allow sufficient access around furniture.
Coordinate roof insulation with the available rafter depth, protecting usable floor area without compromising thermal performance.
Plan electrical points, lighting circuits, and heating controls before closing the structure, so you won’t need disruptive alterations later.
Ventilation solutions should support fresh airflow without wasting valuable space; consider discreet background vents or a compact mechanical system.
A scaled layout drawing helps you test furniture sizes, storage capacity, and movement before construction begins.
Balance Comfort, Style and Building Standards
Good design balances the loft’s comfort and visual character with the building standards that protect its safety and performance. You’ll need to coordinate insulation, ventilation, fire protection, structural loading, and stair geometry before selecting finishes.
A roof-light position can deliver daylight without compromising thermal control, while carefully specified glazing limits overheating and heat loss.
- Use moisture-resistant finishes around roof-light reveals.
- Add Acoustic insulation between the loft floor and rooms below.
- Plan ventilation to control condensation and maintain air quality.
- Position Indoor plants where daylight suits their maintenance needs.
You should confirm every detail against current Building Regulations and use competent specialists for structural calculations, electrical work, and fire-safety measures.
Keep the palette restrained, then introduce texture through timber, fabric, and durable flooring. This approach lets you create a calm, practical room while preserving compliance, comfort, and long-term performance.
Review junctions on site so workmanship matches the approved design.
Enjoy a Brighter, More Valuable Home
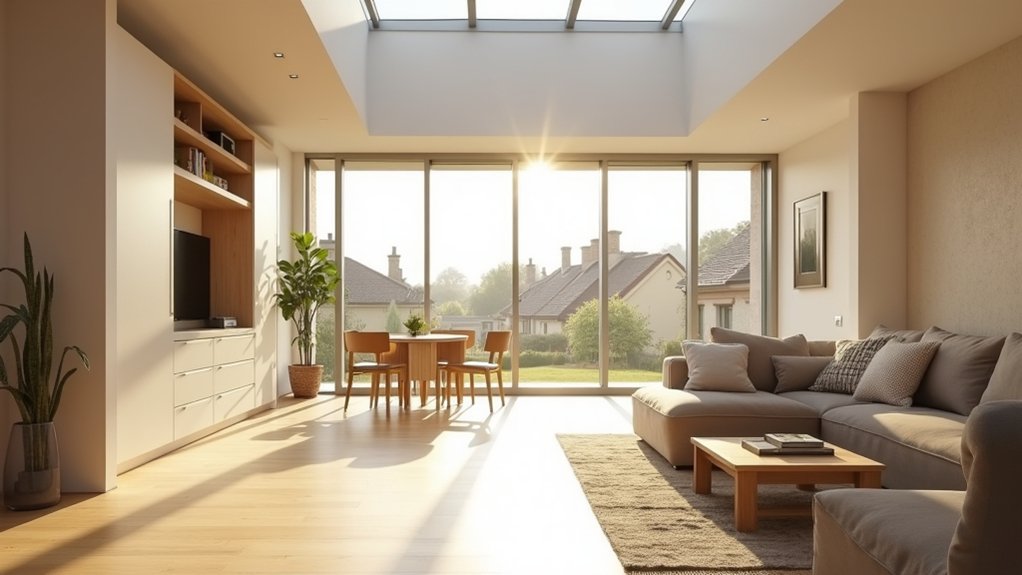
A roof-light loft conversion brings controlled natural light into your new living space, reducing reliance on artificial lighting during the day.
By improving usability and visual appeal, it can increase your home’s market value.
You’ll also gain a practical, well-lit room that strengthens your property’s overall appeal.
Increased Natural Light
By installing roof windows within the existing roof slope, you can direct daylight deep into the loft rather than relying on vertical dormer glazing. Careful window placement balances illumination across the floor area, reducing gloomy corners and supporting comfortable daily use. Specify roof lights with suitable glazing, thermal performance, and opening configurations for Winsford’s changing weather.
Your designer should assess orientation, roof pitch, surrounding buildings, and internal partitions before finalising sizes and positions. Insulation improvements around the window reveals help limit cold bridging, condensation, and unwanted heat loss.
- Brighter workspaces and reading areas
- More even daylight distribution
- Ventilation through secure opening sashes
- Reduced reliance on electric lighting
Use blinds or solar-control glazing where direct sun could cause glare or overheating. A qualified installer must integrate flashings with the roof covering, preserve weatherproofing, and finish internal reveals accurately. Proper detailing delivers dependable light without compromising comfort.
Added Property Value
A well-designed roof-light loft conversion can increase your home’s market appeal by adding usable accommodation without substantially altering its external profile. By creating a compliant bedroom, office, or living area, you’ll improve functionality and give prospective buyers a clear, measurable benefit.
Accurate structural design, Building Regulations approval, and properly documented insulation work will strengthen your property’s presentation and reduce concerns during surveys. High-quality roof lights, effective ventilation, and controlled heat loss can also demonstrate energy efficiency, supporting lower running costs.
Your interior decor choices matter, too: durable finishes, cohesive colours, and integrated storage make the space feel intentional rather than improvised.
In Winsford’s competitive housing market, a bright, professionally finished conversion can distinguish your home, broaden buyer interest, and potentially deliver a strong return when you decide to sell.
Frequently Asked Questions
How Long Does a Roof-Light Loft Conversion Typically Take in Winsford?
You’ll typically need eight to twelve weeks for a roof-light loft conversion in Winsford, including design, approvals, and construction. Roof insulation, ventilation requirements, structural modifications, and weather delays can extend your programme by several weeks.
Do I Need Planning Permission for a Roof-Light Loft Conversion?
You won’t usually need planning permission for a roof-light loft conversion if permitted-development limits apply. You’ll still need Building regulations approval, structural assessments, and compliance with insulation, fire-safety, staircase, and escape requirements.
How Much Does a Roof-Light Loft Conversion Usually Cost?
You’ll typically spend £30,000–£50,000 on a roof-light loft conversion, depending on size, structure, insulation, and finishes. Compare quotations carefully; design options, stair alterations, bathrooms, and structural reinforcement can substantially increase your cost comparison.
Can My Existing Roof Structure Support a Loft Conversion?
Structural strength starts with a survey: you’ll need a qualified engineer to assess rafters, trusses, wall bearings, and foundations. They’ll specify reinforcements, roof insulation, and ventilation considerations, confirming whether your existing roof can safely support conversion loads.
How Can I Choose a Reliable Winsford Loft Conversion Contractor?
Choose a reliable Winsford loft conversion contractor by checking contractor credentials, verified insurance, structural expertise, planning knowledge, and recent local references. Compare written quotations, project schedules, payment terms, and renovation warranties before signing any agreement.
Conclusion
With a carefully planned roof-light loft conversion in Winsford, you’ll turn a dim, unused roof space into a bright, practical retreat. As daylight washes across the new room, thoughtful insulation, ventilation, structure, and fire protection will keep it comfortable and compliant. Well-positioned roof lights can frame changing skies while improving the home’s energy performance and appeal. By balancing technical standards with considered design, you’ll gain valuable living space that feels open, efficient, and distinctly yours for years to come.

