
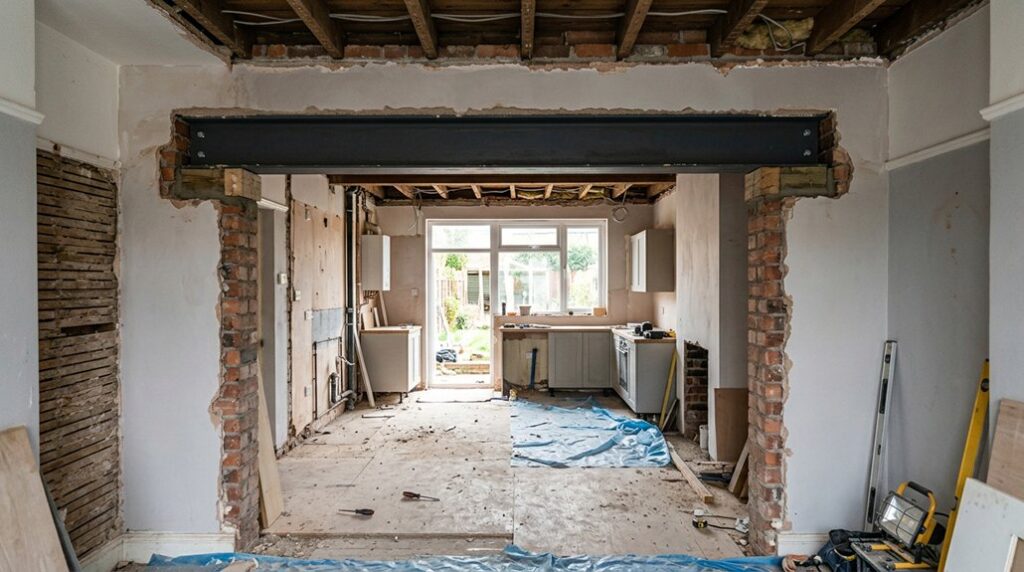
Can removing a load-bearing wall really make your Northwich home feel larger without compromising its structure? An RSJ installation can create a wider opening, improve natural light, and support a more practical layout, but only when engineers calculate the loads and contractors follow Building Regulations. This project shows how the wall was assessed, removed, and replaced with a steel beam—and why the final details mattered more than expected.
Key Takeaways
- An RSJ safely supports loads after removing a load-bearing wall, preventing deflection, cracking, and settlement.
- A structural engineer specifies the beam, padstones, bearings, and fire protection based on calculated loads and span.
- Temporary supports must stabilise the structure before controlled wall removal and RSJ installation.
- Building Control approval and inspections verify compliance before the steelwork is concealed.
- Properly installed and finished, an RSJ creates wider sightlines, better movement, and improved natural light between rooms.
Why This Northwich Home Needed an RSJ
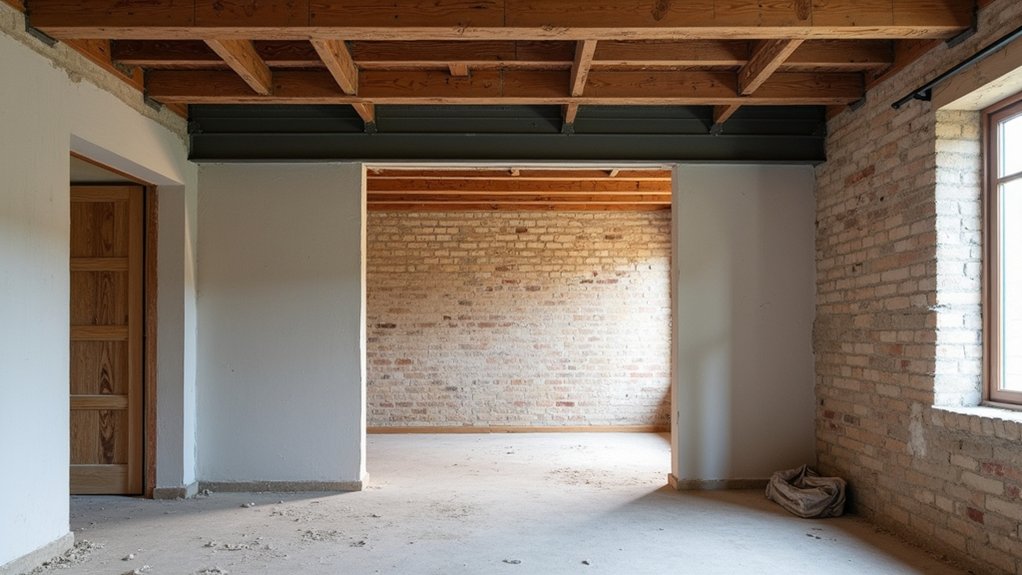
Removing the internal wall opened the Northwich home’s ground floor, but it also eliminated support for the masonry and floor loads above. During your home renovation, you need a replacement beam to transfer these loads safely to suitable end supports.
An RSJ, or rolled steel joist, provides that load-bearing function while allowing you to create a wider, more useful opening between rooms. Without an adequately sized beam, the remaining structure could deflect, crack, or settle unevenly, damaging finishes and affecting doors, floors, and ceilings.
You’ll also need to consider the wall’s position, the span, the loads carried above, and the condition of the supporting masonry. Installing an RSJ consequently protects structural safety and helps your redesigned ground floor perform reliably after the wall is removed.
How Structural Calculations Made the Opening Safe
Structural calculations assess the loads above the proposed opening, so you’ll know exactly what the supporting wall currently carries.
Your engineer then specifies the RSJ size, bearing lengths, and support details required for safe load transfer.
This guarantees you won’t remove masonry until the replacement beam is correctly designed.
Load-Bearing Assessment
Before the wall opening was formed, the engineer assessed the loads carried by the masonry and specified an RSJ sized to support them safely. You’ll benefit from calculations that account for floors, roof structures, walls above, and any concentrated loads transferred through the opening.
The assessment also considers bearing conditions, wall condition, span, and temporary support during installation. This information confirms how forces travel into the surrounding masonry and foundations, reducing the risk of cracking, settlement, or distortion.
Your contractor can then install props and needles in the correct positions before removing masonry. Accurate assessment protects your interior decor by limiting movement and helps maintain energy efficiency by preventing gaps around the completed opening.
It also provides a clear engineering basis for building-control approval and safe workmanship throughout the project.
Beam Size Specification
Once the load-bearing assessment established the forces and span, the engineer specified an RSJ with sufficient depth, weight, and strength to carry them safely. You’ll receive calculations covering imposed loads, masonry above, bearing lengths, deflection limits, and lateral restraint. These figures determine the beam’s section size, steel grade, and padstone requirements—not simply its visual appearance.
- Verify the clear span and minimum end bearings.
- Check bending, shear, and serviceability deflection.
- Detail padstones to distribute reactions safely.
- Coordinate ceiling levels, services, and fire protection.
- Confirm fabrication, delivery, and lifting access.
Your engineer may compare standard sections to control Cost considerations without compromising performance. Decorative alternatives, such as boxed-in steelwork or timber-effect finishes, can conceal the beam after installation.
You’ll still need Building Control approval and calculations retained for inspection, ensuring the selected RSJ suits the Northwich property and remains safe throughout its service life.
What Building Regulations Required for RSJ Installation
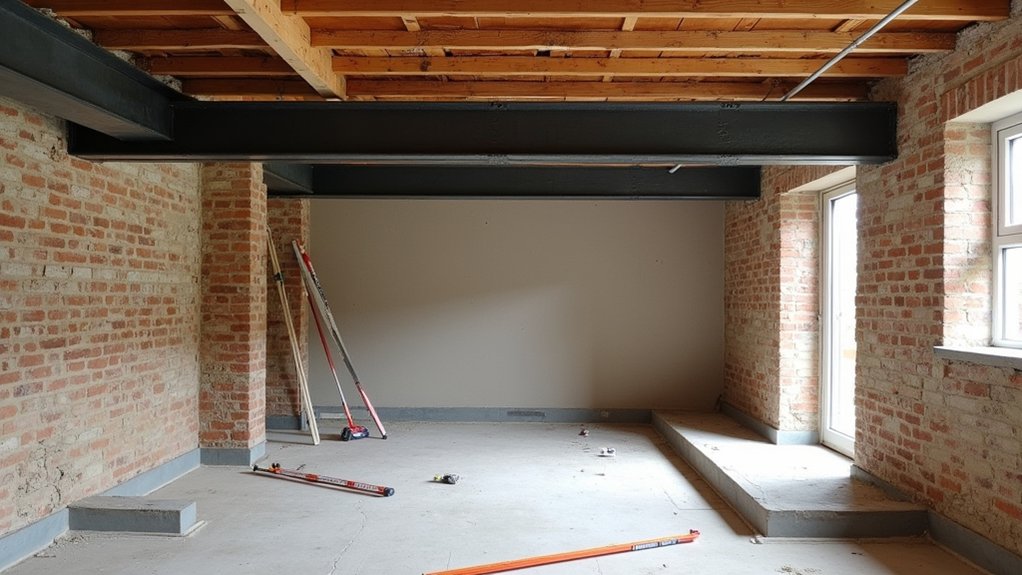
You’ll need a structural engineer’s approval to confirm the RSJ’s size, loading capacity, and placement.
Your installation must comply with Building Regulations, including correct bearings, padstones, fire protection, and connection details.
Building Control will inspect the work before you close the opening or conceal the steelwork.
Structural Engineer’s Approval
Do you need structural engineer approval to install an RSJ in your Northwich home? Usually, yes. A structural engineer must assess the existing construction, calculate loads, and produce signed drawings and specifications for Building Control.
You’ll need these documents before work starts, particularly when removing a load-bearing wall.
- Commission a suitably qualified structural engineer.
- Request calculations, drawings, and connection details.
- Submit the documents to Cheshire West and Chester Building Control.
- Keep approval and inspection records for future sale or insurance.
- Use a competent contractor who follows the engineer’s design.
Building Control may require site inspections at key stages and a completion certificate.
Don’t rely on a contractor’s estimate or alter the approved design without written engineering advice.
Your engineer can also coordinate decorative framing and aesthetic integration, but these finishes mustn’t conceal defects or restrict required inspection access.
Approval confirms compliance; it doesn’t replace competent installation or ongoing site supervision.
RSJ Size and Placement
RSJ size and placement must follow the structural engineer’s calculations and the approved Building Regulations design, not a standard section chosen by eye. You’ll need the specified steel grade, dimensions, bearing lengths, and support details to transfer loads safely into suitable masonry or posts.
The design should account for existing walls, floor and roof loads, openings, fire protection, and any required padstones. Your contractor must install the beam level, adequately supported, and with connections detailed exactly as designed.
Don’t cut, drill, notch, or reposition the RSJ without written engineering approval. Allow sufficient clearance for plasterboard, insulation, and other decorative finishes while maintaining the required protection and bearing.
Plan aesthetic integration around the beam’s depth, boxing, and ceiling lines, so the finished opening looks intentional without compromising structural performance or required coverage.
Building Control Inspection
Once the RSJ’s size, bearings, and support details are designed, Building Control must verify that the installation complies with the approved structural work and Building Regulations. You’ll usually need inspection before steelwork is covered, so arrange it at the correct construction stage. Keep the engineer’s calculations, drawings, and Building Regulations application available for the inspector.
- Confirm padstones match the specified dimensions and strength.
- Check the beam sits level, with full bearing at each end.
- Verify temporary supports remain until mortar and connections cure.
- Ensure fire protection suits the floor, wall, or ceiling construction.
- Obtain written approval before closing walls or installing finishes.
You shouldn’t conceal defects or alter the beam without approval. Record the inspection outcome for future sale, insurance, or renovation. Proper certification also protects your Interior design plans and allows services, including Home automation cabling, to proceed safely.
How the Load-Bearing Wall Was Removed
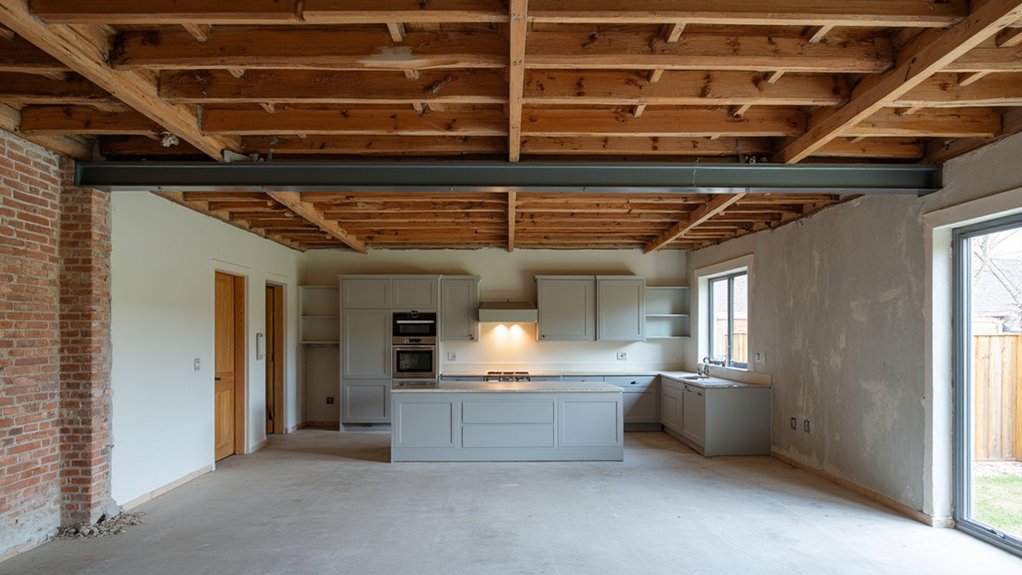
After the temporary supports were installed, the contractor removed the load-bearing wall in controlled sections, starting at the opening’s centre and working towards each end. You’ll see the team use suitable tools to avoid transmitting excessive vibration through the surrounding masonry. They’ll cut out manageable blocks, lower them safely, and keep the opening edges square and stable.
Before removing each section, they’ll check the temporary works, monitor movement, and confirm that no services run through the planned cut line. You should expect dust control, debris removal, and restricted access throughout this stage.
The contractor will also protect floors, nearby finishes, and any Decorative elements. These aesthetic considerations help preserve the room’s appearance while the wall disappears. They won’t disturb the supporting arrangements until Building Control approves the next stage.
How the RSJ Was Fitted and Finished
With the wall removed and the temporary supports confirmed stable, the contractor will lift the steel RSJ into the prepared opening using suitable lifting equipment and a controlled sequence. You’ll see the team check bearing lengths, level the beam, and pack each end with approved materials before securing it.
- Verify padstones are sound, level, and correctly positioned.
- Maintain temporary support until mortar and bearings have cured.
- Fill gaps with non-shrink grout, not ordinary expanding foam.
- Check alignment and deflection against the engineer’s specification.
- Protect steelwork before applying plasterboard or other finishes.
Installation challenges may include restricted access, uneven masonry, and tight tolerances. Your contractor should resolve these without cutting, drilling, or weakening the beam.
Once the grout has cured, they’ll apply corrosion protection where specified, then conceal the steel. Decorative finishes should meet the surrounding wall without hiding cracks or movement.
What This RSJ Installation Changed at Home
By removing the load-bearing wall and transferring its load to the RSJ, the installation creates a wider, more open connection between the rooms without compromising structural support.
You can now move between the kitchen and living area more easily, while sightlines improve across both spaces.
The additional width supports a practical Interior redesign, allowing you to reposition furniture, extend worktops, or create defined zones without rebuilding the structure.
You’ll also gain better airflow and a more even distribution of natural light.
This Lighting enhancement can reduce reliance on artificial lighting during the day, although you should check electrical layouts before relocating fittings.
The RSJ remains concealed behind suitable fire-resistant boxing and finishes, so you retain a clean appearance.
You’ll have greater flexibility for future decoration, storage, and furnishing decisions.
Frequently Asked Questions
How Long Does an RSJ Installation Typically Take in a Northwich Home?
You’ll typically need two to five days for RSJ installation, including temporary supports, fitting, and inspections. Complex access, structural integrity checks, or Building regulations approval can extend the schedule, so confirm timings with your engineer.
What Does an RSJ Installation Usually Cost, Including Labour and Materials?
You’ll usually pay £2,000–£5,000, including labour and materials. Your cost considerations include span, access, structural calculations, and building control. Material options, steel size, finishes, and temporary supports can shift the final Northwich quotation.
Can RSJ Installation Be Completed While the Family Remains at Home?
Yes, you can remain home during RSJ installation if your contractor separates work zones, controls dust, limits noise, and provides safe access. Prioritise Home safety and Structural integrity; relocate temporarily during lifting, propping, or hazardous operations.
How Should Homeowners Choose a Qualified RSJ Installation Contractor?
Choose a contractor with proven RSJ experience, public liability insurance, and verifiable references. Confirm they’ll follow your engineer’s design, secure Building regulations approval, coordinate inspections, and prioritise Structural safety throughout installation.
What Maintenance Does an Exposed or Concealed RSJ Require Over Time?
You’ll safeguard structural integrity for decades by inspecting exposed RSJs annually for rust, cracking, and movement; maintain corrosion prevention with intact paint or fireproofing. Concealed steel needs periodic checks for dampness, leaks, and distortion.
Conclusion
With the RSJ installed, you’ve gained a brighter, more flexible living area without compromising structural safety. Engineering calculations, building-control approval, careful wall removal and precise steel placement have created a dependable framework for your new layout. The finished opening improves movement, daylight and airflow while supporting clean, durable finishes. Think of the beam as the home’s hidden backbone: largely unseen, yet essential to holding your wider, more adaptable space together for years to come.