
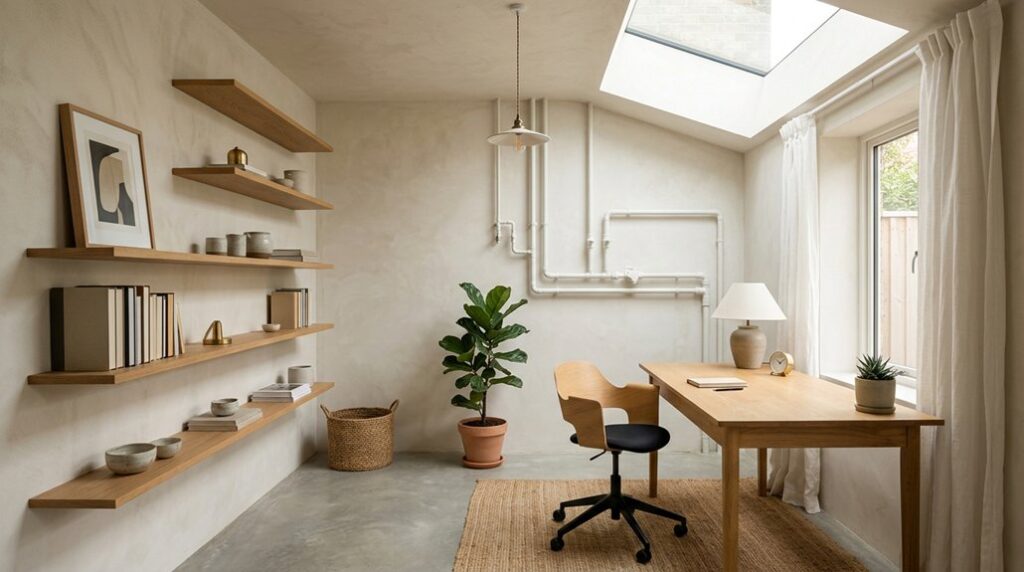
Converting a redundant utility room into a light-filled home office can give you a practical workspace without extending your home. Start by checking the room’s size, windows, ventilation, insulation, and electrical capacity. Then plan the desk around available daylight, improve brightness with reflective finishes, and use vertical storage to preserve floor space. Comfort and safety matter equally, so furniture, lighting, data cabling, and power outlets need careful coordination. The right sequence can prevent expensive changes later.
Key Takeaways
- Assess dimensions, moisture, ventilation, noise, ceiling height, and appliance access before converting the utility room.
- Plan a compact ergonomic desk layout with 900 mm circulation, accessible sockets, and unobstructed service panels.
- Maximize brightness using reflective paint colours, layered LED lighting, adjustable blinds, and carefully positioned furnishings.
- Add vertical storage, cable-management channels, and adjustable shelving to preserve floor space and maintain an orderly workspace.
- Resolve damp and airflow problems first, then improve insulation and install quiet compliant mechanical ventilation where necessary.
Check If Your Utility Room Suits an Office
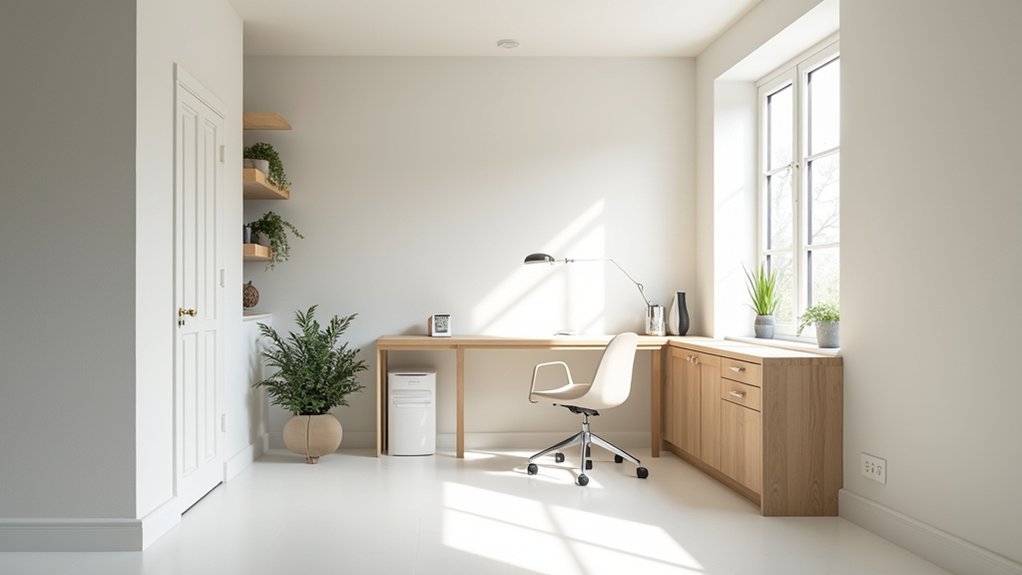
Before you plan the conversion, assess whether the utility room can support regular office use. Measure the floor area, ceiling height, door clearance, and wall condition.
Confirm that the floor can accommodate a desk, chair, and safe circulation without obstructing appliances, valves, or service access.
Check moisture levels, condensation, ventilation, and any signs of leaks; persistent dampness can damage equipment and affect your health.
Identify noise from washers, boilers, pumps, or pipes, and determine whether you can isolate those sources.
Review existing lighting and electrical capacity without redesigning them here.
Good utility room organization should keep cleaning products, tools, and laundry supplies contained and reachable.
Choose utility room storage solutions that preserve maintenance access and prevent clutter.
If the room remains dry, accessible, and quiet enough, it’s a viable office candidate.
Plan the Layout Around Light and Power
Plan the desk where it receives the strongest available daylight without blocking windows, vents, appliances, or service panels. Check window placement throughout the day to prevent screen glare; position the monitor perpendicular to the glass, then add an adjustable task light for cloudy conditions.
Map power before moving furniture, and identify the nearest circuit, cable route, and any load limits. You’ll need accessible sockets for your computer, monitor, printer, and chargers without relying on trailing extension leads.
- Keep 900 mm of clear circulation space where possible.
- Place a power strip inside a cable tray, not loose on the floor.
- Protect cables with floor channels across walkways.
- Choose flooring materials that tolerate chair casters and moisture.
Confirm that existing outlets remain reachable after installation. Keep heating, plumbing, and appliance access unobstructed, and leave sufficient clearance to open doors, drawers, and inspection panels safely.
Brighten the Utility Room With Colour
Use light-reflective shades on walls and ceilings to maximise available daylight.
Add a colourful accent wall to introduce contrast without reducing overall brightness.
Coordinate bright furnishings with the wall palette, and choose finishes that support a consistent, functional workspace.
Choose Light Reflective Shades
Choose light-reflective shades such as soft white, pale grey, or muted blue to maximise natural and artificial light in the utility room. Use them on walls, cabinetry, and shelving to create consistent brightness without glare. Select matte or eggshell finishes; they reflect light gently and conceal minor surface flaws.
- Pair pale walls with a white ceiling to increase perceived height.
- Choose slimline window treatments that filter daylight without blocking it.
- Install reflective surfaces, such as a light-toned worktop, opposite the window.
- Test paint samples under morning, afternoon, and task lighting.
Keep colours within one tonal range so the room feels larger and calmer. Avoid heavily saturated shades, which absorb more light and can make the workspace feel enclosed. Check each finish against your monitor position to prevent distracting reflections.
You’ll gain a brighter, more comfortable office without relying solely on additional fixtures.
Add Colourful Accent Walls
An accent wall can add colour and visual focus without reducing the room’s overall brightness. Choose the wall opposite or beside your main window to distribute reflected light effectively.
Build a color palette around your existing pale base shade, then select one saturated colour with a light-to-medium reflectance value. Soft teal, muted yellow, or warm coral can introduce energy without making the compact office feel enclosed.
Before painting, clean the surface, repair imperfections, and apply primer for consistent coverage.
Use accent wall techniques such as a full-height block, a narrow geometric section, or a colour-washed finish, depending on the room’s proportions.
Keep edges crisp with quality painter’s tape, and test samples under morning and evening light.
You’ll achieve definition while preserving the room’s bright, functional character.
Coordinate Bright Furnishings
Once the walls are balanced, coordinate bright furnishings to add colour without overwhelming the compact office. Choose one dominant accent, then repeat it in smaller, controlled doses. Prioritise ergonomic seating in a saturated shade, but verify that its dimensions preserve circulation and door clearance.
- Select a compact chair with adjustable height, lumbar support, and washable upholstery.
- Pair a bright desk lamp with neutral task lighting to prevent glare.
- Add a coloured drawer unit, keeping cables concealed and surfaces uncluttered.
- Use decorative accessories sparingly, such as a tray, artwork, or planter.
Limit the palette to two related hues plus a neutral base. Match finishes carefully: glossy surfaces reflect light, while matte fabrics reduce visual noise. Before buying, map each item’s footprint with masking tape.
You’ll create a lively, functional office that still feels spacious and orderly. Guarantee daylight can reach the desk unobstructed throughout the day.
Add Storage Without Sacrificing Floor Space
To preserve clear floor space, install storage vertically with wall-mounted cabinets, adjustable shelving, and shallow units sized to the room’s available depth. These storage solutions keep files, stationery, and equipment accessible without narrowing circulation routes. Measure wall widths, ceiling height, and door clearances before ordering components.
Use adjustable shelves to accommodate changing supplies, and reserve enclosed cabinets for items you don’t use daily. Fit cable-management channels behind units to prevent loose wires from occupying valuable surfaces. Anchor every cabinet and shelf into suitable studs or approved wall fixings, especially on plasterboard.
For efficient space optimization, use the area above the doorway for infrequently needed documents, while a narrow rail can hold envelopes or tools. Label containers consistently, and maintain a clear access zone beneath each wall-mounted unit.
Choose Comfortable Office Furniture and Lighting
With storage contained against the walls, select furniture that supports your posture without obstructing circulation. Choose ergonomic seating with adjustable seat height, lumbar support, and armrests; position your feet flat on the floor or a stable footrest.
Set the desk height so your elbows remain near 90 degrees while typing, and leave adequate knee clearance beneath it.
- Select a chair with breathable, durable upholstery.
- Keep the monitor’s top edge at or slightly below eye level.
- Place the keyboard and mouse close enough to avoid reaching.
- Maintain a clear route between the door, desk, and window.
Layer ambient lighting with focused task lighting to reduce glare and eye strain. Use a diffused ceiling fixture for general illumination, then aim an adjustable lamp at your work surface from the opposite side of your writing hand.
Add blinds or shades to control daylight reflections without blocking the room’s brightness.
Finish the Conversion Safely and Efficiently
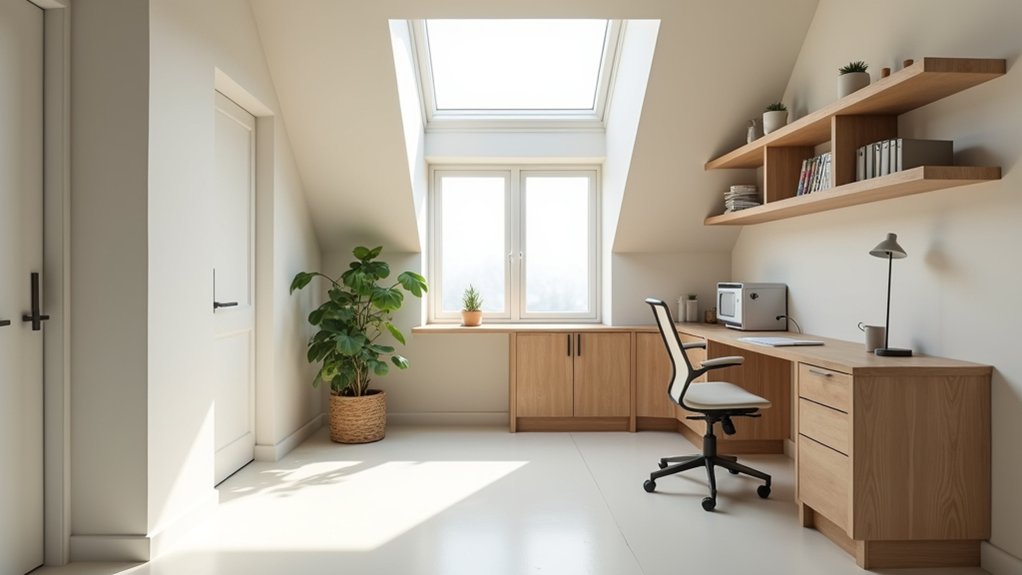
Plan electrical upgrades with a qualified electrician, ensuring circuits, sockets, and lighting meet current regulations.
Improve ventilation to control humidity and prevent condensation.
Add insulation to walls, floors, or ceilings where needed.
Don’t conceal services until you’ve tested every connection and confirmed the room is safe for regular work.
Plan Electrical Upgrades
Before you close the walls, assess the room’s existing circuit capacity and decide where the office will need new outlets, lighting controls, and data connections. Have a qualified electrician verify the consumer unit, earthing, cable ratings, and residual-current protection before you alter wiring. Map your desk, printer, monitor, and charging points, then place sockets above finished floor level and avoid overloaded extension leads.
- Add separate circuits for equipment and lighting where practical.
- Specify energy efficient wiring and low-energy LED fittings.
- Install switched outlets or smart controls for standby reduction.
- Route data cable away from mains wiring and label every run.
Choose eco-friendly materials, such as recyclable cable trunking and responsibly sourced faceplates, without compromising fire ratings. Photograph concealed routes, retain test certificates, and obtain required approvals. Schedule final inspection before plastering, decorating, or connecting equipment.
Improve Ventilation And Insulation
Once the wiring routes are documented, improve the room’s thermal performance and airflow before closing the walls. Check for damp, mould, and unsealed penetrations, then resolve moisture sources first.
Choose insulation materials suited to the wall construction, required thermal performance, and available depth. Fit them continuously around the perimeter, avoiding compression and gaps that create cold bridges. Seal joints, service penetrations, and the door frame with compatible tapes or sealant.
Don’t block existing airbricks or combustion-air routes. If the room lacks adequate natural airflow, install a quiet mechanical ventilation system, such as a continuous extractor or heat-recovery unit, sized for the space.
Route ducts as straight as possible, insulate them through colder areas, and terminate externally with a weatherproof grille. Confirm compliance with local building regulations before plasterboarding.
Frequently Asked Questions
Do I Need Planning Permission to Convert My Utility Room Into a Home Office?
Usually, you won’t need planning permission to convert your utility room into a home office, provided you don’t extend it or change its use. Check building regulations, especially for insulation, ventilation, electrics, fire safety, and structural alterations.
How Much Does a Utility Room Home-Office Conversion Typically Cost?
Costs typically range from £2,000–£8,000. You’ll spend more upgrading utility room insulation, electrics, flooring, and office lighting options; built-in storage, plumbing removal, or structural changes can push totals beyond £10,000, so obtain itemised quotes.
Can I Claim Tax Relief for Converting a Utility Room Into an Office?
You may claim tax relief for genuine business expenses, but rules vary by country and employment status. Keep receipts for home office furniture and lighting design, separate personal costs, and check allowable deductions with your tax authority.
How Can I Reduce Noise From Washing Machines and Household Appliances?
You can reduce appliance noise with soundproofing solutions: level machines, tighten panels, use anti-vibration mats, isolate pipework, add acoustic insulation, seal gaps, and schedule high-spin cycles when you’re away. Appliance noise reduction works best together.
What Ventilation and Heating Options Suit a Converted Utility-Room Office?
Think of fresh air as your office’s quiet heartbeat: prioritize Airflow optimization with an extractor, trickle vents, and balanced supply. Choose Heating alternatives—electric panel, infrared, or underfloor systems—with thermostatic control and professional electrical installation.
Conclusion
Converting a redundant utility room into a light-filled home office can transform an overlooked space into your home’s most productive room. Check suitability first, then coordinate window improvements, reflective finishes, power, ventilation, storage, and ergonomic furniture. You’ll gain better comfort and efficiency without wasting floor area. Complete electrical, insulation, and building work safely, using qualified professionals where required. With careful planning, your compact office can feel brighter, calmer, and practically limitless.