

Future-proofing your home is like building a bridge between today’s routines and tomorrow’s needs. Start with an aging-in-place assessment to identify fall risks, tight clearances, and poorly lit paths. Then prioritize a curbless shower, reinforced walls for grab bars, and doorways at least 36 inches wide for wheelchair or walker access. These upgrades improve daily safety without making your home feel institutional—but the most important details often appear after you examine how each space connects.
Key Takeaways
- Conducted a professional home assessment to identify fall hazards, accessibility barriers, and future mobility needs.
- Installed curbless, waterproof showers with slip-resistant flooring, thermostatic valves, and structurally anchored grab bars.
- Widened doorways to at least 32 inches, using swing-clear hinges, pocket doors, lever handles, and beveled thresholds.
- Improved safety with consistent LED lighting, motion sensors, illuminated switches, and high-contrast edges throughout key areas.
- Created flexible living spaces with 36-inch pathways, movable furniture, reachable storage, smart-home controls, and planned future upgrades.
Start With an Aging-in-Place Home Assessment
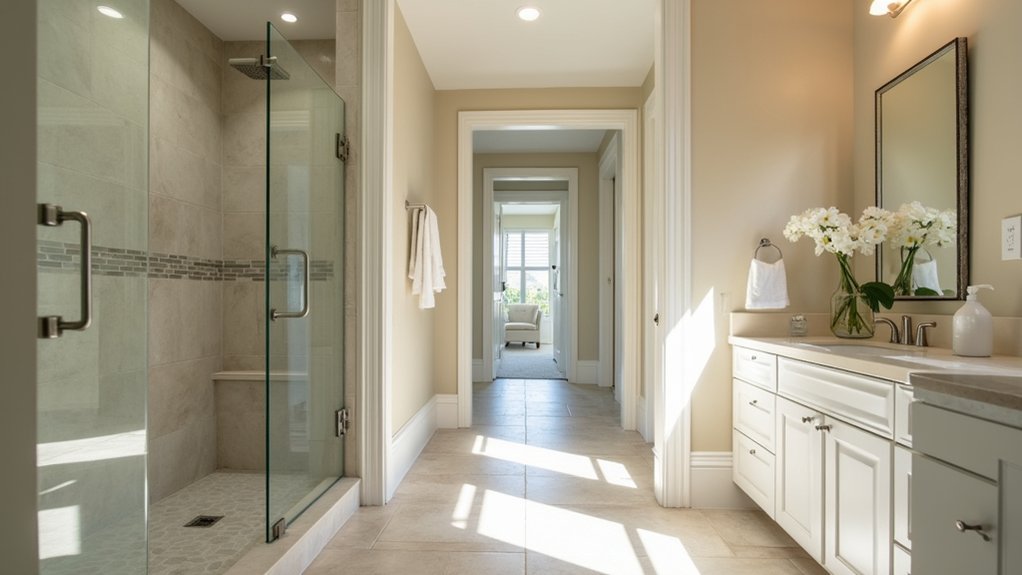
Before making changes, schedule a professional aging-in-place home assessment to identify safety risks, accessibility barriers, and potential mobility challenges. An occupational therapist or certified specialist can evaluate entrances, circulation paths, lighting, flooring, stairways, kitchens, and bedrooms while considering your balance, vision, strength, and assistive-device use.
Provide details about current limitations, medications, routines, and likely future needs so recommendations match real conditions. Ask the assessor to document measurements, fall hazards, reach ranges, door clearances, and emergency access.
Review options for home technology, including monitored alerts, automated lighting, and accessible controls. Your assessor may also connect you with community resources, qualified contractors, funding programs, and transportation services.
Request a prioritized report that separates immediate corrections from larger projects, includes estimated costs, and identifies permits or code requirements before construction begins.
Create Safer, Step-Free Bathroom Access
You can reduce fall risk by replacing a raised shower threshold with a properly sloped, curbless shower floor.
Install securely anchored grab bars near the shower entrance, controls, and toilet, fastening them to structural blocking rather than wallboard.
Select slip-resistant flooring and verify that drainage, clearances, and bar placement meet applicable accessibility standards.
Install Curbless Showers
A curbless shower eliminates the raised threshold that can cause trips and makes bathroom entry safer for people using walkers, wheelchairs, or limited mobility. When you plan curbless showers, coordinate the finished floor height, drain location, and waterproofing before construction begins.
A linear drain can simplify grading, while a centered drain may require more precise slope work. Your installer should form the shower floor with a consistent slope—typically about 2 percent—without creating abrupt edges.
Extend the waterproof membrane across the entire shower area and seal every wall and floor penetration. Choose slip-resistant tile with manageable grout joints, and verify that the shower opening provides enough clearance for mobility equipment.
Smooth transitions between bathroom flooring and the shower reduce rolling resistance and help prevent moisture from reaching adjacent materials.
Add Grab Bars
Install grab bars at the toilet, shower, and tub entry to provide stable support during transfers and balance changes. Anchor each bar to blocking or structural framing, not drywall alone, and verify the wall can withstand the intended load.
Position horizontal bars beside the toilet and along the shower’s back wall. Add a vertical bar near the shower entrance to support entry and exit.
Choose lengths and diameters that fit your grip, typically 1¼ to 1½ inches, with textured, slip-resistant surfaces.
Evaluate grab bar styles, including straight, angled, folding, and suction-mounted models. Use suction units only for temporary assistance, never as primary support.
Coordinate placement with your accessible shower seat, controls, and handheld sprayer.
Finally, select finishes that complement bathroom aesthetics while maintaining high contrast and easy visibility.
Have a qualified installer confirm every connection.
Widen Doorways for Easier Movement
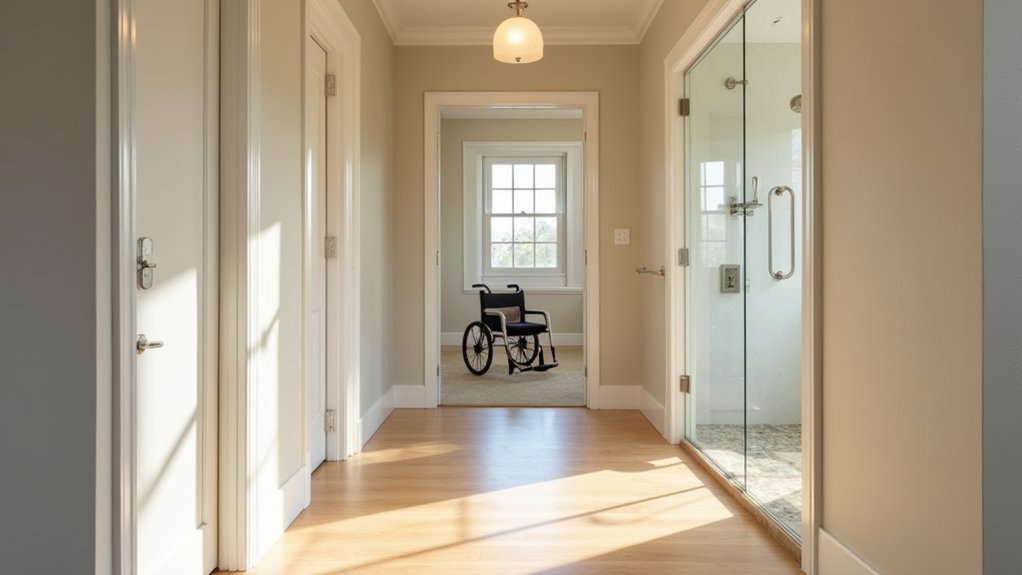
Widening doorways improves mobility flow by reducing tight turns and bottlenecks between rooms.
Aim for clear openings that accommodate wheelchairs, walkers, and caregivers without contact.
You’ll need to verify structural walls, relocate switches if necessary, and maintain smooth, flush thresholds.
Improve Mobility Flow
How easily can you move between rooms, especially with a walker or wheelchair? Doorway width directly affects turning clearance, travel speed, and safety. During renovations, target a clear opening of at least 32 inches; 36 inches provides better maneuvering and accommodates many mobility challenges. Measure the finished opening, not the rough framing, because trim, hinges, and door thickness reduce usable space.
Choose swing-clear hinges or a pocket door where appropriate, but verify that the wall can support the required track and that the pocket won’t conflict with plumbing or wiring. Keep thresholds flush, or limit passages to a beveled edge no higher than ½ inch.
Align doorways along natural travel paths, eliminate sharp approaches, and maintain consistent flooring. Planning these dimensions now supports future assistive technology without requiring structural changes later.
Accommodate Assistive Devices
To accommodate wheelchairs, walkers, and other assistive devices, widen frequently used doorways to provide at least a 32-inch clear opening, with 36 inches preferred for easier turning and passing. Measure the finished opening, not the rough framing, and account for trim, hinges, and door thickness.
Replace swinging doors with pocket or out-swinging models where they obstruct circulation, but maintain required egress clearance. Keep thresholds flush or bevel gradations to reduce wheel and walker catches.
Position handles and light switches within comfortable reach, typically 34 to 48 inches above the floor. Confirm that hallways provide adequate approach space on both sides, especially near bathrooms and bedrooms.
This assistive device integration supports safer transfers and smoother daily routines. Thoughtful ergonomic design now can reduce costly reconstruction later while preserving comfortable access for everyone.
Improve Lighting Along Everyday Paths
Good lighting along everyday paths reduces trip hazards and helps you identify changes in floor height, obstacles, and surface shifts. Use even ambient lighting from entry doors through hallways, stairs, bathrooms, and bedrooms, avoiding abrupt contrasts that can obscure edges.
Install fixtures at intersections and near changes, and choose high-color-rendering LED bulbs so you can distinguish flooring, handrails, and objects accurately. Add motion sensors or illuminated switches where reaching for controls could create instability.
Along stairs, provide consistent light on every tread, with controls at both ends and minimal glare on nosings. Use task illumination at door locks, grab bars, and medication areas, positioning fixtures to reduce shadows.
Keep lenses clean, replace failed bulbs promptly, and provide battery-backed lighting for outages. Test brightness at night, not just midday.
Design Flexible, Accessible Living Spaces
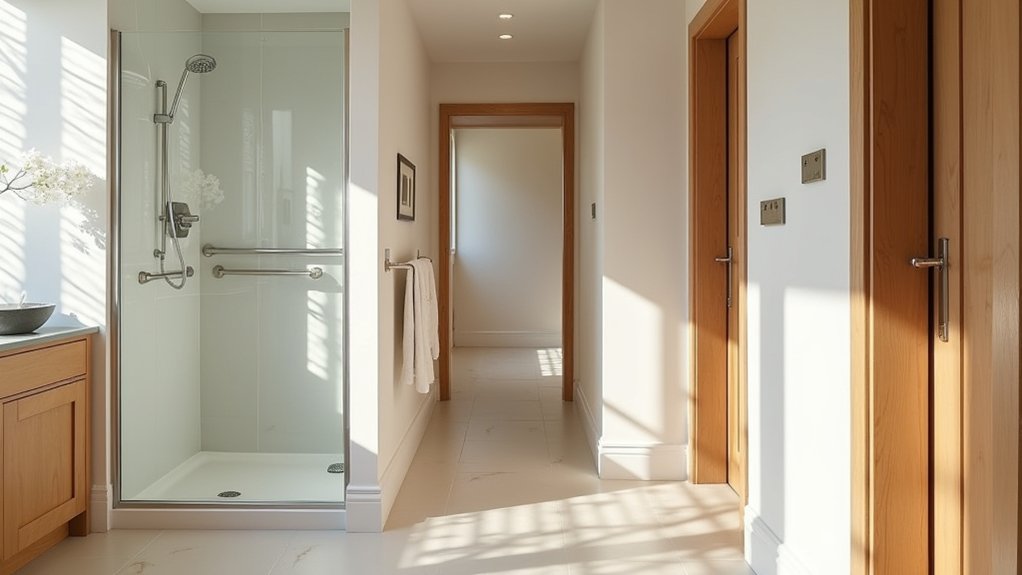
Design living spaces around clear, adaptable routes that accommodate changing mobility needs without major reconstruction. Maintain at least 36 inches of circulation width where possible, and arrange furniture to create direct paths between entrances, bedrooms, bathrooms, and seating areas.
Choose lightweight, movable tables and chairs so you can reconfigure the room as needs change. Use lever-operated hardware, reachable storage, and contrasting surfaces to make daily tasks easier without limiting design choices.
Select modular sofas, adjustable-height work surfaces, and open shelving that support multiple users and activities. Integrate smart technology, such as voice-controlled lighting, thermostats, and window treatments, to reduce reliance on hard-to-reach controls.
Coordinate these elements with your interior decor through consistent finishes, concealed wiring, and visually calm layouts that keep spaces functional, comfortable, and welcoming.
Add Safety Features Without Sacrificing Style
Safety features can blend into the home when you select products that match the room’s finishes, proportions, and visual character. Choose grab bars with concealed mounting plates or finishes that coordinate with faucets, cabinet hardware, and decorative fixtures. Install them at structural blocking, not merely drywall, and verify their load rating before covering fasteners.
Select non-slip porcelain tile with a subtle texture, then repeat its tone across the floor and shower walls for cohesive color schemes. A fold-down shower seat can echo the vanity’s wood finish, while a thermostatic valve reduces scald risk without adding visual clutter.
Use brighter, even lighting at passages, stairs, and wetroom areas; slim LED fixtures can preserve clean lines. Contrast door edges, switches, and handrails slightly so you can identify them quickly without disrupting the palette.
Plan Aging-in-Place Upgrades in Stages
Plan upgrades around the home’s highest-risk areas and your expected needs over the next several years. Start with low-cost changes, then schedule disruptive work alongside planned renovations. This approach spreads expenses while preserving safe access throughout construction.
- Now: Install grab bars, brighter task lighting, nonslip flooring, and lever handles.
- Next: Replace steps with a ramp or threshold transition; widen priority doorways before mobility declines.
- Later: Remodel the bathroom with a curbless shower, reinforced walls, fold-down seating, and reachable controls.
- Ongoing: Add Home automation for lighting, locks, thermostats, and alerts; select Energy efficiency upgrades that reduce operating costs.
Before each phase, confirm clear floor space, turning radii, outlet locations, and structural capacity. Ask an occupational therapist to assess function, and obtain permits for electrical, plumbing, ramp, or structural changes. Document dimensions and update your maintenance plan.
Frequently Asked Questions
How Much Do Aging-In-Place Renovations Typically Cost?
You’ll typically spend $10,000–$50,000 on aging-in-place renovations, depending on scope. Your Home renovation Cost estimation should include labor, permits, structural changes, accessible fixtures, regional pricing, contingency funds, and potential electrical or plumbing upgrades.
Are There Tax Credits or Grants Available for Accessibility Improvements?
Yes—help may exist, but eligibility varies. You can claim federal or state tax credits, local grants, or insurance benefits for qualifying accessibility work. Verify requirements, retain receipts, and confirm contractor licensing before construction begins.
Which Contractors Specialize in Aging-In-Place Home Modifications?
Look for Certified Aging-in-Place Specialists (CAPS), occupational therapists, and licensed remodelers experienced in Universal design. Ask about accessibility portfolios, permits, insurance, references, and Smart home technology integration before hiring; verify credentials locally.
Can These Upgrades Increase a Home’s Resale Value?
Yes, you can increase resale value by pairing accessible upgrades with Luxury features and Modern aesthetics. Step-free showers, wider doorways, and lever hardware improve usability, while quality finishes help attract buyers and justify stronger offers.
Do Accessibility Renovations Require Permits or Inspections?
Yes, you’ll often need permits and inspections for accessibility renovations, especially structural, electrical, plumbing, or doorway changes. Check local building codes and permit processes first; your municipality will specify required applications, drawings, inspections, and approvals.
Conclusion
When you plan aging-in-place upgrades, small decisions can prevent major obstacles later. A home assessment, curbless shower, 36-inch doorways, brighter pathways, reinforced grab-bar locations, and flexible furniture layouts work together as one safety system. Coincidentally, these improvements also make daily life easier now—whether you’re carrying laundry, guiding a child, or recovering from an injury. Complete projects in stages, verify clearances and structural support, and you’ll create a comfortable, adaptable home that serves every generation confidently.