
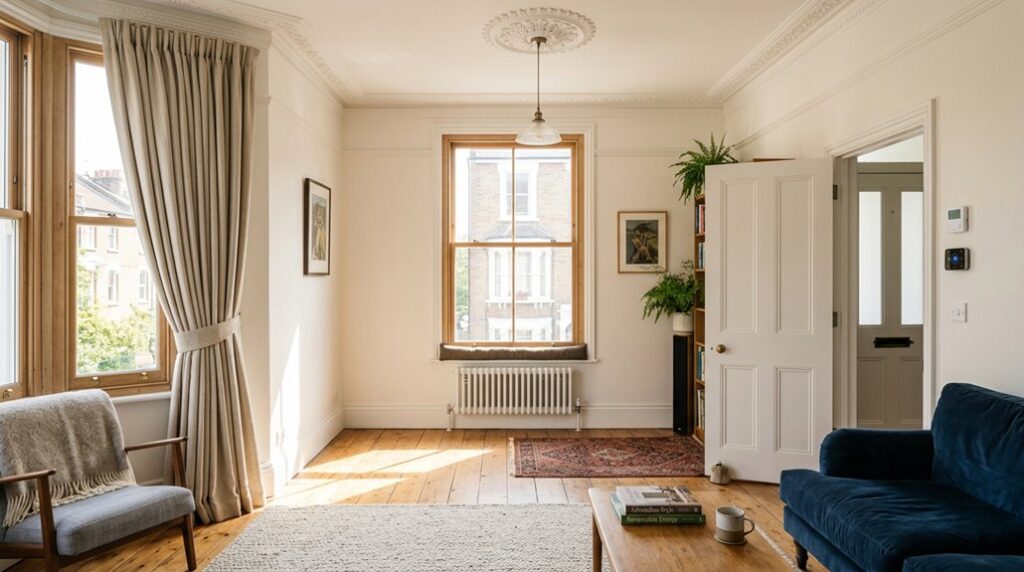
Your Edwardian flat isn’t exactly “thermally expressive,” so you start by mapping heat loss with smoke, an IR camera, and a room-by-room checklist for leaks and thermal bridges. You seal service penetrations with acrylic caulk, fit compression seals to doors, tune sash window parting beads, and add slim secondary glazing where it matters. You then layer vapour-open insulation under floors and on cold-facing walls, and tighten heating with zoning and smart controls—but the biggest gain comes from the one junction you haven’t checked yet.
Key Takeaways
- We surveyed every room’s heat loss, verified cold bridges with thermal imaging, and calculated design heat load to right-size upgrades.
- We draught-proofed systematically, sealing skirting gaps, sash weights, loft hatches, and service penetrations using brush strips, gaskets, and caulk.
- We improved floors by adding breathable underfloor insulation, clearing air bricks, maintaining cross-ventilation, and sealing membranes to control moisture and condensation.
- We refurbished sash windows, fitted brush-pile seals, and added secondary glazing panels plus lined curtains and cellular blinds for major comfort gains.
- We optimized heating with a modulating smart thermostat, smart TRVs, lower flow temperatures, better zoning schedules, and insulated hot-water cylinders and pipes.
Heat-Loss Check for an Edwardian Flat
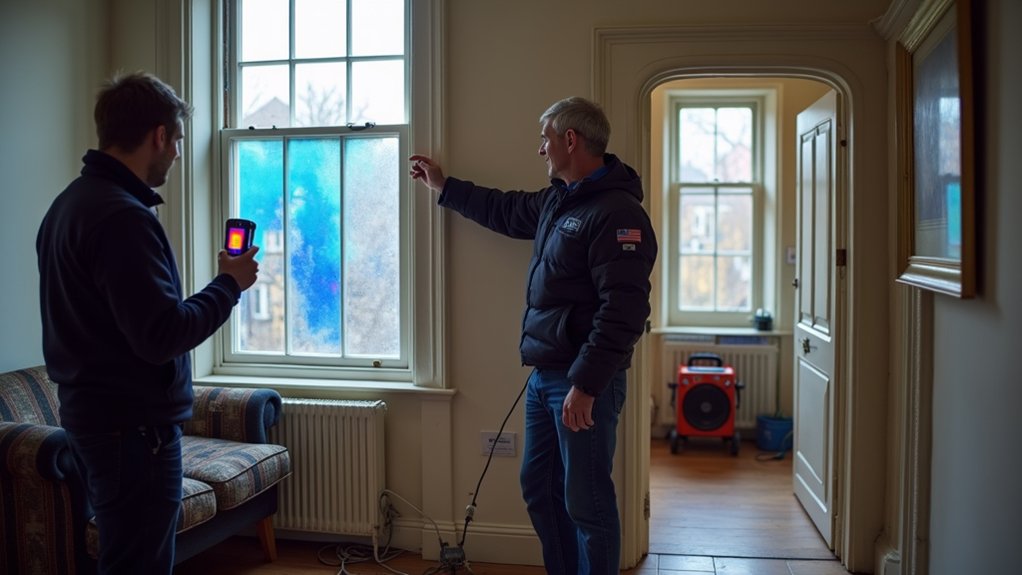
Before you buy insulation or swap a boiler, run a heat-loss check so you’re fixing the right problems in the right order. Start with a room-by-room survey: measure external wall areas, ceiling heights, window types, and floor construction. Then log U-values or best-fit estimates for solid brick, lath-and-plaster, and single glazing.
Add ventilation losses using air-change assumptions based on vents, flues, and extractor fans. Use a thermal camera on a cold evening to verify cold bridges at bay corners, party-wall junctions, and window reveals.
Calculate design heat load at local winter temperatures so you can right-size emitters and flow temperatures. This supports Historic preservation and interior design by targeting hidden upgrades that don’t disturb cornices, skirtings, or original joinery.
Draught-Proof an Edwardian Flat Fast
Start by finding hidden draught sources with a smoke pencil or incense stick around skirting gaps, sash weights, service penetrations, and loft hatches, then mark every leak.
Seal doors and windows fast with brush strips, compression seals, and sash-to-frame gaskets, and cap larger cracks using acrylic caulk or expanding foam where appropriate.
Finish with quick low-cost insulation—radiator foil, chimney balloons, and temporary secondary glazing film—to cut infiltration immediately without major fabric work.
Find Hidden Draught Sources
Although Edwardian flats often look solid, a surprising amount of heat escapes through small, hidden air paths you can’t spot by eye. You’ll find the worst leakage where services pierce walls and floors, and where original timber meets later plaster. Use an incense stick or smoke pencil on a windy day; watch for smoke drawn sideways, not rising.
- Trace skirting boards, dado rails, and ceiling coving for Unnoticed cracks that connect to voids behind lath-and-plaster.
- Inspect under-sink pipe runs, boiler flues, and radiator tails; gaps around sleeves often vent straight into risers.
- Locate Hidden vents: behind built-in cupboards, chimney breasts, and redundant fireplaces; map airflow direction with tissue.
Log each spot, room-by-room, before you choose materials or priorities.
Seal Doors And Windows
When you tackle doors and windows next, you’ll cut the biggest “felt” draughts in an Edwardian flat because moving air typically threads through worn meeting rails, sash pockets, letterplates, and loose thresholds.
Start with window weatherproofing: clean paint edges, then fit compressible EPDM or brush-strip seals to sash meeting rails and along staff beads; keep clearances tight but allow smooth travel. Seal sash-pocket access covers and pulleys with low-profile gaskets so you don’t trap the cords.
On doors, set the frame first: add perimeter compression seals at the stop, then fit an adjustable threshold or sweep that just kisses the floor. Finally, install door draft stoppers for letterplates and keyholes to block direct jets without hindering use.
Quick Low-Cost Insulation
Where can you get the fastest heat-retention gains for the least money? Start with targeted insulation materials in the leakiest micro-zones your energy audits flag: suspended timber floors, chimneys, and uninsulated service penetrations. You’ll cut convective losses without major disruption, and you’ll feel the difference the same day.
- Underfloor gaps: Lift a board, fit mineral wool between joists with netting, and seal the perimeter with acrylic caulk. Add foil-faced PIR only where height allows.
- Chimney and fireplace: Install a removable chimney balloon or register plate. Then line the hearth edge with fire-rated sealant to stop stack-effect draughts.
- Pipes and hatches: Wrap hot-water pipes with foam sleeves. Insulate loft-access panels with rigid board, and tape all joints with aluminum foil tape.
Fix Sash Windows: Seals and Adjustments
Because most Edwardian draughts come from worn meeting rails and loose parting beads, you’ll get the fastest comfort gain by tuning the sash windows before you consider replacement.
Start with Sash window restoration basics: remove staff beads, vacuum the channels, and check cords, weights, and pulleys so the sashes sit square. Replace frayed cords and set correct weight balance so the meeting rails align without springing.
Next, fit brush-pile or V-strip seals into the staff bead and parting bead grooves, and add a compressible seal to the meeting rail.
Adjust the keep and strike plates so Window lock mechanisms pull the rails tight; swap worn cams if needed.
Finally, ease binding with light planing, then wax the channels for smooth travel.
Secondary Glazing for Sash Windows (What to Buy)
Although you can chase marginal gains with thicker curtains or more sealant, secondary glazing delivers the biggest sash-window upgrade per pound by adding an airtight, still air layer without touching the original frames.
Choose a system that fits your reveals, keeps access for sash window maintenance, and preserves window aesthetics.
- Magnetic acrylic panels: cheapest, DIYable, good for renters; buy 4–6mm acrylic, continuous magnetic tape, and compression foam for a tight seal.
- Sliding aluminium units: best for daily ventilation; specify brush seals, low-E glass, and slim sightlines to avoid bulky frames.
- Hinged lift-out panels: best for cleaning; look for cam latches, perimeter gaskets, and a minimum 20mm air gap.
Measure twice: reveal depth, handles, and meeting rails.
Curtains and Blinds That Actually Insulate
Why do some “thermal” curtains feel no warmer than a standard pair? Because you’re often buying marketing, not physics: thin Curtain fabrics, loose weaves, and low-tog linings leak convective loops at the glass.
Choose dense, tightly woven face cloth (velvet, twill, heavy jacquard) plus a bonded thermal liner or interlining (wadding) to add still air.
Fit matters: mount the track high and wide, extend curtains 150–200 mm past the reveal, and use a snug hem to reduce air pumping.
For day control, pair curtains with Insulating blinds: cellular (honeycomb) blinds with side channels or magnetic edges perform best, especially in recessed windows.
Drop blinds at dusk, open at midday sun for free gains.
Seal Doors, Letterboxes, and Chimneys Properly
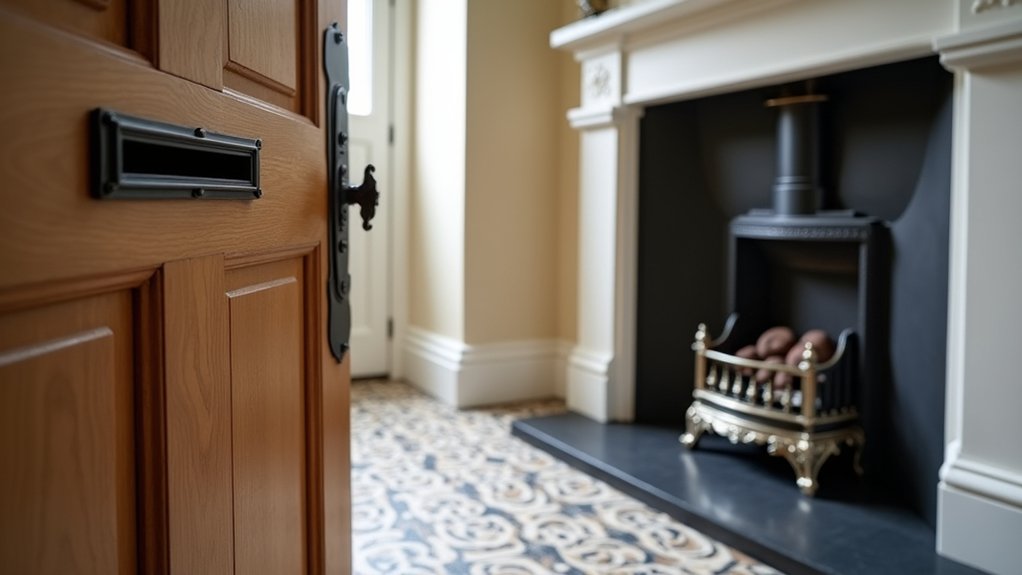
Thermal curtains and cellular blinds slow heat loss at the glass, but you’ll still feel cold if air keeps leaking around the rest of the envelope—especially at doors, letterboxes, and unused chimneys where pressure differences drive steady infiltration.
Treat leakage like a measurable defect: locate it with a smoke pencil or an incense stick on a windy day, then seal the specific path without trapping moisture.
- Fit compressible door seals on the jambs and head, plus an adjustable threshold or brush sweep; verify even contact by closing on paper and checking drag.
- Do letterbox draftproofing with an internal brush cowl and an external flap; align springs so it shuts fully after each delivery.
- Cap dormant chimneys with a removable, ventilated balloon or register plate; keep minimal airflow to prevent condensation and soot smells.
Insulate Floors Without Losing Character
Next, you’ll tackle heat loss at the suspended timber floors by fitting breathable underfloor insulation that cuts draughts without trapping moisture against joists. Also, installing underfloor heating also fits in nicely.
You’ll lift boards carefully, install a vapour-open membrane and insulation between joists while keeping ventilation paths clear.
Then, refix everything to avoid squeaks and cold spots.
Once the insulation’s in, you’ll restore the original floorboards—repair, sand, and seal—so the flat keeps its Edwardian character while performing like a modern build.
Breathable Underfloor Insulation
Although our Edwardian flat’s suspended timber floors looked charming, cold air poured up through the gaps and the uninsulated void acted like a wind tunnel. So we added breathable underfloor insulation that boosts comfort without trapping moisture.
You’ll want a vapour-open, dense batt (wood fibre or sheep’s wool) friction-fitted between joists, then supported with netting or battens to prevent sagging. Leave an air gap above the ground, keep the void continuous, and use ventilation strategies: clear existing air bricks, add sleeves through rubble, and avoid blocking cross-flow.
For moisture control, you’ll tape perimeter membranes to walls, seal service penetrations, and keep insulation away from damp masonry.
- Cut draughts while keeping vapour diffusion
- Stabilise floor surface temperatures and reduce condensation risk
- Maintain inspectable voids for future checks
Restoring Original Floorboards
Once you’ve packed the joist bays with vapour-open insulation and kept the subfloor void ventilated, the floorboards become the next weak link: gaps, cupped edges, and loose fixings can still leak air and undo a chunk of the comfort gains.
You’ll get best results by lifting boards methodically, numbering them, and checking for rot at tongues and ends. Pull nails, then re-fix with countersunk screws into joists to stop squeaks while preserving original craftsmanship.
Plane high edges, but avoid over-sanding that thins the wear layer. To seal draught paths, you can install paper-backed compressible strips or hemp rope in joints, then apply a vapour-permeable oil or hardwax finish.
These restoration techniques keep character while tightening airtightness.
Internal Wall Insulation for Cold-Facing Rooms
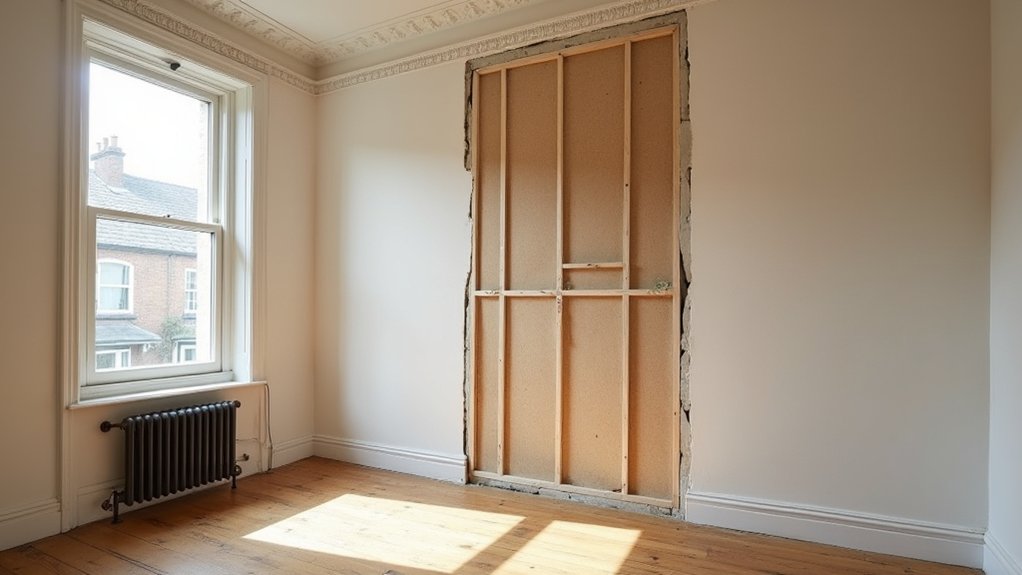
Because our north-facing rooms never saw much sun, we tackled heat loss by adding internal wall insulation (IWI) to the external walls, turning cold, radiant surfaces into warm, stable ones without touching the façade.
You start by checking for damp and salt, then repair pointing and seal air leaks so the IWI doesn’t trap moisture.
You choose a breathable system—wood fibre or calcium silicate—with a vapour-open adhesive, then tape joints to limit convection behind boards.
You extend insulation into reveals and around sockets to reduce thermal bridging, and you maintain a continuous vapour control layer where specified.
- Map cold spots with an IR camera before and after.
- Plan service zones to avoid puncturing membranes.
- Finish with interior plastering, then wall painting using permeable coatings.
Smarter Heating Controls for a Period Flat
While new insulation cuts heat loss, smarter heating controls stop your Edwardian flat from wasting the heat you’ve paid to generate by matching output to room-by-room demand and real occupancy. Start with a Smart thermostat that supports OpenTherm or weather compensation, so the boiler modulates instead of short-cycling.
Add smart TRVs and set zoning control by room function: keep bedrooms cooler, boost the living room only when you’re in it, and cap hallway radiators to prevent overheating. Build schedules around actual routines, then enable geofencing or motion-based presence to avoid heating empty rooms.
Use a maximum flow temperature limit and a minimum on-time to stabilise radiator output. Finally, review the app’s heat graphs to spot rogue zones and rebalance setpoints.
Hot Water Tweaks and Track the Savings
Where does most of your flat’s “mystery” energy use hide after you’ve tightened up the heating? It’s often in hot water: losses from hot water cylinders, oversized setpoints, and long, uninsulated pipe runs. Start by treating hot water like a system you can measure and tune, not a background load.
- Cut standing losses: Fit a high‑tog jacket, insulate primary/secondary pipes, and set cylinder temperature to 55–60°C (with a weekly 60°C pasteurisation cycle).
- Reduce draw-off energy: Install low‑flow showerheads, fix drips, and add thermostatic mixing so you don’t store hotter than needed.
- Track savings: Log daily kWh on your meter or smart app, correlate with showers/laundry, and you’ll quantify ROI—especially if solar thermal preheats the cylinder.
Frequently Asked Questions
What Did the Upgrades Cost, and How Quickly Did They Pay Back?
You’ll typically spend £8k–£20k; payback lands in 5–12 years. Window upgrades and insulation materials drive returns by cutting heat loss 20–40%. You’ll improve comfort and reduce HVAC runtime, boosting savings.
Did You Need Planning Permission or Freeholder Consent for These Changes?
Measure twice, cut once: you’ll likely need freeholder consent for external fabric, windows, or services, and planning permission if Historic preservation applies. You must comply with Building codes; document specs, submit drawings, and get sign-off.
How Did You Handle Asbestos Risks During the Retrofit Work?
You handle asbestos by commissioning a survey, sampling suspect materials, and pausing work until Asbestos removal contractors clear it. You enforce Safety precautions: sealed zones, negative pressure, PPE, waste manifests, air monitoring, and re-testing.
Which Improvements Increased EPC Rating and Affected Resale Value Most?
Coincidentally, you boost EPC and resale most by upgrading Heating systems to a high-efficiency heat pump, adding Renewable energy via solar PV, and improving insulation and airtightness; you’ll cut bills, raise SAP scores, and attract buyers.
What Maintenance Is Required Yearly to Keep Performance From Slipping?
You’ll yearly service the boiler/heat pump, clean/replace ventilation filters, verify airflow rates, inspect ducts for leaks, and test extract fans. You’ll check insulation techniques for damp, compression, gaps; reseal penetrations, recalibrate controls, review ventilation strategies.
Conclusion
You thought “Edwardian charm” meant living with cold ankles and whistling sash windows. Ironically, the quickest way to keep the character was to get ruthlessly modern: seal leakage paths with acrylic caulk and compression strips, tune sash alignment, and add secondary glazing to cut U-values and infiltration. You kept assemblies vapour-open, insulated floors and cold-facing walls, and controlled moisture with planned ventilation. Then you zoned heat with smart controls—so the flat feels older, but performs new.