
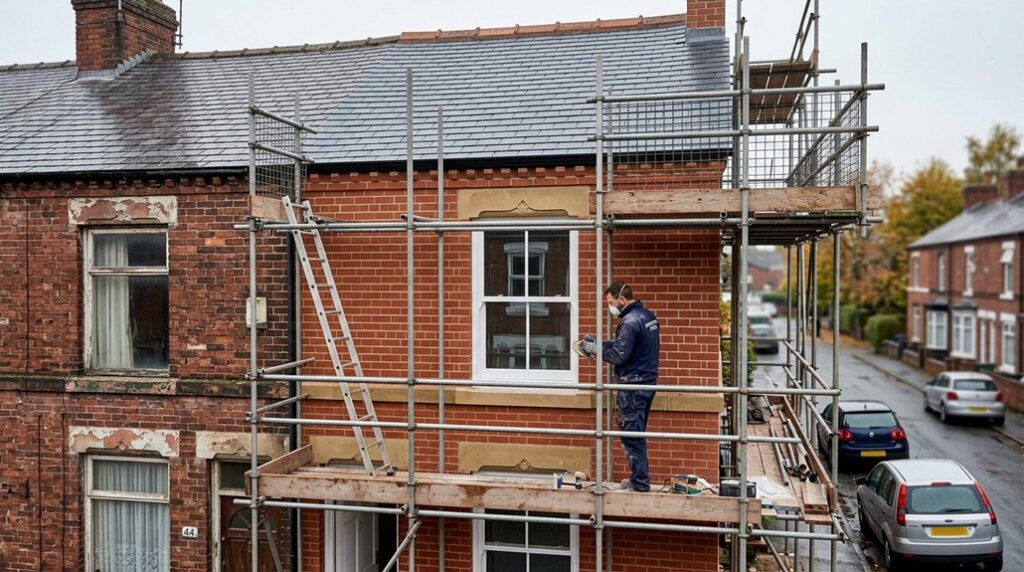
You could spend a lifetime chasing “original” Victorian terrace detail in a Northwich property, and still miss the critical evidence. You start with a condition survey, then strip back layers to log fireplaces, floor build-ups, damp paths, and surviving joinery. You don’t guess; you verify cornice profiles and trim dimensions against what’s physically there. Then you plan heating, wiring, and insulation so routes stay discreet. But one early discovery changes the whole scope, and you’ll want to see it.
Key Takeaways
- Start with a full condition survey covering roofs, masonry, damp, and timber decay to define scope, risks, and priorities.
- Set clear restoration goals: weather-tightness, structural stability, safe services upgrades, and early permissions while preserving Victorian proportions and details.
- Verify original features by selective opening-up, documenting evidence like soot lines, plaster types, timber marks, and matching profiles to local examples.
- Upgrade heating, electrics, insulation, and renewables with planned routes, zoned controls, RCBO protection, and ventilation to prevent condensation.
- Restore layout, finishes, and trims with period-appropriate materials, aligned cornice runs, traditional joinery repairs, and quality checks for consistent authenticity.
Northwich Victorian Terrace: Condition, Scope and Goals

Although the terrace still reads as a coherent Victorian elevation from the street, the building fabric typically shows age-related defects you’ll need to quantify before any design decisions. You’ll survey roof coverings, flashings, rainwater goods, and chimney stacks for failure points. Then, map masonry cracking, bulging, and salt staining against exposure and load paths. You’ll test mortar hardness, identify incompatible cement pointing, and record brick spalling to set repointing specifications consistent with Victorian architecture and historical preservation.
You’ll define scope by prioritising weather-tightness, structural stability, and safe services upgrades. Then, set measurable goals: retain original proportions, repair rather than replace joinery, and match materials, profiles, and finishes. You’ll document constraints, agree tolerances, and schedule permissions early to avoid redesign.
Strip-Back Discoveries: Fireplaces, Floors and Damp Clues
Once you’ve logged external defects and set your repair goals, you’ll validate assumptions by stripping back selected areas inside. You’ll lift a few boards, open up chimney breasts, and remove modern plaster patches in controlled bays, photographing each stage. You’ll look for soot lines, hearth outlines, and redundant flue closures that affect ventilation. Under floors, you’ll map joist ends, sleeper walls, and airbrick paths, then probe for fungal softness and salt-laden dust. You’ll track damp clues by moisture profiling at skirtings and party walls, noting tide marks versus condensation patterns. These restoration challenges demand measured interventions, so you’ll tag locations and log uncertainty to maintain historical accuracy without premature conclusions.
| Area | Discovery | Action |
|---|---|---|
| Chimney | Blocked flue | Test draught |
| Hearth | Cut-back slab | Measure recess |
| Floor | Rotten joist end | Isolate bay |
| Wall | Hygroscopic salts | Sample scrape |
Verifying Original Victorian Features (No Guesswork)
Before you reinstate anything, you’ll verify what’s genuinely Victorian by cross-checking physical evidence against dateable construction cues and documented precedents, not hunches. Start with nail types, saw marks, and timber dimensions; machine-cut nails and circular-sawn joists usually post-date early terrace phases.
Check plaster: lime with hair and hand-run cornices differ from gypsum and factory coving. Read paint stratigraphy at skirtings, architraves, and ceiling roses; photograph each layer and log locations.
Compare profiles against local pattern books and neighbouring houses built in the same year. Confirm fireplaces by brick bonding, hearth stone wear, and flue alignment.
You’ll then specify Victorian ornamentation only where evidence supports it, and choose period appropriate furniture that matches documented room proportions and circulation.
Services First: Heating, Wiring and Insulation for Terraces
Before you close up floors and plaster, you’ll map the terrace’s heating loads room by room and specify upgrades such as a condensing boiler, zoned controls, and correctly sized emitters or underfloor circuits.
You’ll then rewire to current standards, setting circuit schedules, RCD/RCBO protection, and safe cable routes that respect lath-and-plaster walls and timber joists.
Finally, you’ll insulate and draughtproof in a moisture-safe sequence—loft and suspended floors first, then breathable internal wall measures where needed—while maintaining ventilation to prevent interstitial condensation.
Heating System Upgrades
Where does the most useful comfort upgrade start in a Victorian terrace—at the boiler, the emitters, or the fabric? You’ll get the best result by sequencing all three, then commissioning properly.
Begin with a heat-loss assessment room by room, then match output and flow temperatures to real demand.
- Check boiler efficiency: clean the heat exchanger, set weather compensation, and tune the minimum modulation so it doesn’t short-cycle.
- Optimise radiator placement: keep emitters on external walls, avoid boxing-in, size for low flow temps, and fit TRVs plus lockshield balancing.
- Improve the fabric: draught-proof sash gaps, insulate suspended floors with breathable materials, and seal pipe penetrations to cut infiltration.
Finally, flush the system, add inhibitor, and document settings for stable operation.
Modern Electrical Rewiring
How confident are you that the cables behind your Victorian plasterwork can handle today’s loads and protection requirements? You’ll start with an Electrical Installation Condition Report, then map circuits, bonding, and earthing, noting any rubber or lead-sheathed runs.
You’ll rewire in zones, separate lighting and socket radials, and size conductors for design current, voltage drop, and fault loop impedance. You’ll upgrade to a modern consumer unit with RCBOs, surge protection, and labelled ways, then test continuity, insulation resistance, RCD trip times, and polarity.
You’ll add dedicated supplies for induction hobs, EV charging, and Smart home integration hubs, using screened cable where needed. If you’re planning solar panel installation, you’ll route DC/AC isolators, inverter feeds, and generation metering from day one.
Insulation And Draftproofing
Once you’ve pinned down cable routes, bonding points, and the final consumer unit layout, lock in your insulation and draughtproofing plan so you don’t bury junctions, squash conductors, or block ventilation paths. Survey voids, measure joist depths, and select materials with declared lambda values and vapour behaviour suited to solid walls.
Checking and fitting insulating and making properties energy efficient is a must for these projects.
Control thermal bridging at party-wall returns, bay fronts, and suspended timber floors using continuous layers and insulated reveals, but maintain airflow to subfloor vents.
- Seal first: run draft sealing to skirtings, sash boxes, floorboard gaps, and loft hatches; test with smoke.
- Insulate second: fit mineral wool between joists, rigid boards to reveals, and loft quilts without compressing.
- Verify last: keep access to junctions, label services, and recheck ventilation paths.
Layout Changes That Still Feel Victorian
Although you may need to modernise circulation and room sizes, you can rework a Victorian terrace layout without losing its period logic by keeping the original hierarchy—public rooms to the front, service functions to the rear, and private spaces above—while making targeted, reversible interventions.
Keep the street frontage rooms as a defined reception sequence; widen openings only where you can retain chimney breasts and party-wall structure. If you open up, do it back-to-back, and use a beam sized to structural calculations, not guesswork.
Improve flow by relocating doors off the main axis, then reinstate architraves later.
Consolidate wet rooms at the rear stack to minimise new penetrations.
Add a utility or boot zone at the Victorian garden side, using lightweight partitions you can remove later.
Period-True Finishes: Colours, Trims and Final Details
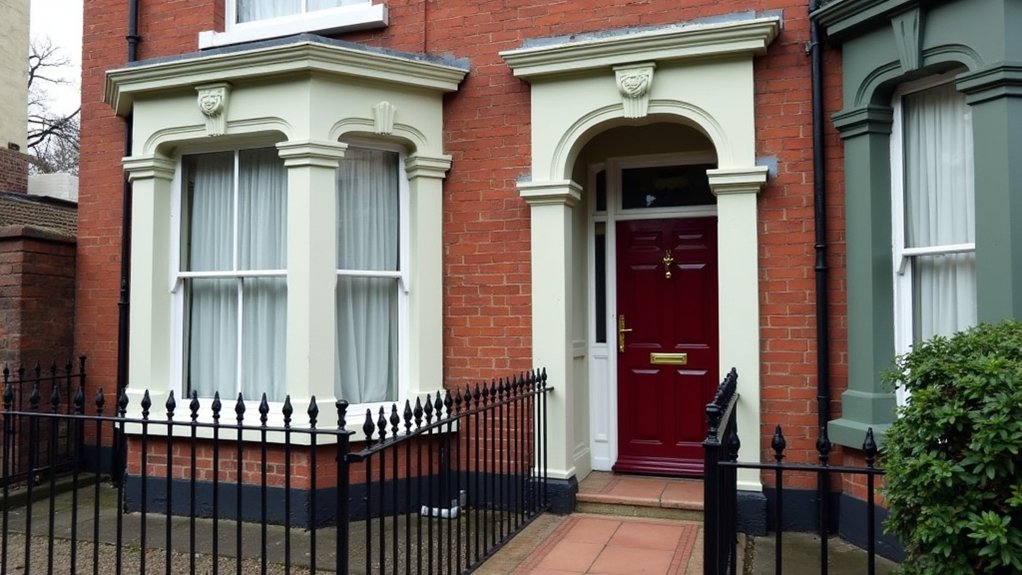
After you’ve set the plan so it still reads as front-to-back reception, rear service, and bedrooms above, the finishes need to lock that Victorian hierarchy back into place. Start by mapping Victorian colour palettes to function: richer tones in front rooms, quieter hues in circulation, washable paints in service zones. Keep sheen consistent—matt for walls, eggshell for woodwork—to control light and highlight joinery.
- Colours: sample under north light; pick a deep green, oxblood, or indigo for reception; reserve stone and buff for halls.
- Woodwork: reinstate skirting profiles, picture rails, and architraves; caulk minimally; sand to 180 grit; prime properly.
- Details: fit brass rim locks, ceramic switches, and ceiling roses; align decorative trims to existing cornice runs.
Frequently Asked Questions
How Long Does a Northwich Terrace Restoration Typically Take From Start to Finish?
You’ll typically complete a Northwich terrace restoration in 4–9 months, and you can picture it clearly despite “too many unknowns”: 2–4 weeks surveys/consents, 8–20 weeks structure/services, 4–10 weeks finishes—balancing Historical preservation and Modern upgrades.
What Permissions or Approvals Are Needed for Victorian Terrace Alterations in Northwich?
You’ll need Planning permissions from Cheshire West and Chester for external changes, plus building control approval. If it’s listed or in a conservation area, secure Heritage conservation consent, and check party wall notices.
What Is the Typical Budget Range for Restoring a Victorian Terrace in Northwich?
You’ll typically budget £60,000–£250,000 to restore a Victorian terrace in Northwich. Costs hinge on Victorian architecture fabric repairs, structural remediation, services upgrades, and specialist restoration techniques like lime plastering, sash refurbishment, and roof renewal.
Can You Live in the House During Restoration, or Is Temporary Accommodation Required?
You can live there during phased restoration, but you’ll often need temporary accommodation for strip-outs, rewires, and bathroom downtime—think “Wi‑Fi outage” severity. Sequence works, protect rooms, maintain Interior design, and preserve Historical accuracy.
How Do You Choose Reputable Local Tradespeople Experienced With Victorian Terraces?
You choose reputable local tradespeople by Choosing contractors through targeted referrals, portfolio reviews, and site visits. You prioritize Victorian-terrace case studies, then focus on verifying credentials: insurance, memberships, references, method statements, and clear written quotations.
Conclusion
You finish the Northwich terrace by locking preservation to performance. You’ve verified every cornice, hearth, and joint, so nothing is “close enough.” You’ve prioritised services—heating loops, compliant wiring routes, and insulation layers—then rebuilt layouts that read Victorian in proportion and circulation. You match colours, trims, and sheens to period tolerances, detailing junctions to prevent damp recurrence. The result is infinitely more than a cosmetic upgrade: it’s a controlled, standards-led transformation.

