A cramped bathroom can feel twice as large without gaining a single inch, but the result depends on disciplined planning rather than cosmetic changes. Start by reworking the layout to improve circulation, group plumbing, and eliminate dead space. Then select wall-hung fixtures, narrow vanities, large-format tile, and frameless glass to preserve sightlines. Add recessed storage and layered lighting, and the room’s proportions begin to change—provided you address the first critical decision correctly.
Key Takeaways
- Reworked the layout to improve circulation while keeping plumbing grouped and avoiding major drain relocations.
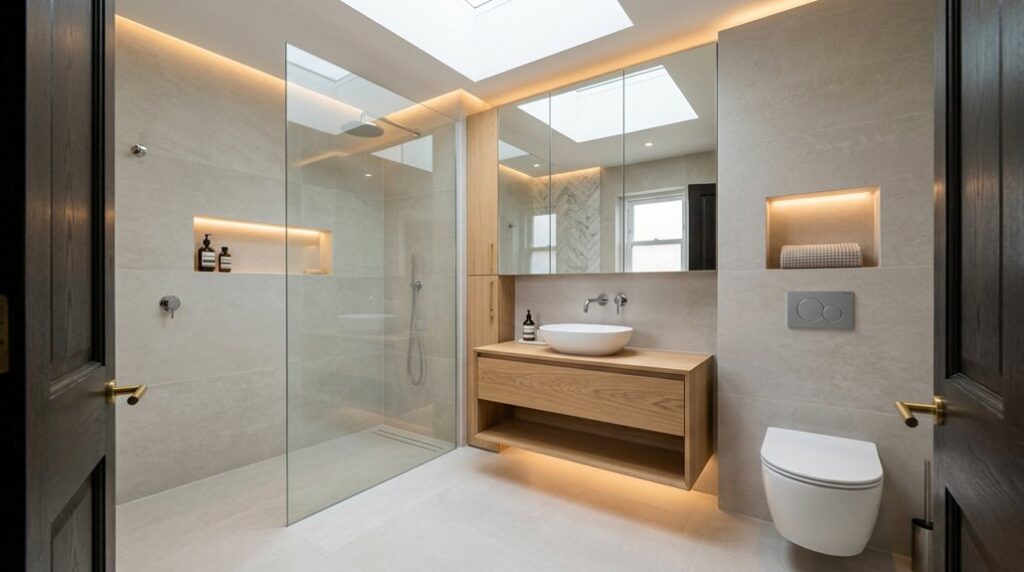
- Installed wall-hung toilets, narrow-depth vanities, and compact showers with sliding doors to preserve usable floor space.
- Used continuous wall color, large-format tiles, frameless glass, and wide mirrors to create visual openness.
- Added recessed cabinets, slim niches, floating shelves, and drawer organizers to maximize storage without cluttering surfaces.
- Layered dimmable, damp-rated lighting with mirror sconces and consistent metal finishes for a brighter, cohesive bathroom.
Rework the Bathroom Layout First
Start by reworking the bathroom layout before choosing finishes or fixtures. Measure every wall, chase, door swing, and service connection, then draw the room to scale. You’ll quickly see whether shifting the basin, toilet, or shower improves circulation without moving major drains.
Keep wet-area plumbing grouped where possible; shorter runs reduce cost, wall disruption, and leak risk. Check clearances at the entry, between fixtures, and in front of storage, preserving practical access for cleaning and maintenance.
Confirm structural constraints before opening walls, including joists, studs, and ventilation ducts. Plan ventilation improvements now, sizing the exhaust fan for the room and routing ductwork directly outdoors.
Coordinate lighting, waterproofing, and decorative tile choices with the revised layout, so grout lines reinforce spacious sightlines rather than exposing awkward progressions or unnecessary corners.
Choose Space-Saving Bathroom Fixtures
Choose fixtures by the clear floor area they preserve, not just by their overall dimensions. Select a wall-hung toilet with a concealed tank to free floor space and simplify cleaning beneath the bowl.
Pair it with a narrow-depth vanity, preferably with drawers that keep plumbing organized without requiring a wide cabinet. A corner sink can protect your circulation path where every inch matters.
Choose a compact, single-piece shower base and a hinged or sliding door sized to avoid conflicts with the toilet and vanity.
Look for compact fixtures engineered for full-size performance, including faucets with short reaches and toilets with efficient flush mechanisms.
Confirm rough-in dimensions, supply locations, and door swings before ordering.
Fixtures with slim profiles work best when their service clearances remain accessible.
Make a Small Bathroom Feel Bigger
Once the fixtures preserve usable floor area, reinforce that gain with finishes and lighting that expand the room visually. Use one light, continuous wall color across the bathroom, including trim, to create a strong Color illusion.
Large-format tile with narrow, aligned joints reduces visual interruptions; run it from floor to ceiling where moisture protection allows. Choose a frameless glass shower panel instead of an opaque curtain or enclosure, so sightlines continue through the wet area.
Install a wide, backlit mirror above the vanity, keeping its edges clear of bulky fixtures. Layer a dimmable ceiling light with vertical sconces to eliminate shadows at your face and corners.
Keep grout close in tone to the tile, and select reflective but non-glossy surfaces that bounce light without emphasizing uneven substrate or highlighting construction flaws.
Add Storage Without Losing Floor Space
Where can storage go when every inch of floor space matters? Use vertical and recessed areas instead of adding bulky cabinets. Install a recessed medicine cabinet between studs, confirming the wall contains no plumbing or wiring before cutting.
Build narrow niches beside the vanity or above the toilet for daily supplies, and waterproof any wet-zone recess with a compatible membrane.
Choose Floating shelves with solid blocking behind the wall so anchors can carry loaded containers safely. Keep shelf depth around 6 to 8 inches to preserve circulation, and place frequently used items between shoulder and eye level.
Use the vanity’s full height with drawers, organizers, and a toe-kick drawer for backups. Hidden compartments inside a mirrored cabinet or bench can hold less-used toiletries without consuming usable floor area.
Measure door swings and clearances before final installation.
Finish With Better Lighting and Details
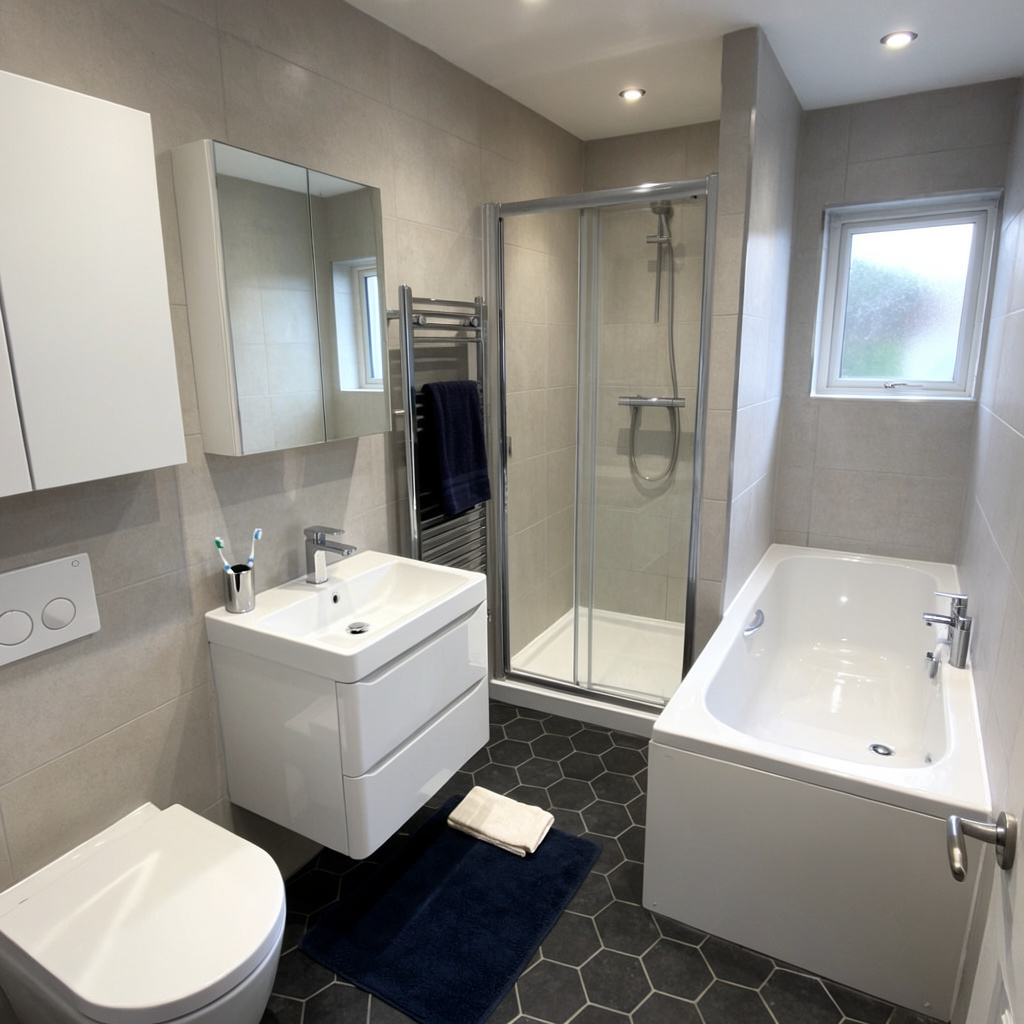
Good lighting makes a small bathroom feel larger and helps you use every feature safely. Layer ambient lighting with task fixtures at the mirror and shower. Choose sealed, damp-rated LEDs with a color temperature around 3000K to render tile and skin accurately without harsh glare.
Install the mirror light at face height, or use vertical sconces on both sides to reduce shadows. A dimmer lets you shift from bright grooming light to a softer evening setting, provided the fixture and switch are compatible.
Finish with details that reinforce the layout. Match metal finishes across the faucet, cabinet hardware, and towel bar to create visual continuity. Add slim decorative accents, such as framed art or a textured bath mat, but keep surfaces easy to clean.
Confirm every junction is sealed, level, and properly caulked.
Frequently Asked Questions
How Much Did the Bathroom Renovation Cost Overall?
You’ll spend approximately £18,500 overall. Your cost breakdown includes demolition, plumbing, fixtures, tile, cabinetry, labor, permits, and contingencies. Careful budget management keeps expenses controlled while preserving durable materials and professional installation quality.
How Long Did the Remodeling Project Take From Start to Finish?
You’ll find the remodeling took six weeks from demolition through final inspection. Like a well-tuned relay, Design ideas, Material selection, plumbing, installation, and inspections followed sequentially, preventing delays while maintaining precise craftsmanship throughout.
Did You Need Building Permits for the Bathroom Changes?
Yes, you’ll typically need renovation permits for plumbing, electrical, structural, or ventilation changes. Check local requirements before work begins; cosmetic Bathroom aesthetics updates, such as paint, fixtures, or finishes, often don’t require permits.
Which Plumbing Challenges Arose During the Renovation?
You’ll face plumbing rerouting around joists, tight supply-line access, and drain-slope constraints. You’ll also manage fixture replacements, preserve venting, prevent leaks, and pressure-test every connection before closing walls or installing finished surfaces.
How Did You Keep the Bathroom Usable During Construction?
You kept a lifeline open: temporary fixtures maintained essential use while space planning staged demolition sequentially. You protected access, isolated dust, and coordinated plumbing shutdowns, ensuring each construction phase preserved a functional washing area onsite.
Conclusion
You don’t need more square footage to make a bathroom work harder. Replan the layout, consolidate plumbing, and select fixtures that leave clear floor area. Then use continuous finishes, generous tile proportions, frameless glass, and layered lighting to make the room feel unconfined. Add recessed or wall-mounted storage to keep surfaces clear. With each decision carrying its weight, a cramped bathroom can unfold like a tightly packed blueprint—efficient, comfortable, and visually twice its original size.