
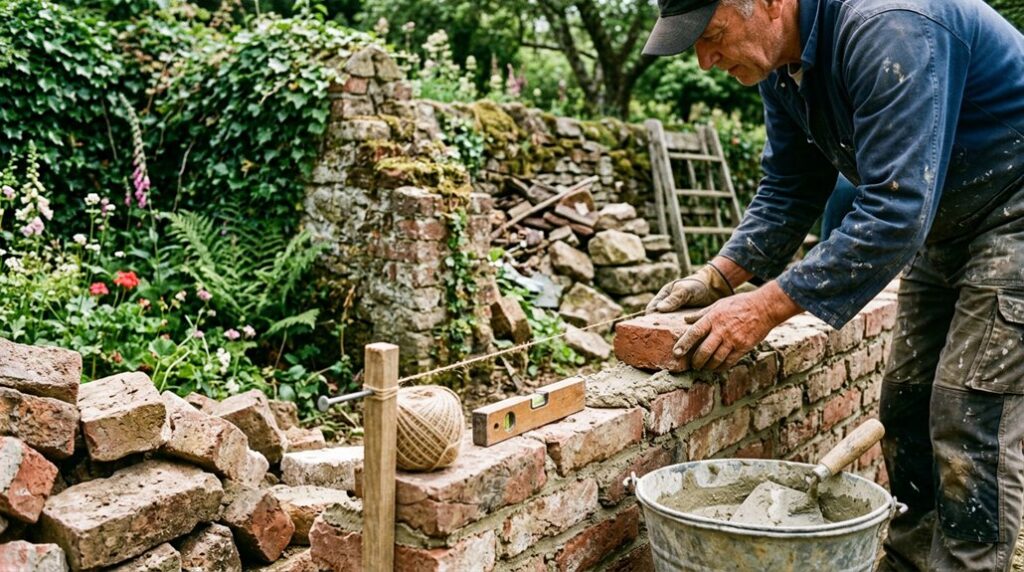
Like rebuilding a small piece of history, restoring a collapsed garden wall requires more than stacking bricks. You’ll need to assess the failure safely, establish a stable foundation, and reproduce the original coursing, bond, and detailing. Traditional reclaimed bricks and breathable lime mortar can preserve the wall’s character while allowing movement and moisture to escape. Yet one overlooked structural or drainage fault could undo the entire repair, so the work begins beneath the visible damage.
Key Takeaways
- Assess the collapse, secure the exclusion zone, and isolate nearby utilities before removing unstable masonry.
- Survey surviving brickwork to match the original bond, coursing, brick dimensions, coping, and decorative details.
- Excavate to firm subsoil, replace soft spots, and install an engineer-specified reinforced concrete footing.
- Use compatible reclaimed bricks and breathable lime mortar, maintaining level, plumb, alignment, and staggered joints.
- Install frost-resistant coping stones with overhangs and drip grooves, then inspect annually and repoint failed joints.
Check Safety Before Clearing the Collapsed Wall

Before clearing a collapsed garden wall, assess the site for unstable masonry, concealed voids, overhead hazards, and damaged services. Your hazard assessment should identify leaning sections, loose copings, fractured bricks, and soil that could shift beneath your feet.
Keep people and pets outside the exclusion zone, and don’t work beneath unsupported masonry.
Wear appropriate Safety gear: a hard hat, protective gloves, safety boots, eye protection, and a suitable dust mask.
Isolate nearby electrical, gas, or irrigation services before disturbing rubble, using qualified professionals where necessary.
Establish a controlled route for removing debris, but don’t climb onto the collapse or pull stones by hand.
Photograph surviving brickwork and features before clearance; these records protect heritage details and help you preserve original materials during later work.
Stop immediately if movement, cracking, or unexpected voids appear.
Plan the New Garden Wall Structure
Plan the new garden wall around its purpose, surviving masonry, ground conditions, and local constraints. Decide whether it will retain soil, define a boundary, shelter planting, or provide privacy, then set its height, thickness, and length accordingly.
Survey remaining brickwork for original bonds, coursing, coping details, and any historic openings you can safely retain. Match the replacement design to that evidence rather than imposing a modern pattern.
Consider prevailing winds, drainage routes, nearby trees, and access for maintenance, but don’t begin excavation yet.
Coordinate plant selection with the wall’s exposure and moisture conditions, keeping vigorous roots away from vulnerable masonry.
Specify decorative features—such as piers, corbelled courses, recessed panels, or a traditional coping—with restraint.
Prepare a scaled sketch showing dimensions, junctions, materials, and brick bonds.
Prepare a Solid Foundation for Rebuilding
With the wall’s dimensions and junctions established, set out a foundation that suits the masonry, ground conditions, and intended loads. Begin by removing loose material, vegetation, and failed footing remnants until you reach firm, undisturbed subsoil.
Arrange Soil testing where ground movement, clay, made-up ground, or drainage problems could affect stability.
Complete a Root inspection, tracing nearby trees and shrubs; remove only permitted roots and address their future growth before excavation.
Excavate to the required width and depth, keeping the trench sides safe and its base level. Don’t build over soft spots: excavate them further and replace them with well-compacted, appropriate fill.
Provide drainage where water collects, while preserving historic paving or adjacent features.
Pour or construct a level, adequately reinforced concrete footing to the engineer’s specification, then allow it to cure fully before laying masonry.
Match Reclaimed Bricks and Traditional Mortar
Once the footing has cured, source reclaimed bricks that match the original wall in size, colour, texture, and firing characteristics, rather than relying on appearance alone. Matching bricks should have compatible dimensions and porosity, so the repaired masonry responds consistently to moisture and temperature. Check samples against sound bricks from the existing structure, and reject pieces with deep frost damage, salt contamination, or unstable faces.
Clean suitable bricks gently; don’t use aggressive grinding that removes historic surfaces. For traditional mortar, analyse the existing joints where possible, then specify a breathable lime-based mix with comparable strength, permeability, colour, and aggregate. Avoid hard cement-rich mortar, which can trap moisture and damage softer heritage bricks.
Prepare enough mortar for uniform appearance, but keep its composition documented for future repairs. Store bricks dry and protect them from contamination before use.
Rebuild the Garden Wall Course by Course

Start with a level foundation course, using the traditional bond and mortar selected for the wall’s heritage character.
As you build upward, stagger each brick joint to distribute loads and prevent continuous weaknesses.
Check every course for level, plumb, and alignment so the rebuilt wall remains structurally sound.
Lay the Foundation Course
Lay the foundation course on a firm, level base, using the original wall line and surviving masonry as references. Remove loose debris, then check the footing’s width, depth, and bearing capacity before placing mortar.
If the base has settled, repair it with compatible lime-based material rather than rigid cement, which can trap moisture in historic brickwork. Dampen absorbent bricks lightly, but don’t saturate them.
Prepare your garden wall materials, including reclaimed bricks matched for size, firing, and weathering, and keep your bricklaying tools clean and ready.
Spread an even mortar bed, set each brick carefully, and tap it into alignment with a wooden handle. Use a spirit level and straightedge to verify level, face position, and wall thickness.
Allow the bed to firm slightly before continuing upward.
Stagger Brick Joints
As you rebuild the garden wall course by course, stagger each vertical joint so it doesn’t align with the joint directly below, preserving the bond that distributes loads through the masonry. Maintain the established bond, usually English or Flemish, and use half bricks at returns only where the pattern requires them.
Apply consistent bed-joint thickness, fully filling perpends to prevent weak vertical planes. Traditional brick joint techniques include:
- Lap each brick adequately over the joint beneath.
- Keep cut bricks away from exposed faces where possible.
- Match reclaimed brick sizes and historic coursing.
- Tool mortar only after it firms slightly.
- Reproduce appropriate mortar joint finishes, such as weather-struck or flush work.
Butter the brick’s end before placing it, then press it into position without smearing the face. Remove squeezed mortar carefully, preserving the wall’s heritage character and sound weather resistance.
Check Level and Alignment
With each course bonded and the joints fully filled, check the wall’s level and alignment before the mortar sets. Place a spirit level across several bricks, then along the bed joint, correcting high spots with gentle taps from a rubber mallet.
Stretch a taut line between the established quoins to verify the face remains straight; don’t rely on sight alone. Check the wall’s plumb at regular intervals, especially where old masonry meets new work.
Small adjustments now protect load distribution and prevent a cumulative lean in later courses. Keep joint widths consistent, since variation can distort both stability and appearance.
Respect the original bond, brick dimensions, and character of the traditional brick types. Accurate alignment supports soundness while preserving garden wall aesthetics and the handcrafted irregularity expected in heritage repairs.
Add Copings and Protect the Finished Wall
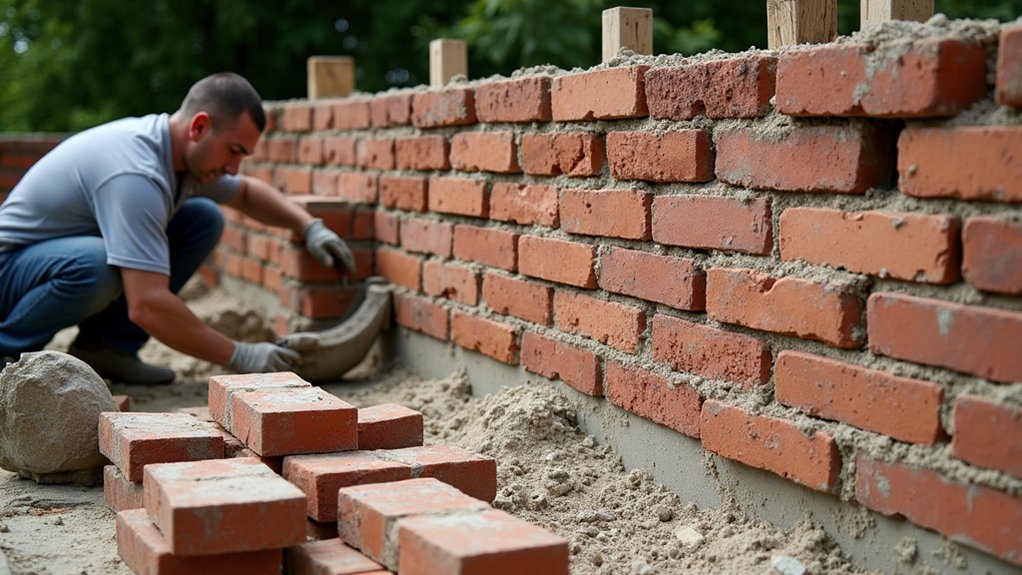
Choose coping stones that suit the wall’s masonry, period character, and exposure, with adequate overhang to shed rainwater.
Bed each coping securely on compatible mortar, maintaining consistent joints and a weathered finish.
Seal vulnerable masonry where appropriate and inspect it regularly to control water ingress, frost damage, and biological growth.
Choose Suitable Coping Stones
The right coping stones will shed rain, protect the wall core, and preserve its character. Choose units that suit the wall’s brickwork, local geology, and historic proportions.
Reclaimed stone often provides the most authentic colour, texture, and weathering, while newly quarried stone can match established masonry closely.
- Select dense, frost-resistant stone with low water absorption.
- Match the coping’s width to the wall, allowing a modest overhang.
- Prefer slabs with a deliberate fall or subtly shaped upper surface.
- Check each piece for cracks, laminations, and unstable bedding planes.
- Retain traditional profiles where the garden wall has heritage value.
Avoid decorative alternatives that imitate historic forms without adequate durability. Likewise, modern materials may perform well but can look visually harsh against handmade bricks.
Assess colour, grain, thickness, and edge treatment together, and source enough matching stone for a consistent finish. Guarantee every selected coping is sound, compatible, and proportionate before installation.
Bed Copings Securely
Once the rebuilt mortar has gained sufficient strength, bed each coping stone on a full, even layer of compatible mortar, maintaining the wall’s established line, level, and traditional overhang. Press each unit firmly into place without rocking, and keep joints narrow, consistent, and fully supported.
Check alignment continuously with a straightedge, spirit level, and string line; correct minor deviations before the mortar stiffens. Stagger joints where the coping design requires it, while preserving the wall’s historic rhythm and traditional brick patterns below.
Shape or select pieces carefully at corners so the overhang remains equal on both faces and ends. Tool the exposed joints neatly, removing surplus mortar without smearing the brickwork.
Accurate coping installation strengthens weather protection, complements garden wall aesthetics, and gives your reconstruction an authentic, durable finish.
Seal And Maintain Masonry
With the copings bedded and aligned, protect the completed masonry from water while preserving its historic appearance. Check every joint, then tool the mortar neatly so rain sheds away from the brick faces. Don’t apply impermeable sealers: traditional walls need to breathe, and trapped moisture accelerates frost damage and salt decay.
- Confirm copings project beyond both wall faces.
- Keep drip grooves clear and continuous.
- Brush away loose mortar without scarring bricks.
- Replace cracked joints with compatible lime mortar.
- Inspect after severe weather and repair promptly.
To seal and maintain the wall, use breathable limewash only where historically appropriate, following local conservation guidance. Avoid cement pointing, silicone coatings, and pressure washing.
Support mortar preservation by recording materials, colors, and repairs, then schedule annual inspections. Clear vegetation, gutters, and standing water nearby.
Your careful maintenance keeps the rebuilt garden wall stable, legible, and sympathetic to its heritage.
Fix Common Problems and Maintain Brickwork
After rebuilding a garden wall, inspect the brickwork regularly for open joints, frost damage, leaning, or displaced coping, and repair defects before water penetration compromises the structure.
Rake out failed mortar carefully, then repoint with a compatible lime mortar; hard cement can trap moisture and damage historic bricks.
Replace spalled units with reclaimed or closely matched bricks, checking brick color matching, dimensions, porosity, and bond before installation.
Don’t patch structural cracks cosmetically: investigate movement, inadequate foundations, root pressure, or drainage failure, and consult a conservation mason when cracking is progressive.
Keep coping stones sound, bedded, and adequately overhanging to shed rain.
Remove vegetation without widening joints, clear gutters and adjacent soil, and avoid pressure washing.
These measures preserve structural stability, heritage character, and garden wall aesthetics through every season.
Frequently Asked Questions
Do I Need Planning Permission to Rebuild a Garden Wall?
You may not need planning permission, but check local rules first. Garden wall height, listed status, conservation areas, and Property boundaries matter. You’ll need approval if rebuilding changes dimensions, affects neighbours, or exceeds permitted limits.
How Much Does Rebuilding a Collapsed Garden Wall Typically Cost?
You’ll typically pay £1,500–£5,000, depending on dimensions, foundations, access, and reclaimed-brick matching. For a reliable cost estimate, obtain structural assessments and itemised quotes; budgeting tips include contingency funds—measure twice, build once.
Should I Hire a Professional Bricklayer for the Entire Project?
Yes, you should hire a professional bricklayer for the entire project, especially if stability, complex foundations, or listed features matter. They’ll guarantee DIY safety, structural integrity, and historical accuracy while meeting local regulations.
How Long Will Rebuilding the Garden Wall Usually Take?
You’ll usually need three to seven days, like a 2023 restoration that progressed brick-by-brick. Allow longer for curing, weather, foundation repairs, reclaimed garden wall materials, and historically appropriate bricklaying techniques.
What Tools and Equipment Should I Rent or Purchase?
You’ll need a brick trowel, pointing iron, spirit level, line pins, mortarboard, club hammer, bolster chisel, shovel, mixer, buckets, PPE, and a cement mixer; source compatible Garden wall materials and practise Bricklaying techniques.
Conclusion
Rebuilding a collapsed garden wall isn’t merely replacing bricks—it’s restoring a piece of local character. Once the footing has cured, lay each reclaimed brick in matching bond with breathable lime mortar, then finish joints and secure the copings against weather. Inspect for movement, cracking, and moisture regularly, and repoint before damage spreads. With careful maintenance, your wall won’t just stand again; it’ll continue the story its original builders began, course by course, for generations.

