
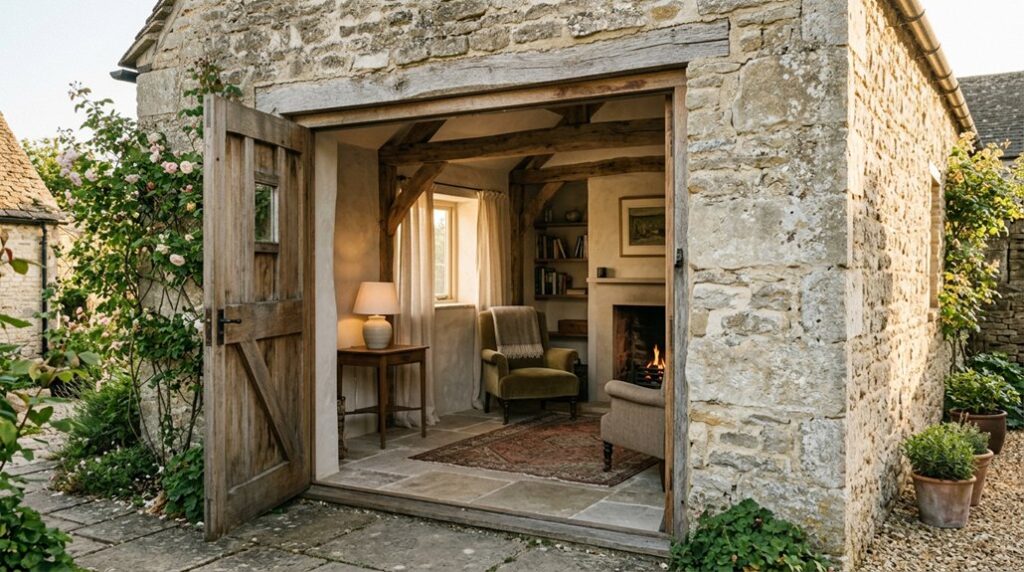
Can an old outbuilding really become comfortable guest accommodation without losing its historic character? We found that it can, but only when you assess the structure before designing around it. By preserving original beams, masonry, and proportions, then adding discreet insulation, services, and storage, you can improve performance without disguising the building’s past. The difficult decisions came where modern requirements met fragile fabric—and that’s where the conversion truly began.
Key Takeaways
- Survey the outbuilding’s structure, history, services, and regulations before designing the conversion or concealing existing defects.
- Retain beams, masonry, doors, ironwork, and other original features, repairing them with compatible, breathable materials wherever possible.
- Add discreet insulation, heating, glazing, and services through reversible upgrades that improve comfort without damaging historic fabric.
- Plan compact layouts around existing openings and structural walls, using built-in storage and carefully positioned kitchen and sleeping areas.
- Use layered warm lighting, reclaimed materials, lime-based finishes, and locally sourced furnishings to enhance character without creating visual clutter.
Assess the Outbuilding Before Making Plans
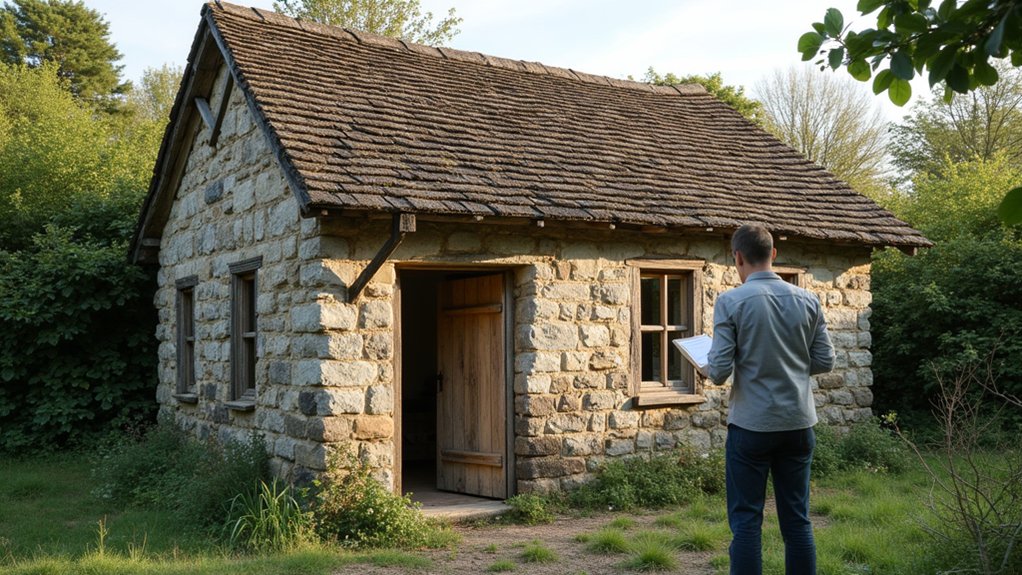
Before you make plans, assess the outbuilding’s structure, history, and permitted use. Start with a measured survey, recording wall thicknesses, roof geometry, openings, floor levels, and signs of movement or moisture.
Inspect foundations, timbers, masonry, drainage, and electrical services with qualified professionals; don’t conceal defects behind finishes.
Research deeds, mapping, photographs, and local listings to identify alterations, original materials, and features requiring Historical preservation.
Confirm planning permission, building regulations, fire separation, access, wastewater capacity, and any restrictions affecting a change of use.
Test the building’s orientation, daylight, ventilation, and thermal performance, but document existing conditions before proposing upgrades.
You’ll then understand which repairs are essential, which interventions are reversible, and whether Modern amenities can be introduced without compromising significant fabric or misleading the building’s historic story.
Plan Guest Accommodation Around the Original Structure
You’ll need to assess the existing layout before assigning spaces for sleeping, washing, and circulation.
Work with the building’s proportions, openings, roof structure, and load-bearing walls rather than forcing a standard floor plan.
Preserve original features wherever possible, integrating services carefully so the accommodation retains its character.
Assess the Existing Layout
Start by surveying the outbuilding as it stands, recording its footprint, ceiling heights, structural supports, openings, services, and signs of damp or movement. This structural assessment gives you a reliable basis for planning, while historic preservation principles keep new accommodation proportionate to the inherited shell.
Map the most practical arrangement before drawing partitions. Test where guests can enter, sleep, wash, cook, and circulate without forcing awkward routes or overloading fragile areas.
- Let the original proportions guide room sizes, so the building still feels honest and calm.
- Position bathrooms near existing drainage routes to reduce excavation and disruption.
- Use daylight studies to place living spaces by suitable openings and keep private areas discreet.
- Record constraints clearly, because each limitation can shape a thoughtful, comfortable plan.
Check proposed layouts on site with taped floor lines and temporary furniture. You’ll spot pinch points, headroom problems, and access conflicts before construction begins.
Preserve Original Features
Treat the original structure as the framework for the guest accommodation, retaining features such as exposed beams, masonry walls, trusses, doors, and ironwork wherever they remain sound.
Survey each element before altering it, recording defects and identifying repairs that preserve fabric rather than disguise it. Stabilise weakened timbers with appropriately sized, reversible interventions, and repoint masonry using compatible lime mortar instead of hard cement.
Keep original openings where possible, repairing doors and windows rather than replacing them with standard units. Route new plumbing, wiring, and insulation through secondary spaces, limiting chasing and drilling.
Your design should support Historical authenticity while allowing Modern integration: conceal services, improve thermal performance, and add discreet lighting without obscuring structural details.
Where replacement is unavoidable, match materials, proportions, and workmanship, clearly distinguishing new work on close inspection.
Upgrade Comfort Without Hiding Character
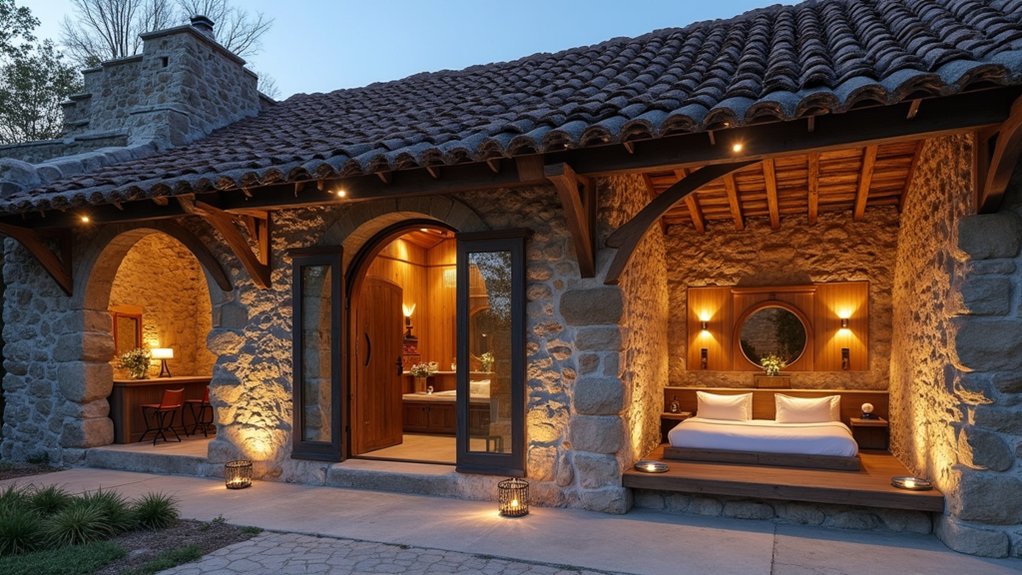
Preserve the outbuilding’s defining features—exposed masonry, original roof timbers, and irregular openings—while adding discreet upgrades that improve everyday comfort. Historical preservation should guide every intervention, not prevent you from achieving Modern comfort.
- Install high-performance insulation behind breathable linings, keeping walls dry while stabilising indoor temperatures.
- Route electrical and plumbing services through carefully planned zones, minimising chasing and protecting significant fabric.
- Add underfloor heating beneath a reversible floor build-up, giving guests steady warmth without radiators competing with historic details.
- Fit secondary glazing or slim internal panels to reduce draughts and noise while retaining the original windows’ visual rhythm.
You’ll create a room that feels warm, quiet, and dependable, yet remains unmistakably itself. Test ventilation, humidity, and heating performance before final finishes; comfort should support the building’s character, not conceal it.
Document every concealed upgrade so future maintenance remains informed, cautious, and repairable.
Choose Materials That Respect the Building’s Past
Choose materials that complement the outbuilding’s age, construction, and moisture behaviour rather than imposing a new aesthetic. Assess existing brick, stone, timber, and mortar before specifying replacements. You’ll preserve material authenticity by matching dimensions, textures, colour variation, and weathering, not by applying superficial finishes.
Use breathable lime mortar and compatible limewash where traditional masonry needs repair; hard cement products can trap moisture and accelerate decay. Reclaim sound floorboards, roof tiles, and structural timber where their condition and performance allow.
Source new materials locally when possible, prioritising handmade or traditionally manufactured products that sit convincingly alongside original work. Keep interventions legible but restrained: careful craftsmanship supports historical preservation without creating a false impression of age.
Test samples on site, and document decisions so future repairs remain compatible.
Solve Layout, Lighting and Storage Challenges
You’ll need to optimise the floor plan around existing walls, openings and structural features. Preserving the outbuilding’s character while improving circulation is important.
Layer ambient, task and accent lighting to balance comfort with the building’s limited natural light.
Build clever storage into awkward corners, roof slopes and fitted joinery without obscuring historic fabric.
Optimise the Floor Plan
How can a compact outbuilding feel spacious without compromising its character? Start by measuring every wall, opening and structural feature before planning your furniture arrangement. Keep circulation routes at least 900mm wide, and protect original beams, fireplaces and masonry from unnecessary alterations.
- Position the bed away from the entrance to create calm, practical privacy zones.
- Use a slimline kitchenette along one service wall, preserving uninterrupted floor area.
- Choose built-in cupboards beneath eaves or beside chimney breasts, matching existing joinery proportions.
- Select furniture with exposed legs and modest depth to maintain visual openness and reveal historic flooring.
Use pocket or outward-opening doors where permitted, but check fire escape requirements first. A carefully zoned plan lets guests move naturally, gives each function a clear home, and makes the building’s inherited character feel intentional rather than restrictive.
Layer the Lighting
Once the floor plan is settled, layer the lighting to support each use without overpowering the building’s character. Start with discreet ambient glow from dimmable ceiling fittings, positioned to avoid highlighting uneven plaster or distracting from exposed timbers.
Then add task lighting where guests read, cook, work, or move between levels. Wall-mounted lamps with warm, high-colour-rendering LEDs can frame architectural features while providing practical light; choose surface-mounted fittings where chasing cables would damage historic fabric.
Use low-level illumination along steps and circulation routes to improve safety without creating glare. Keep colour temperature consistent, ideally around 2700K–3000K, and specify separate circuits so you can adjust each layer independently.
This layered illumination lets you shift from functional brightness to a calm evening setting while preserving the outbuilding’s authentic atmosphere.
Build Clever Storage
With the lighting set, build storage into the layout so it supports daily use without crowding the outbuilding or obscuring its character. Measure every recess, then fit shallow cupboards beneath the eaves, beside the bed, or beneath a window. Choose moisture-resistant birch plywood internally, while matching reclaimed boards or limewashed doors to preserve Vintage charm and rustic elegance. Keep doors aligned with existing joinery, and use discreet pulls rather than conspicuous hardware.
- Protect the room: Store luggage under a raised bed, keeping floor routes clear.
- Respect the fabric: Avoid cutting historic masonry; use reversible, freestanding units.
- Control clutter: Add adjustable shelves, hooks, and a concealed laundry basket.
- Improve comfort: Reserve storage for heating controls, chargers, and guest essentials.
You’ll gain capacity without sacrificing proportion, daylight, or the outbuilding’s honest character.
Finish the Guest Accommodation With Thoughtful Details
Finish the conversion by selecting details that support the building’s character without compromising modern comfort. Retain original hinges, boards, or masonry where they’re sound, then pair them with discreetly upgraded hardware, efficient lighting, and durable finishes.
You can create Vintage charm with locally sourced textiles, antique mirrors, and simple timber furniture, but avoid reproductions that look artificially aged. Choose lime-based paint or breathable mineral coatings for historic walls, allowing moisture to escape and reducing condensation risk.
For Rustic elegance, specify unlacquered brass, wool throws, and handmade ceramics in restrained colours. Fit blackout blinds, reliable sockets, and intuitive controls so guests won’t sacrifice convenience.
Finally, test heating, ventilation, water pressure, and lighting at different times of day. Your final styling should feel collected, not themed, and remain easy to maintain.
Frequently Asked Questions
Did You Need Planning Permission or Building Regulations Approval for the Conversion?
You’ll typically need planning permission and building regulations approval, though requirements vary by location, use, and alterations. Check locally before work begins, especially where historical preservation applies; secure necessary building permits and document compliance carefully.
What Was the Total Cost of Converting the Outbuilding Into Guest Accommodation?
You’ll spend approximately £45,000 converting the outbuilding: modest foundations, substantial craftsmanship. Through disciplined budget planning and careful material selection, you’ll preserve historic fabric while meeting insulation, plumbing, electrical, fire-safety, and building-regulation requirements.
How Long Did the Entire Renovation Project Take From Start to Finish?
You’ll complete the entire renovation in approximately six months, including planning, structural repairs, services, Historic preservation, and interior design. Allow additional contingency time for approvals, specialist materials, weather delays, and unforeseen masonry conditions during construction.
Did You Hire Architects, Contractors, or Specialist Tradespeople for the Work?
You’ll hire an architect for design ideas, a principal contractor for coordination, and specialist tradespeople for traditional masonry, carpentry, and services. Their expertise guarantees material choices respect existing fabric while meeting modern regulations, safety, and performance requirements.
How Do You Maintain and Clean the Converted Guest Accommodation Today?
You’ll maintain and clean it through consistent guest cleaning routines: ventilate rooms, inspect plumbing, clear gutters, and use gentle products on original surfaces. Follow seasonal maintenance tips, documenting defects before they become costly problems.
Conclusion
Converting an old outbuilding into guest accommodation works best when you treat its history as a guide, not an obstacle. Assess what’s sound, plan around original fabric, and improve insulation, services, lighting, and storage with discreet, reversible solutions. Use breathable materials and sympathetic finishes to protect the building’s performance and appearance. When every modern addition earns its place, the result feels less like a renovation than a bridge between past and present—comfortable, useful, and full of character.

