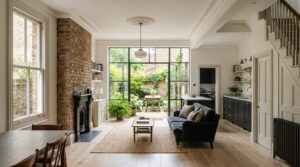
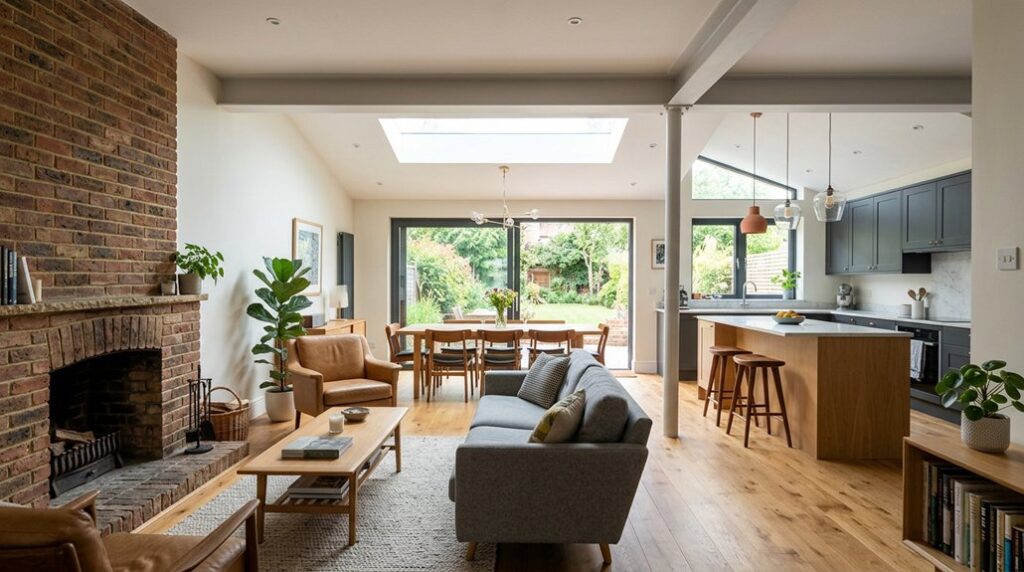
You probably don’t know that many 1960s semis rely on internal masonry walls to brace floors and control racking, so simply “taking it out” can create hidden movement. You can still get an open-plan feel by proving what the wall carries, then widening targeted openings with a specified steel beam, posts, and correctly sized padstones on sound bearings. Once you set sightlines, tweak door positions, and add internal glazing, the layout changes fast—but only if you handle one critical detail first.
Key Takeaways
- We confirmed the wall was load-bearing by tracing joists, beams, and supports above and aligned structure below.
- We improved flow by widening existing openings and adding glazed panels, keeping the main load-bearing line intact.
- We introduced transoms and internal “window” openings with reeded or satin glass to pull daylight deeper while preserving privacy.
- We detailed frames, seals, and insulated reveals to prevent draughts, cold bridging, and condensation around new glazing.
- We clarified zones and circulation with 900mm-clear walkways, furniture placement, and layered lighting to make the layout feel open.
Confirm If the Wall Is Load-Bearing
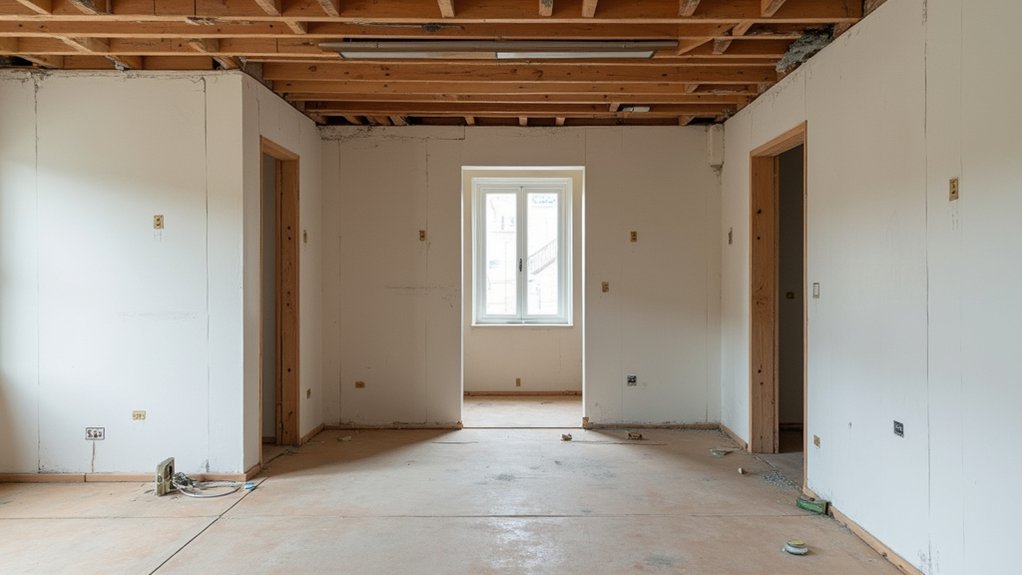
First, how do you know you’re not about to compromise the structure? You confirm whether the wall carries loads by tracing what sits above and below it. In a 1960s semi, check if floor joists or ceiling joists run perpendicular and bear onto that wall; parallel joists usually signal it’s non-load-bearing.
In the loft, look for struts, purlins, or truss nodes landing on the line of the wall. Downstairs, inspect whether it aligns with supporting walls, steel beams, or foundations.
You also verify with stud spacing, doubled top plates, and bearing posts near openings. Don’t trust Decorative accents or Wall treatments to indicate structure; remove a small inspection section and document findings before you alter anything.
Decide What “Open Plan” Means for You
Before you sketch an opening, you’ve got to define your daily flow—map key routes between kitchen, dining, and living zones and note where bottlenecks form.
Then prioritize light and sightlines by identifying which windows should project through the plan and which viewpoints you need to keep clear from entry to garden.
With those targets set, you can size the opening, choose partial walls or wide cased openings, and place furniture so the space reads open without touching the load path.
Define Your Daily Flow
Although “open plan” gets marketed as one big room, it only works in a 1960s semi when it matches how you actually move through the house day to day. Map your main routes: entry to kitchen, hob to sink, table to back door, sofa to stairs.
Keep each path a minimum of 900mm clear so people can pass without clipping corners or chairs.
Use furniture arrangement to reinforce zones: float the sofa to create a circulation spine, align the dining table parallel to the kitchen run, and place storage where it stops shortcutting through work areas.
Lock the plan together with a disciplined colour palette: one wall colour, one trim colour, and two repeatable accents. You’ll get cohesion without forcing everything into one function.
Prioritize Light And Sightlines
If you treat “open plan” as a light-and-sightline problem rather than a demolition target, you’ll make smarter changes in a 1960s semi. Map the darkest zones first, then open controlled apertures: widen existing door openings, add glazed internal doors, or insert a high-level internal window above cabinetry to borrow daylight without touching structure.
Use aligned floor finishes and consistent ceiling planes to extend sightlines, but keep thresholds where you need acoustic separation. Position tall storage on party-wall runs, not between windows and the hall, and specify light-reflective paints (LRV 70+) to lift ambient levels.
For Historical preservation, retain original trims and proportions; for aesthetic integration, match new glazing profiles and hardware to period cues. Test options with taped outlines.
Fix Sightlines and Layout Around the Wall
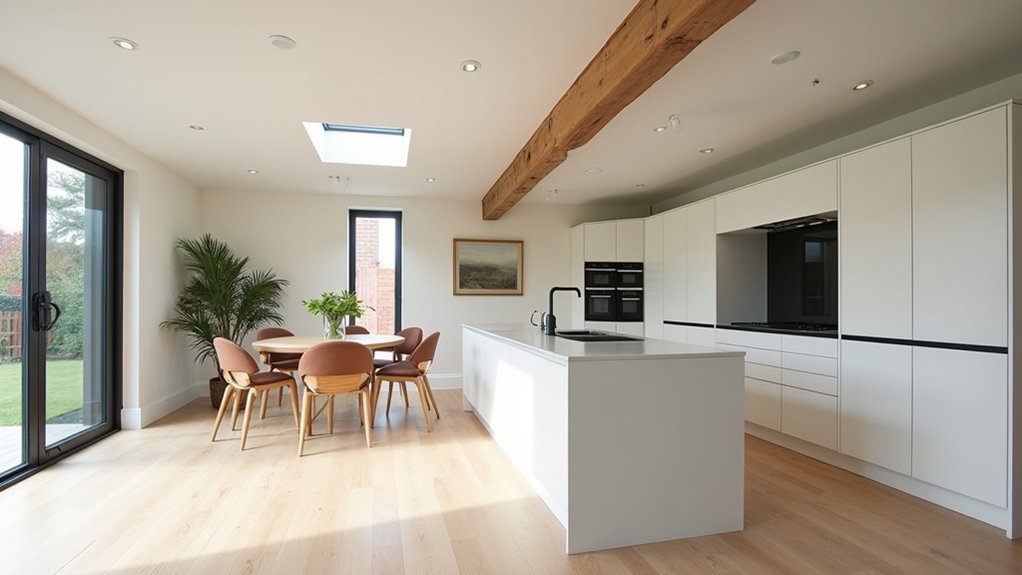
You restore clear sightlines by aligning door openings, lowering non-structural nibs, and using glazed panels or wide cased openings that keep the load-bearing wall intact.
You rework circulation by setting a direct route between kitchen, dining, and lounge, then relocating furniture and storage so the wall stops acting like a pinch point.
You zone spaces with light by layering ceiling, task, and wall-wash lighting and matching floor finishes so each area reads distinct without adding barriers.
Restore Clear Sightlines
When a load-bearing wall blocks the main axis between the entry, kitchen, and living area, you can still restore clear sightlines by reshaping what’s around it instead of removing it.
Start by lowering adjacent casework and keeping upper cabinets off the wall-facing run so your eye travels across the room. Add a wide cased opening beside the wall (where structure allows) and align its head height with nearby door trim to create one clean datum.
Use glass-front or open shelving at the wall’s end to “borrow” light while managing privacy concerns. Choose reflective finishes—light quartz, satin paint, or a mirror panel—as decorative accents that push brightness deeper.
Finally, tighten furniture heights and lighting placement so nothing interrupts the new visual corridor.
Rework Circulation Paths
Clear sightlines help, but the layout won’t feel open until the traffic pattern stops colliding with that load-bearing wall. You need to treat it like a fixed pier and reroute movement around it, not through it. Map your traffic flow from entry to kitchen to lounge, then assign clear corridors and keep pinch points above 900mm.
- Shift furniture arrangement so the sofa backs the wall, forming a straight run to the patio doors while keeping 1,000–1,100mm behind seating.
- Rotate the dining table 90° and align its long edge parallel to the wall, preserving a 900mm pass-through on the kitchen side.
- Relocate storage and tall units to the far corners, so door swings and drawer pulls don’t intrude into the main route.
Zone Spaces With Light
Although the wall stays put, lighting can do the heavy lifting by separating kitchen, dining, and lounge into legible zones while keeping your main sightline intact.
Run dimmable recessed downlights in a tight grid on the kitchen side, then switch to a linear pendant centered over the dining table to “pin” that zone.
Aim adjustable wall-washers along the wall to flatten shadows and visually extend width, but keep beam angles tight to prevent glare in the lounge.
Add low-level toe-kick LEDs under base units to guide circulation after dark.
Tie zones together with consistent color palettes in lamp temperatures (2700–3000K) and finishes.
Lock in furniture arrangements by lighting anchors: a floor lamp at the sofa corner and a spotlighted artwork beyond the wall.
Widen Openings Safely (Beam, Posts, Padstones)
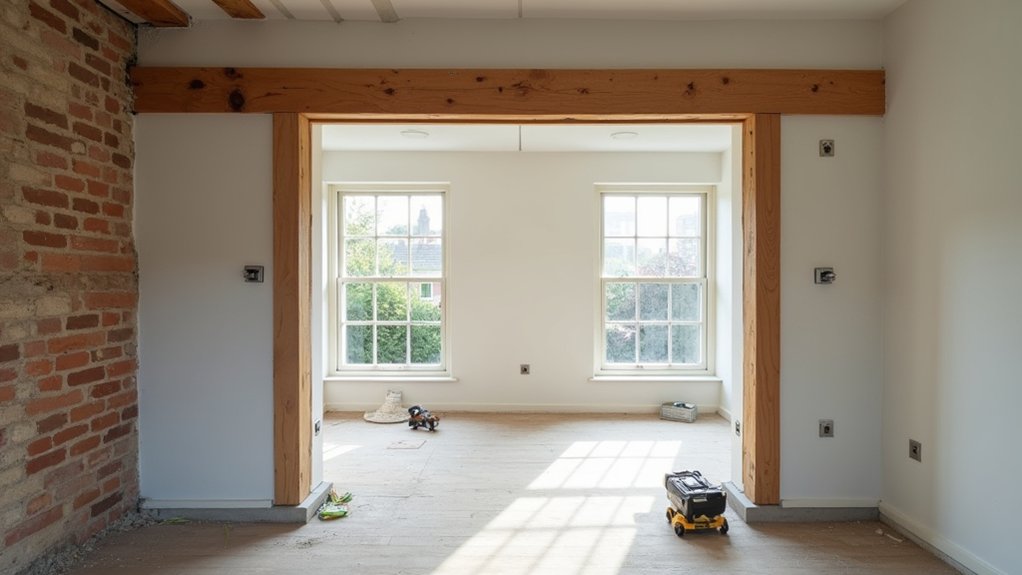
If you’re widening an opening in a 1960s semi, you’ll need a properly sized beam with correctly detailed posts and padstones so loads transfer cleanly into the existing masonry without cracking or settlement. Get calculations, then set out carefully so your beam installation lands on sound bearing and your post placement doesn’t clash with services.
Cut pockets neatly, then bed padstones level on strong mortar; you’re creating a stable spreader for point loads. Prop both sides with Acrow props and strongboys before any demolition, and keep vibration down to protect brittle brickwork and old plaster. Aim for full bearing, tight packing, and controlled deflection during lift and grout.
- Verify wall type, span, and bearing length; specify steel/engineered lintel.
- Install padstones, then posts plumb; shim, dry-pack, and tie in.
- Lift beam, bolt connections, grout ends, then remove props gradually.
Rethink Doorways to Improve Circulation
Before you reach for the steels, map how you actually move through the 1960s semi and treat doorways as a circulation problem you can solve with layout, not demolition. Start by plotting pinch points between hall, kitchen, and lounge; then rehang doors to open against dead wall space, not across the route.
Swap swing doors for pocket or surface-sliding where stud depth allows, and use offset hinges to gain clear width without touching structure. Relocate a doorway along the same partition to align sightlines and reduce zig-zagging, keeping lintels and services intact.
Tighten doorway aesthetics with consistent architrave profiles and aligned head heights. Make material choices that resist wear: hardwood thresholds, durable ironmongery, and sound-rated cores where rooms still need separation.
Add Glazing to Pull Light Through the Wall
When you can’t widen an opening in a 1960s semi without hitting structure, you can still move daylight and borrowed views by glazing the wall itself. You cut in a fixed panel between studs, keep the lintel sized to the existing load path, and gain brightness without touching the bearing line. Specify laminated safety glass and a slim steel or timber frame so the assembly stays stiff and easy to seal.
- Use reeded or satin glass for privacy screening while still transmitting diffuse light.
- Add a double-glazed unit with an acoustic laminate interlayer for acoustic treatment and quieter circulation zones.
- Detail a continuous perimeter gasket, insulated reveal, and moisture-resistant lining so you avoid draughts, cold bridging, and condensation at the edges.
Borrow Light With Transoms and Internal Windows
Although the main opening stays locked to the existing load-bearing line, you can still pull daylight deeper into the plan by adding transoms over door heads and internal “window” panels between rooms. Set transoms at consistent head height so sightlines read continuous, and specify laminated or toughened glass for impact resistance and acoustic control.
Use Decorative transom designs—reeded, fluted, or crittall-style bars—to diffuse glare while keeping privacy. For internal panels, choose Internal window styles that match your joinery: slim aluminium frames for a crisp reveal, or painted timber for a softer, period fit.
Detail trickle vents or 10–12mm undercuts to maintain airflow, and seal perimeters to stop sound leaks. Keep opening sizes within stud bays to avoid extra structure.
Turn the Load-Bearing Wall Into a Feature
If you can’t relocate the structural line, you can still make the load-bearing wall earn its keep by treating it as a deliberate architectural element—think “spine” rather than obstacle. You’ll define zones, control sightlines, and add storage while keeping circulation clear. Use consistent datums so the wall reads intentional, not leftover.
- Wrap it in Decorative finishes: timber slats, microcement, or limewash to unify old plaster and new openings.
- Turn thickness into function: recess display niches, integrate shallow cabinets, or add a bench return on the dining side.
- Add Creative accents: a shadow-gap at ceiling, continuous LED wash, or a contrasting reveal bead to sharpen edges.
Keep junctions crisp, align trims with door heads, and coordinate skirtings so both rooms feel planned.
Costs, Approvals, and Structural Checks to Budget For
Before you touch plaster or order steel, you’ll need to budget for the paperwork and verification that make a 1960s semi’s structure predictable: a measured survey, a structural engineer’s assessment (including padstone/bearing checks and any wind-post requirements), and the approvals route—Building Control sign-off (with calculations and beam specs), plus planning/party wall steps where applicable.
Then price the enabling works: opening-up inspections, temporary propping, and making good once the engineer confirms load paths.
Ring-fence fees for Building permits, inspection visits, and any re-submissions if site conditions differ from drawings.
Don’t let Material costs blindside you: specify steel grade, intumescent protection, fixings, and acoustic/fire detailing early so the quote matches compliance.
Add contingency for hidden lintels, undersized bearings, or non-standard joist directions.
Frequently Asked Questions
How Disruptive Is the Work, and Can We Live in the House During It?
You can usually live in the house, but expect noise, dust, and restricted access. You’ll schedule phased work, use plastic barriers and negative-air fans, plan furniture rearrangement, and apply privacy solutions for occupied rooms.
How Long Does Opening up a 1960S Semi Typically Take From Start to Finish?
You’ll typically need 6–12 weeks start to finish, depending on permits, inspections, and structural reinforcements. You’ll schedule demolition, framing, MEP rough-ins, interior lighting upgrades, plastering, and finishes, with contingencies for surprises.
Will Opening up the Layout Make the House Harder or More Expensive to Heat?
It can, but you can prevent higher heating costs by improving Energy efficiency. You’ll manage airflow and zoning, seal ductwork, and add insulation solutions at ceilings, rim joists, and exterior walls to reduce heat loss.
How Can We Reduce Noise Transfer Without Adding Back Full Walls?
You can reduce noise transfer with soundproofing solutions like acoustic baffles, partial-height partitions, and decoupled ceilings; prioritize material choices: mineral wool panels, mass-loaded vinyl, resilient channels, and solid-core doors, plus rug underlay to damp footfall.
Does an Open-Plan Conversion Affect Resale Value in a 1960S Semi?
Yes, it can raise resale if you keep flexibility and control acoustics. You’ll add Decorative partitions and privacy screens to define zones, meet buyer expectations, limit noise, and avoid over-customization that narrows demand.
Conclusion
You don’t have to demolish a load-bearing wall to get open-plan living; you just have to engineer it. Confirm the wall’s role, then set out openings so the steel beam bears on correctly sized padstones and sound supports. Rework door positions, add glazing, and use transoms or internal windows to borrow light and improve circulation. Measure twice, cut once: budget for calculations, Building Control sign-off, and inspections to keep it safe.