
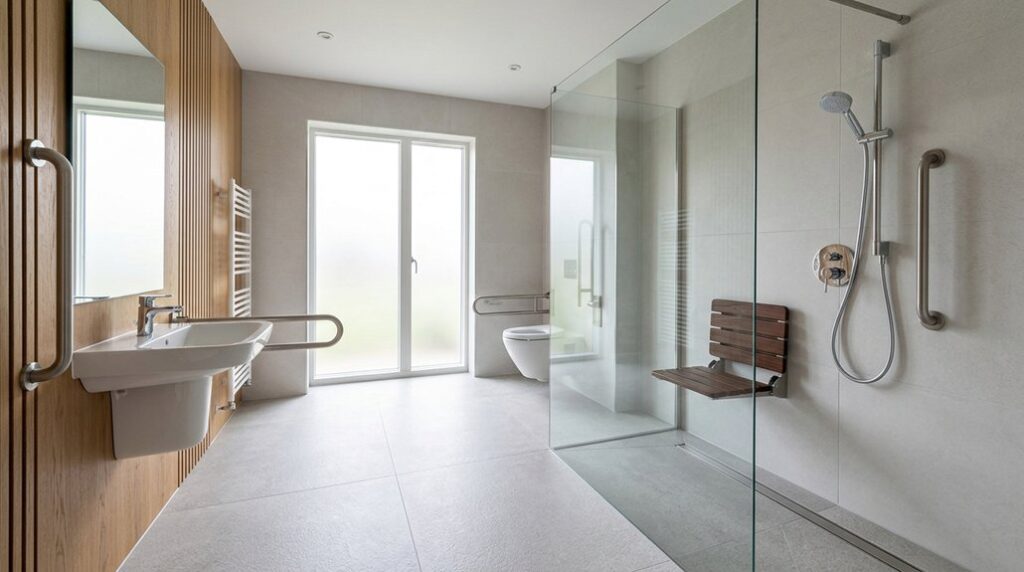
You’ll transform a cramped bungalow bathroom into a safer, more usable wet room with careful planning and precise installation. Start by mapping step-free access, fixture positions, turning space, and grab-rail locations before removing the existing fittings. Then prepare the floor, install waterproofing and drainage gradients, and upgrade ventilation and plumbing. Choose accessible fixtures, slip-resistant tiles, and secure supports, but one overlooked detail can still compromise everyday safety—so the final testing stage matters most.
Key Takeaways
- Planned a step-free layout with direct routes, wheelchair turning space, and accessible positioning for the shower, toilet, and basin.
- Removed existing fittings, inspected structural materials, upgraded plumbing and ventilation, and protected adjoining rooms during preparation.
- Created a level, reinforced floor with suitable drainage gradients, tanking membranes, sealed joints, and flood-tested waterproofing.
- Installed a level-access shower, folding seat, handheld controls, grab rails, wall-hung toilet, and slip-resistant wet-room flooring.
- Tested transfers, controls, drainage, stability, and slip resistance, then corrected leaks or faults before commissioning the bathroom.
Plan the Wet Room Layout for Accessibility
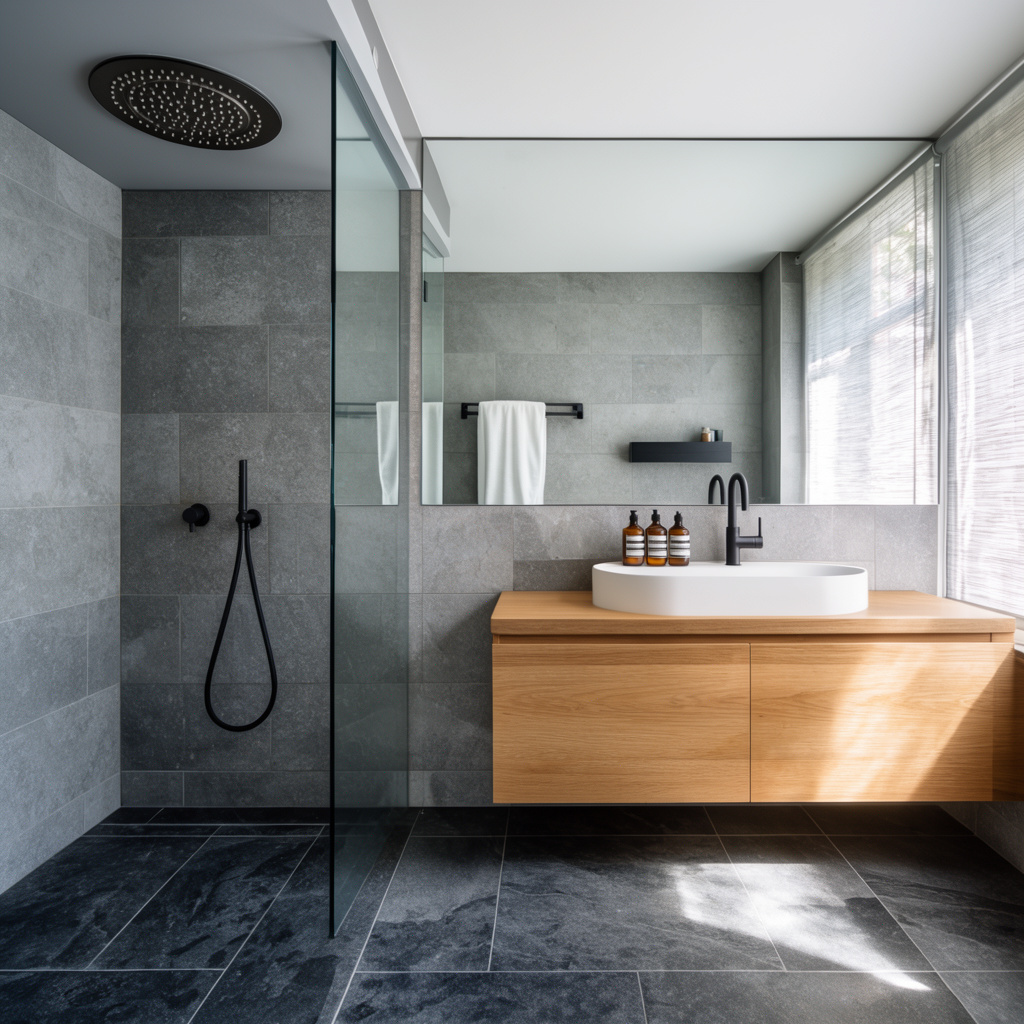
Plan the wet room around clear, step-free movement, positioning the shower, toilet, and basin so you can use each fixture without tight turns or obstructions. Allow adequate turning space for a wheelchair or walking aid, and keep the route between the door and every fitting direct.
Choose a level-access shower with a folding seat, handheld control, grab rails, and thermostatic protection.
Set the basin height and clearance to support seated use, while selecting a wall-hung toilet that provides suitable transfer space.
Check door swing, threshold details, and radiator placement before fixing positions.
Coordinate Lighting design to eliminate shadows near controls and transfers.
Evaluate ventilation options early, ensuring moisture extraction won’t conflict with mobility clearances, ceiling structure, or future maintenance access.
Confirm measurements against accessibility standards before installation begins.
Prepare the Small Bungalow Bathroom
Once the accessible layout is fixed, prepare the bungalow bathroom for waterproof construction. Remove sanitaryware, wall coverings, skirting, and any loose adhesive, then expose the substrate for inspection.
Isolate water and electricity before disconnecting fixtures, and protect adjoining rooms from dust and debris.
Check walls, joists, and existing boards for rot, movement, or moisture damage; replace compromised materials rather than covering them.
Plan Plumbing upgrades now, including relocated waste pipes, improved traps, isolation valves, and suitable supply lines for the shower, basin, and toilet.
Confirm that the existing drainage route can handle the new fittings.
Assess Bathroom ventilation, clean the fan and duct, and upgrade capacity if humidity control is inadequate.
Mark service routes clearly, photograph concealed connections, and obtain required electrical or building approvals before work proceeds.
Create a Level, Waterproof Wet Room Floor
With the substrate exposed, set the wet room floor to a firm, level fall toward the drain before installing waterproofing. Use a compatible former or bonded screed, checking gradients with a straightedge; avoid abrupt changes that could trap water. Reinforce timber substrates as specified, then prime and seal every junction.
- Form a consistent fall, typically 1:80 to 1:60.
- Fit the drain and trap securely, maintaining service access.
- Apply tanking membrane across the floor and up walls.
- Seal corners, penetrations, and board joints with approved tape.
- Flood-test the waterproofed surface before tiling.
Let primers, adhesives, and membranes cure for their stated times. Mark tile patterns from the room’s center, but prioritize accurate cuts around the drain. Choose compatible grout and sealant; color schemes can improve visual definition without compromising slip resistance.
Use slip-rated tiles, maintain full adhesive coverage, and keep the finished surface flush with adjacent flooring.
Choose Accessible Wet Room Fixtures
Choose supportive grab rails with secure fixings and a non-slip finish to improve stability.
Install accessible shower controls within easy reach, preferably beside the entry and at a consistent operating height.
Make certain both fixtures remain usable from a seated position.
Choose Supportive Grab Rails
Install supportive grab rails at the shower, toilet, and other transfer points to improve stability and reduce fall risk in your small bungalow wet room. Choose rails based on your reach, grip strength, and intended movement, not appearance alone. A qualified installer should locate wall framing, add structural reinforcement, and verify every fixing before tiling.
- Select corrosion-resistant stainless steel or nylon-coated rails.
- Use contrasting colours to improve visibility beside decorative tiles.
- Provide horizontal rails for transfers and vertical rails for standing.
- Maintain clear space around each rail for a secure handhold.
- Coordinate placement with lighting solutions to prevent shadows and glare.
Avoid suction-mounted products for permanent support; they can release without warning. Check the rail’s rated load, diameter, and clearance, then test it with your weight before use. Review positions with an occupational therapist if mobility needs may change.
Install Accessible Shower Controls
Accessible shower controls let you operate water flow and temperature safely from a seated or standing position. Choose a thermostatic valve with a clear temperature scale and an adjustable maximum setting to reduce scald risk.
Position the controls within easy reach from your shower seat, typically between 750 and 1,000 mm above the finished floor, and keep them clear of the spray.
Select large, textured levers or push buttons that you can use with limited grip strength.
A diverter can switch between the handset and overhead shower without requiring you to stand.
Mount a slide bar securely, allowing you to set the handset height precisely.
Confirm that plumbing remains accessible for maintenance.
Stylish finishes and aesthetic choices, such as brushed brass or matte black, can complement your wet room without compromising safety or function.
Add Slip-Resistant and Safety Features
Choose flooring with a tested wet-slip resistance rating to reduce falls in your bungalow bathroom.
Install securely fixed grab rails near the toilet and shower, anchoring them to suitable structural supports.
You’ll improve stability without restricting movement in the compact wet room.
Choose Slip-Resistant Flooring
Because water can spread across the entire floor, use slip-resistant porcelain tiles or safety vinyl rated for wet-room applications. Choose a surface with a pendulum test value suitable for barefoot wet areas, and confirm compatibility with underfloor heating, adhesives, and the waterproofing system. Keep grout joints narrow but fully sealed, and slope the finished floor consistently toward the drain without creating trip edges.
- Select textured, matte finishes rather than polished surfaces.
- Consider decorative tile options with verified wet-slip ratings.
- Use safety vinyl with heat-welded seams for continuous protection.
- Avoid loose mats that can curl or shift.
Follow flooring maintenance tips: remove soap residue, inspect grout, and clean with non-slip-safe products.
Order samples and test them wet before installation. A qualified installer should verify falls, drainage, thresholds, and finished levels so water won’t pond or escape into adjoining rooms.
Replace damaged flooring promptly to preserve traction and waterproof performance.
Install Essential Grab Rails
Once the floor provides reliable traction, add grab rails to support balance during entry, showering, and transfers. Position a vertical rail at the shower entrance and beside the controls, then install a horizontal rail on the longest wall for steady movement.
Add a hinged support rail beside the toilet if you need assistance with sitting or standing. Before drilling, use a stud finder and confirm pipe and cable locations. Fix each rail to structural framing or install certified load-rated anchors; tile alone won’t provide adequate support.
Seal every penetration with sanitary silicone to prevent moisture entering the wall. Choose rails with a 32–38 mm diameter and textured, slip-resistant surfaces. Coordinate their finishes with decorative tile options, while ventilation solutions reduce condensation and preserve fittings.
Test every rail firmly before use.
Test the Wet Room for Everyday Use
- Walk through the room with dry and wet feet.
- Test the shower controls from a seated position.
- Confirm grab rails remain rigid under firm pressure.
- Check the floor for slippery areas or loose mats.
- Open and close the door without catching.
Ask the user to practise transfers, turning, and exiting while you observe.
Inspect adjoining walls and the ceiling below for dampness after use.
Adjust the showerhead, screen, or fall protection if splashing reaches accessible routes.
Record any faults and correct them before regular use.
Frequently Asked Questions
What Is the Typical Cost of Installing a Wet Room in a Small Bungalow?
You’ll typically pay £6,000–£12,000 to install a small wet room, depending on labour, waterproofing, drainage, and accessibility upgrades. Cost considerations include regional rates; Material choices, fixtures, tiles, and specialist shower systems substantially affect your final quote.
How Long Does a Wet Room Installation Usually Take From Start to Finish?
You’ll typically need two to four weeks from demolition through final inspection. Tile selection, plumbing, drying times, and waterproofing techniques affect duration; your contractor should schedule testing before fitting fixtures and completing finishes.
Do I Need Planning Permission or Building Regulations Approval for a Wet Room?
Your paperwork path starts here: you’ll usually need building-regulations approval, but not planning permission, unless you alter the structure, drainage, or exterior. Check locally; DIY considerations and safety precautions remain essential.
Can a Wet Room Increase My Bungalow’s Resale Value?
Yes, a wet room can increase your bungalow’s resale value by improving accessibility and buyer appeal. Prioritise waterproofing, ventilation, and compliant installation; Luxury upgrades and Energy efficiency can further strengthen your property’s marketability.
How Should I Maintain and Clean a Wet Room After Installation?
Clean your wet room weekly; 80% of bathroom mould problems involve moisture. Prioritise Tile maintenance by drying surfaces, ventilating thoroughly, and checking grout. Schedule Drain cleaning monthly, removing hair and flushing traps with warm water.
Conclusion
You’ve now got a safe, accessible wet room designed for everyday living. With a level, waterproof floor, suitable gradients, slip-resistant tiles, correctly positioned fixtures, and secure grab rails, the small bungalow bathroom works efficiently without compromising comfort. Test the shower, drainage, ventilation, and supports regularly, and address any movement, leaks, or blockages promptly. These final checks keep everything running smoothly, helping your new wet room serve you reliably, one step at a time.